DIY Clothespin Picture Display
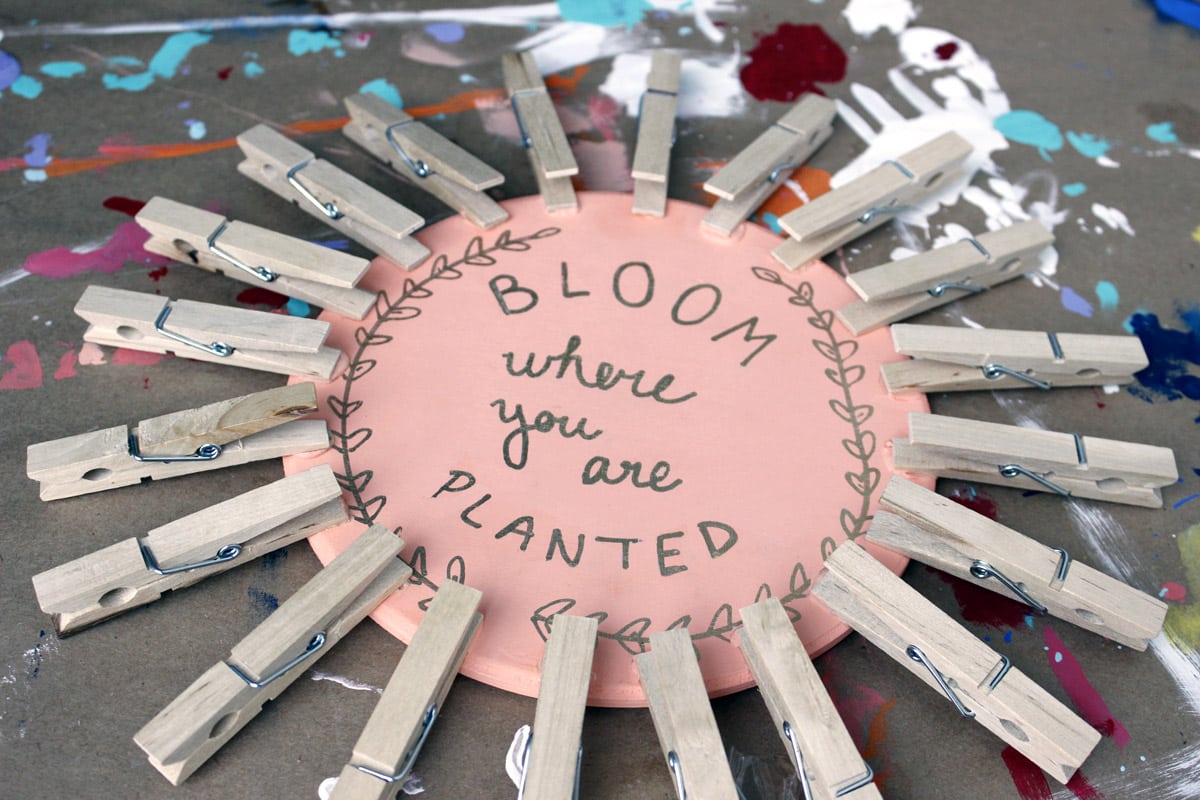
I wanted to ease into the back-to-school season with one of my favorite kinds of posts: a DIY! In today’s post I’ll show you how to make this adorable clothespin wreath/picture display. Not only is this super inexpensive and simple to make, it’s fully customizable to your color scheme and look! Perfect for your bedroom, dorm room, or office, this clothespin picture display is perfect for showcasing those photos, notes, and hand lettering pieces!
For my dorm room this year, I’m going for a more put together, gallery wall look instead of posters and pictures all over the wall. I figure I’m past that typical freshman year poster decor and it’s time for me to move on to something a little more sophisticated. What look are you going for in your dorm room or apartment this year?
Supplies:
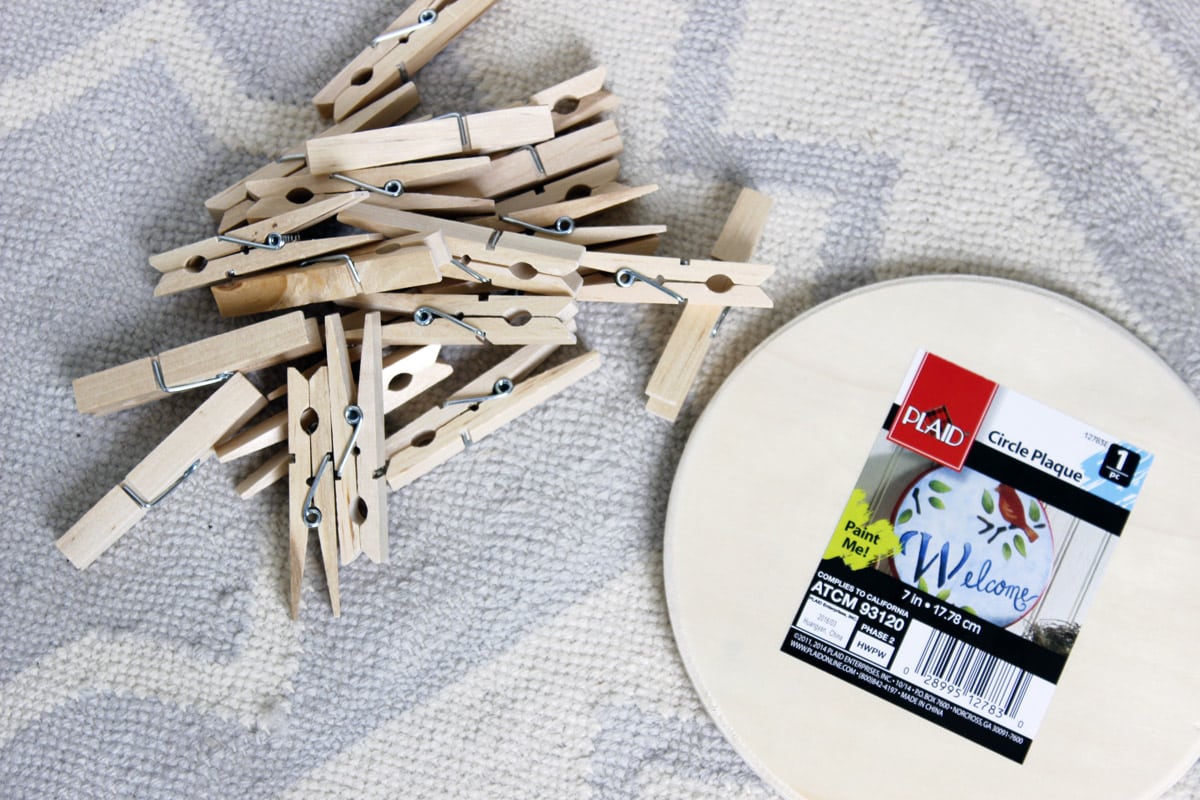
- Clothespins
- Circular wood
- Wood glue or Gorilla Glue
- Acrylic paint
- Paint pen (optional)
Overall, this project cost me a whopping $4 to make.
I found both the clothespins and circular piece of wood at Wal-Mart. The circular wood was $0.97 and a pack of 100 clothespins was $2.95. You can always check out Michael’s or Hobby Lobby for circular wood, but you’re probably going to spend a lot more.
I didn’t sand or prime the wood before I started painting. I covered the entire piece of wood in a beautiful salmon/coral shade of acrylic paint. It took about three coats to get a finish and good coverage. The I took a paint pen in gold and wrote one of my favorite quotes and did some detail work. I love how hand-made and imperfect it looks!
Before glueing the clothespins in place, I lined the up like in the picture above to make sure I had the spacing just how I wanted it. I didn’t want to overcrowd the piece with a ton of clothespins, but I also didn’t want it to be too sparse.
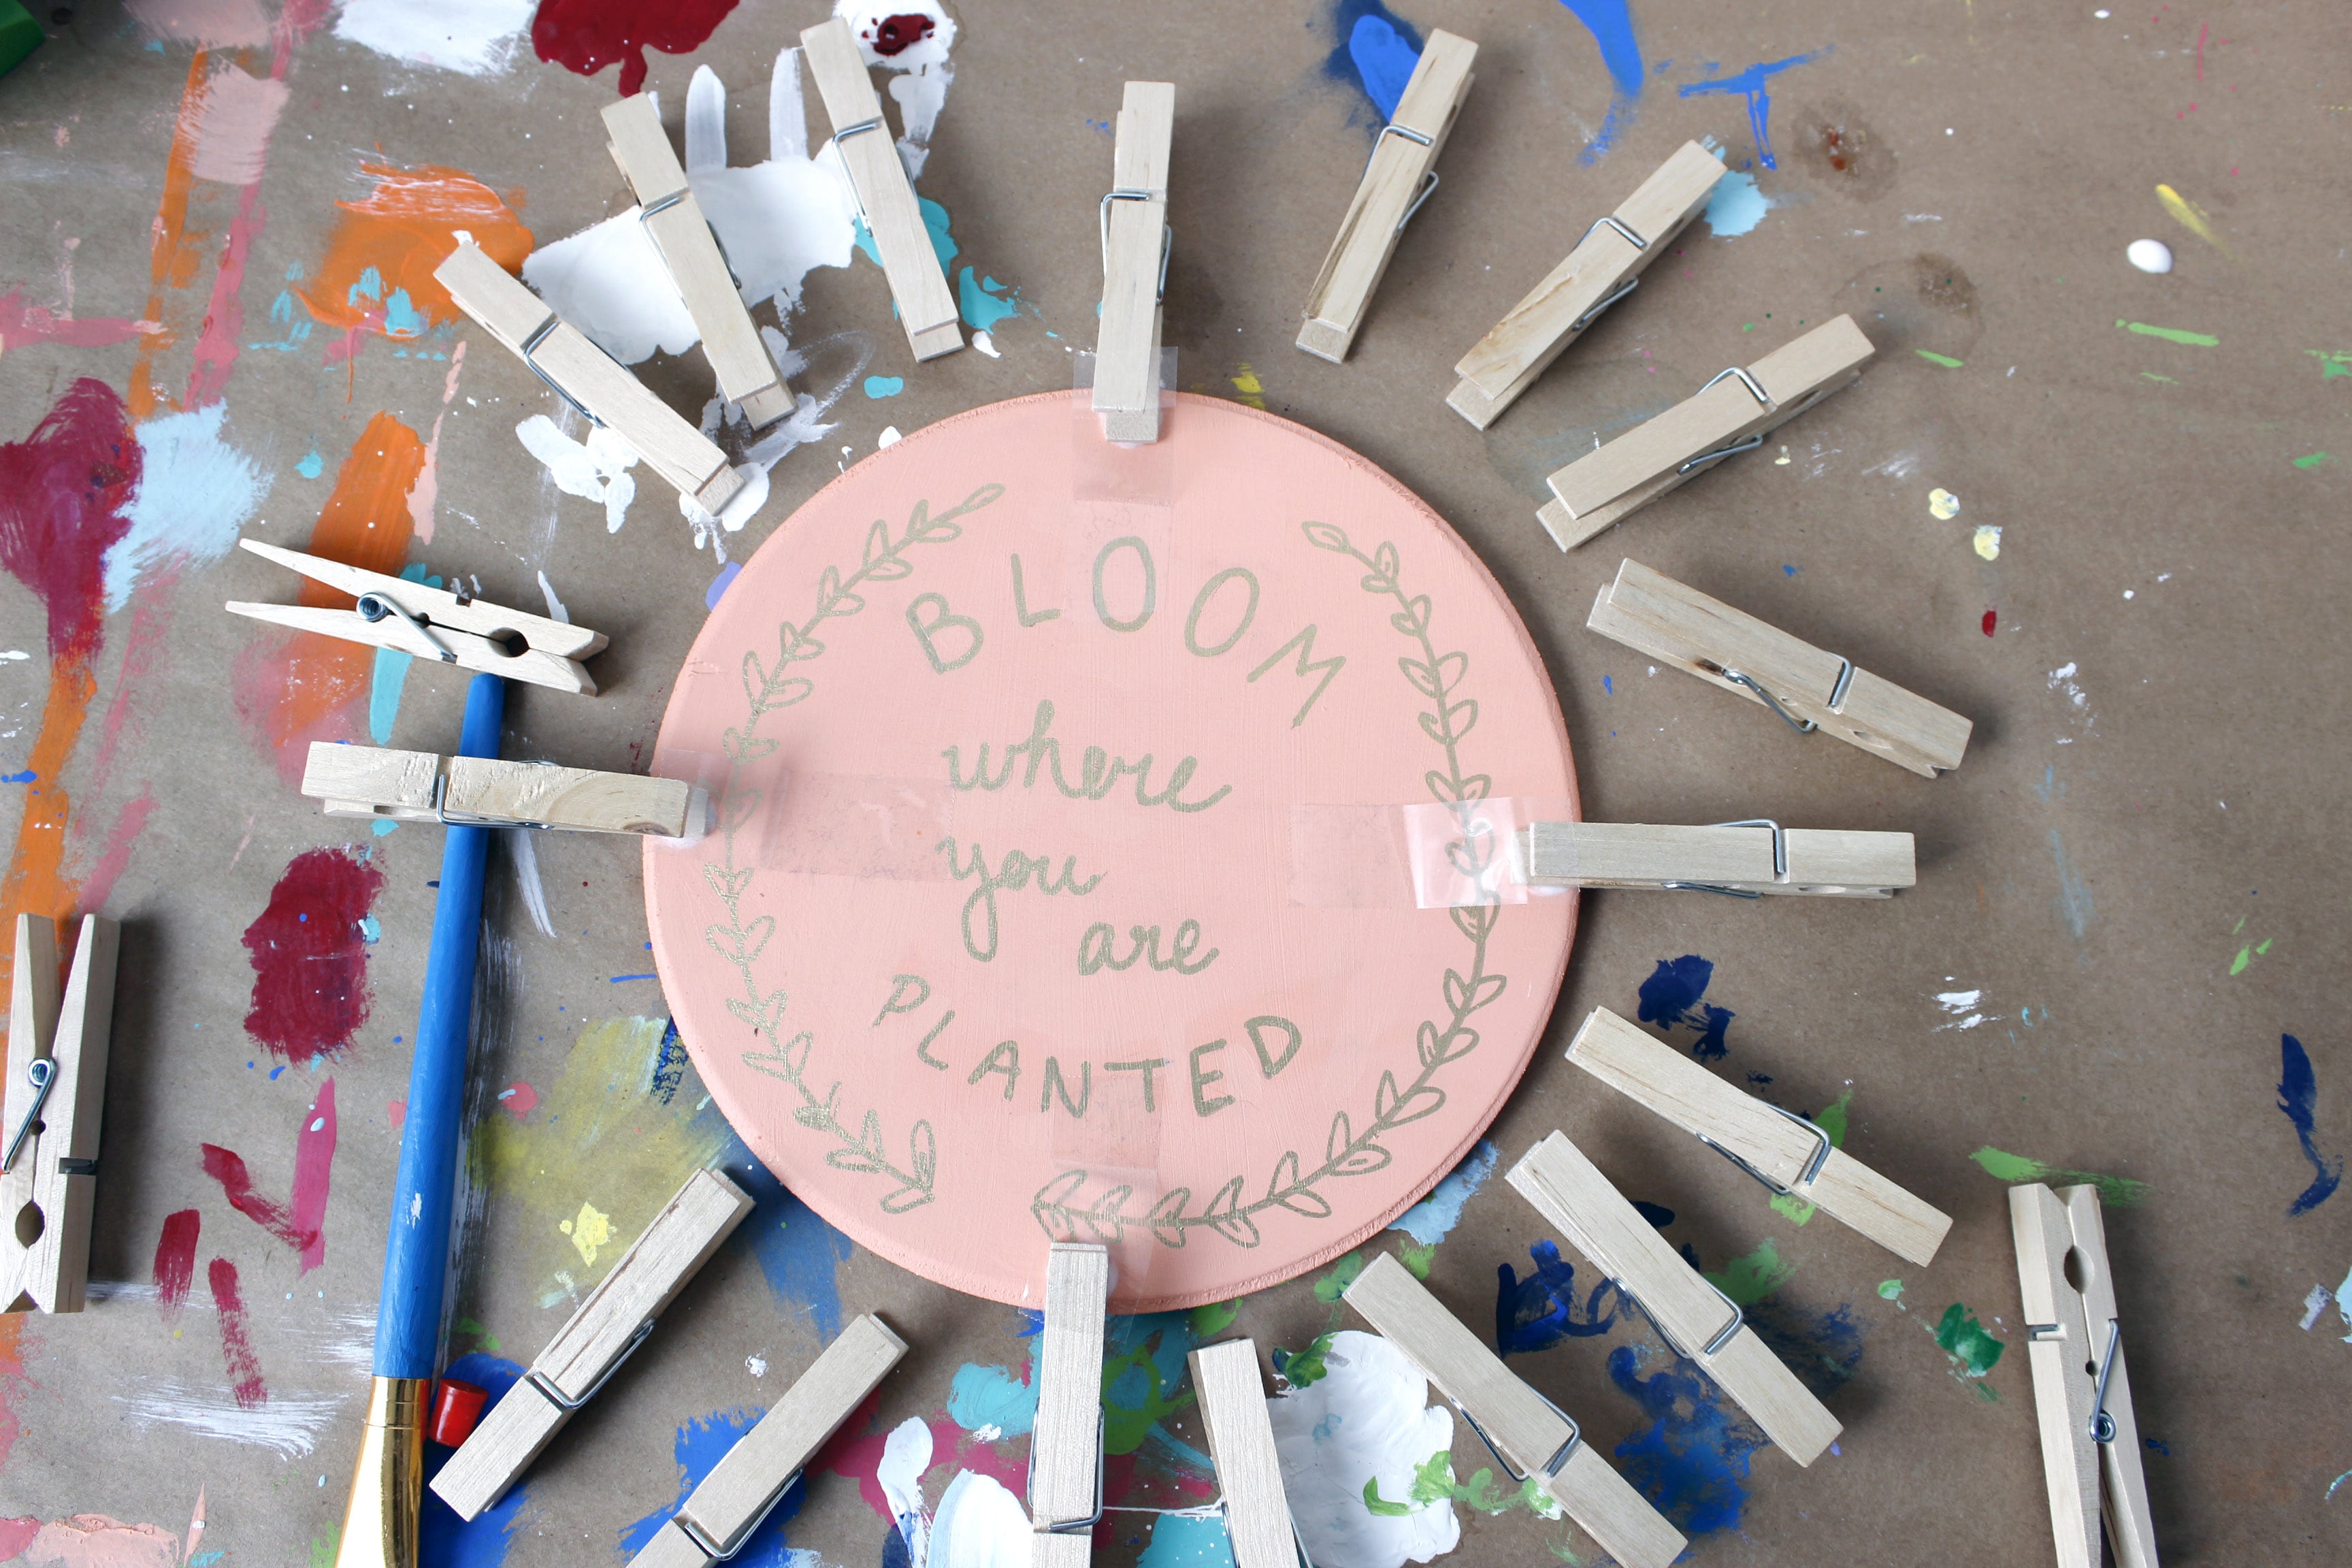
Glueing the clothespins was the most time-consuming portion of the project. Plus it didn’t help that I had to glue them all twice. DO NOT USE CRAFT GLUE. The bond isn’t strong enough and one light bump or drop and they’ll all snap off. Trust me, I learned from experience! Using the Gorilla Glue, I glued each clothespin in place. You are required to clamp the project when using Gorilla Glue so you can either use the other clothespins to secure them, or like in the picture above, I just taped them down.
Make sure to let it sit overnight to make sure everything is nice and secure. If your Gorilla Glue bubbles out from under the clothespins, you can always paint right over it to disguise it. I also went back in and fixed any places where the paint needed to be fixed.
And, voila! Now you have a beautiful, custom picture display! I’ll definitely be hanging this up in my dorm room this year. If you try this project, make sure to send me a picture on Twitter or Instagram!
Do you have any go-to DIY projects that you love? What are you looking to make for your dorm room this year?
~abigail gray
Check out my other dorm decor posts:
 |
 |
 |


