DIY Canvas Wall Art
I love this time of year because it’s the perfect time to spend a weekend crafting and make so many awesome things for my upcoming dorm room without breaking the bank! As a college student, I don’t have a lot of extra cash sitting around to go and spend $40 on some wall art for my dorm room. Combine my lack of money with an addiction to DIY and the outcome is some pretty awesome canvas art!
Today I have a really awesome canvas design that you can totally customize with colors, fonts, monograms, quotes, etc. It’s super versatile, and because you’re making it, the canvas can match any color scheme you throw at it! I made one for my own dorm room (which I can’t wait to use to create my gallery wall with) and made a couple for some friends. All you need is a canvas, some paint, and your creativity! I really hope you enjoy, and if you try this, make sure to send me a picture on Twitter!

Supplies
- Acrylic paint (colors that will match your color scheme)
- Paint brushes of assorted sizes
- Canvas, any size
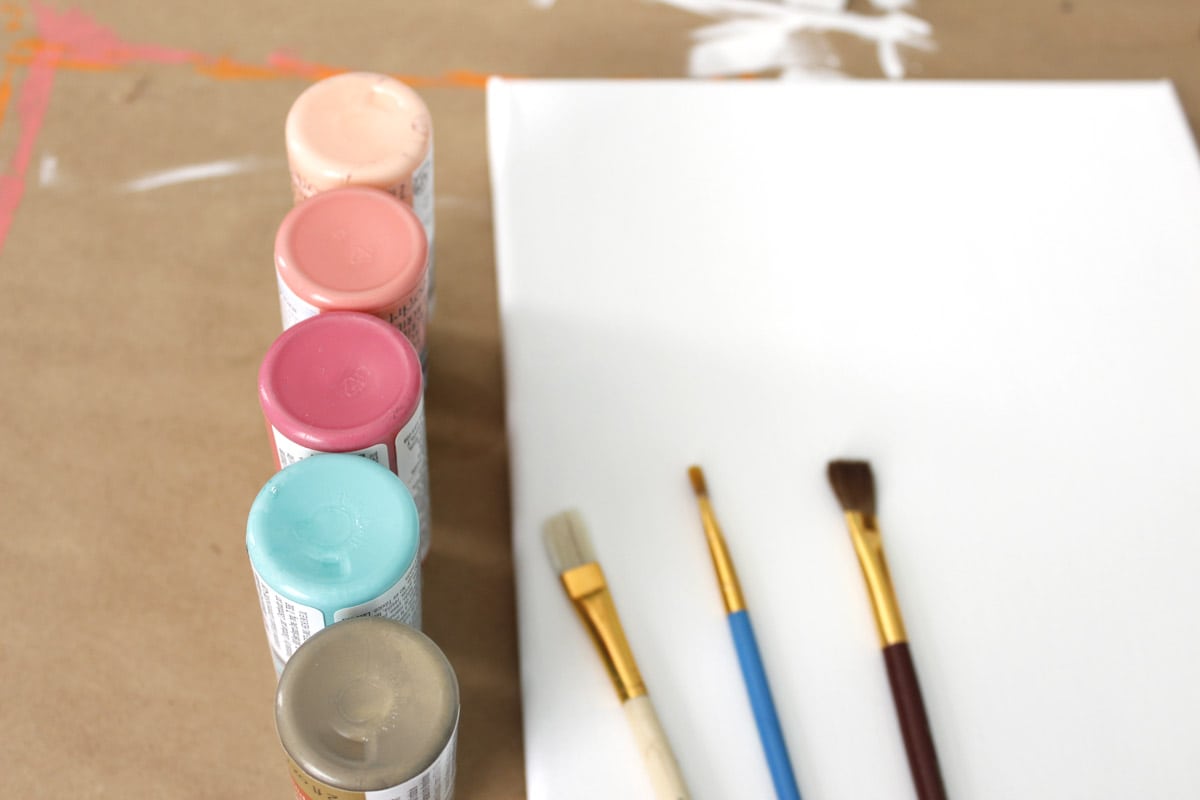
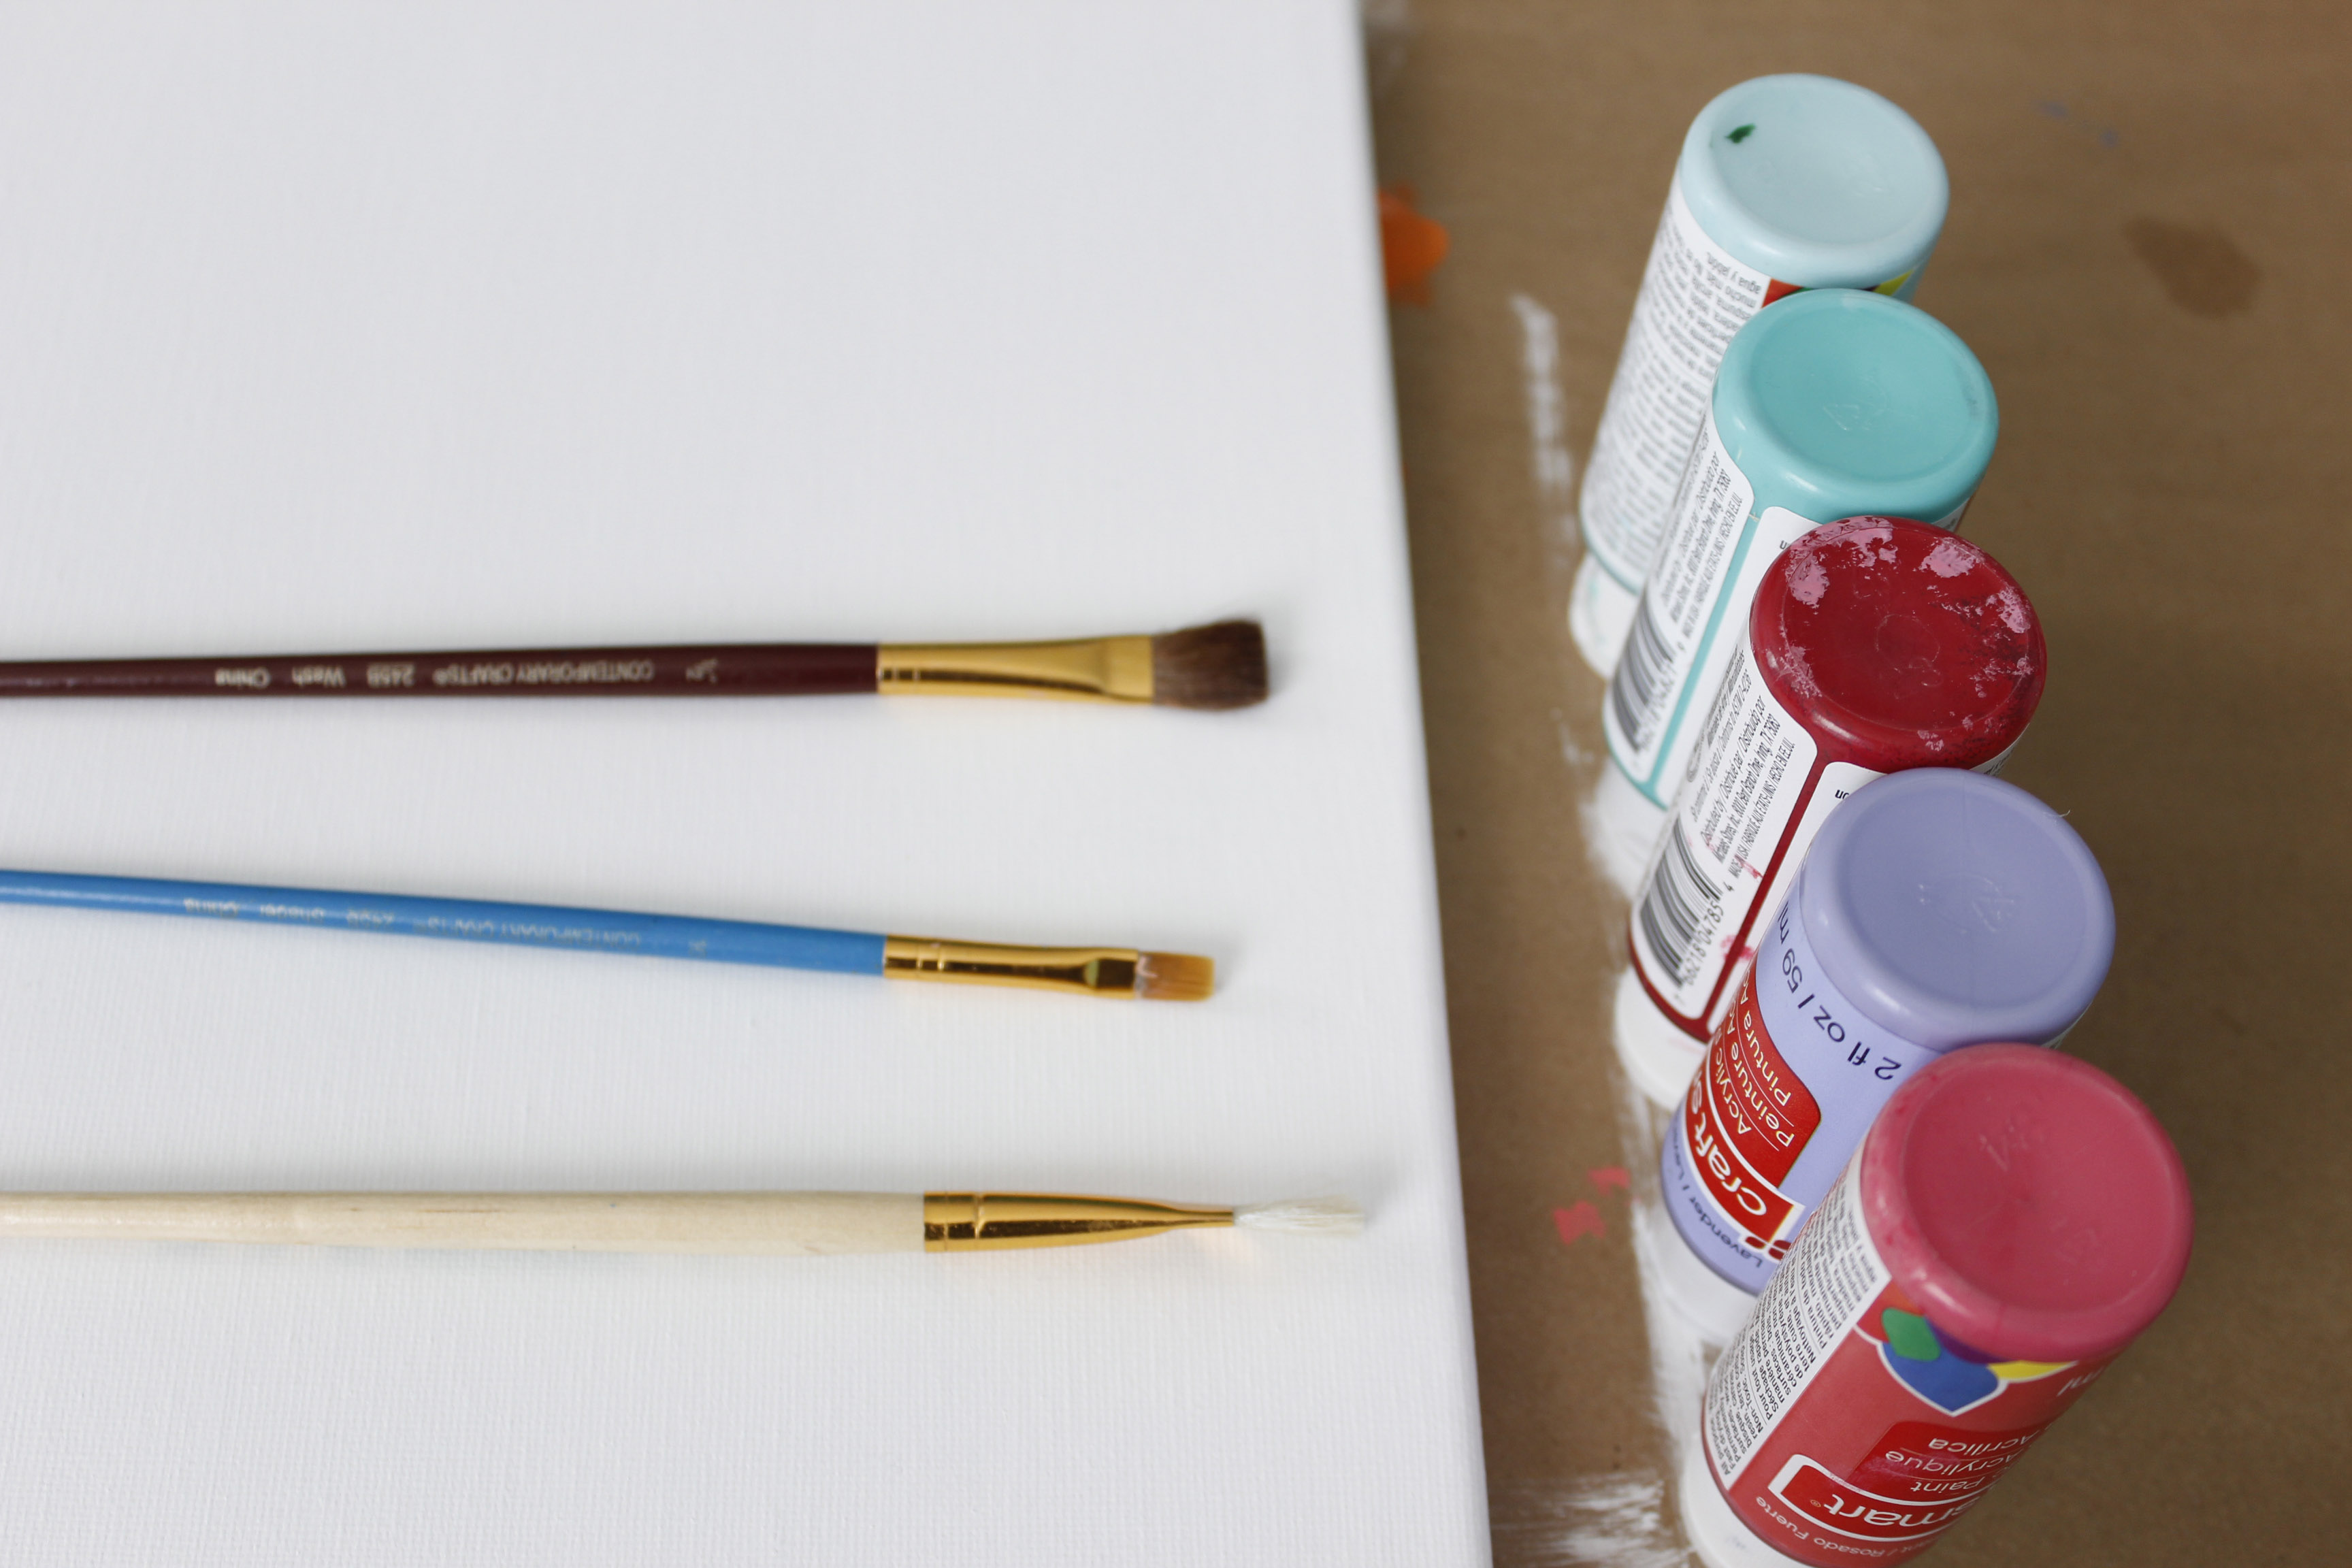
First thing’s first. You have to develop a color scheme. Base it off of your comforter, your favorite colors, a favorite piece of artwork, etc. The combinations I used for these canvases were:
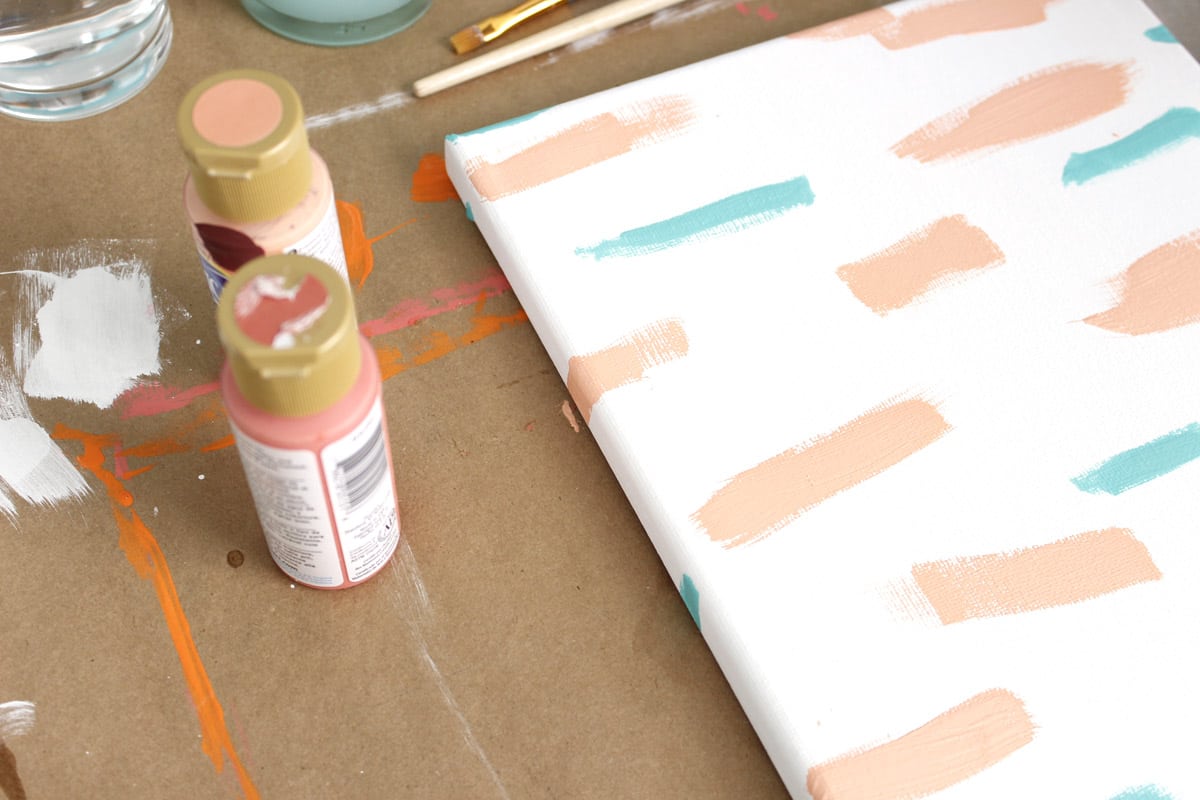
- Americana Coral Shell, Americana Coral Blush, Craft Smart Hot Pink, Craft Smart Ocean Breeze, Craft Smart Gold
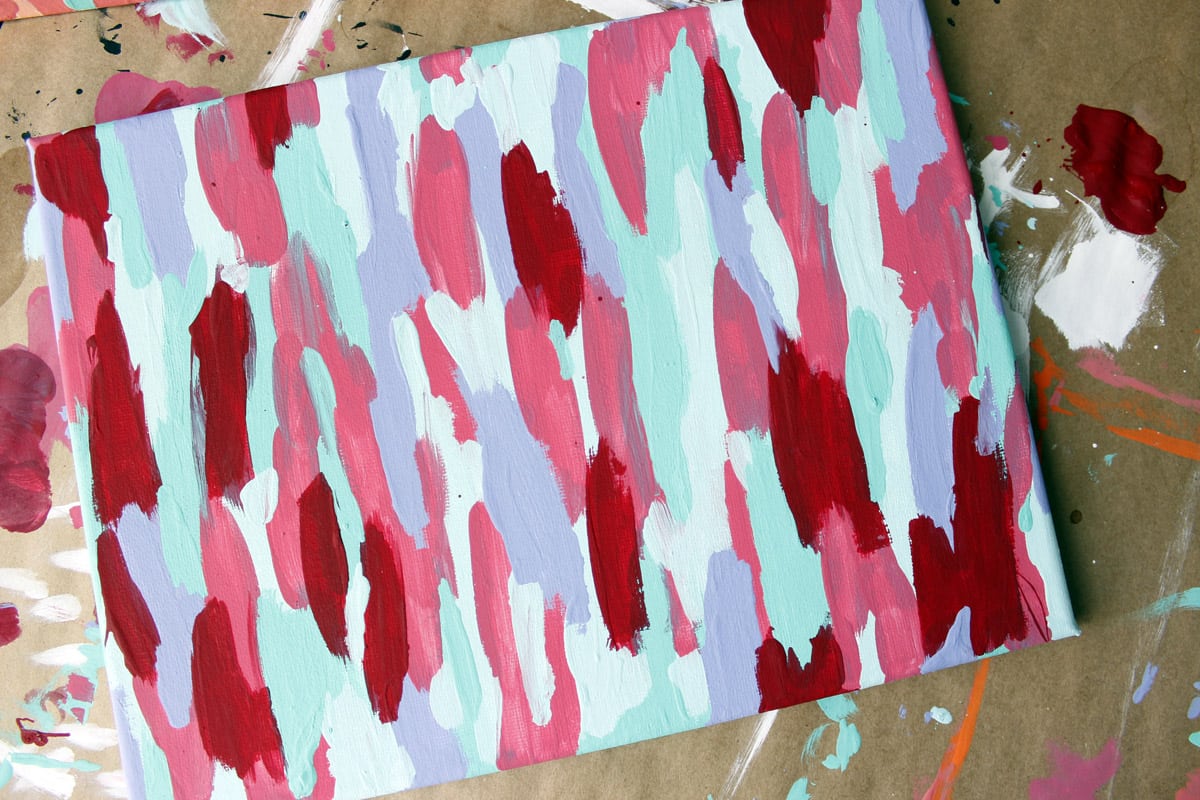
- Craft Smart Robins Egg Blue, Craft Smart Ocean Breeze, Craft Smart Hot Pink, Craft Smart Lavender, Craft Smart Holiday Red
- Craft Smart Bright Blue, Craft Smart Bright Yellow, Craft Smart Apple Tart, Craft Smart Holiday Red, Craft Smart Robins Egg Blue
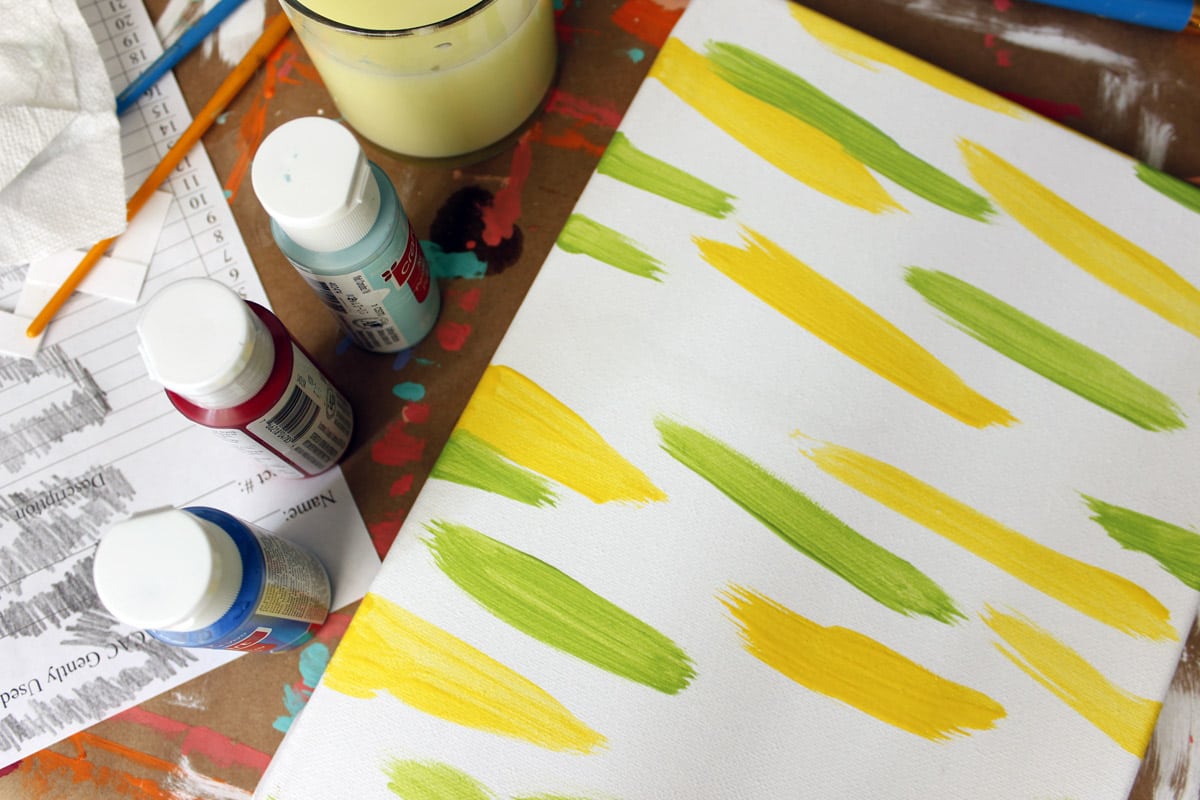
The base for all of the canvases start out the same. Paint stripes of color, letting the paint dry in between coats. Build up the layers until you’re happy with the result.
RELATED: Monogrammed Door Decs
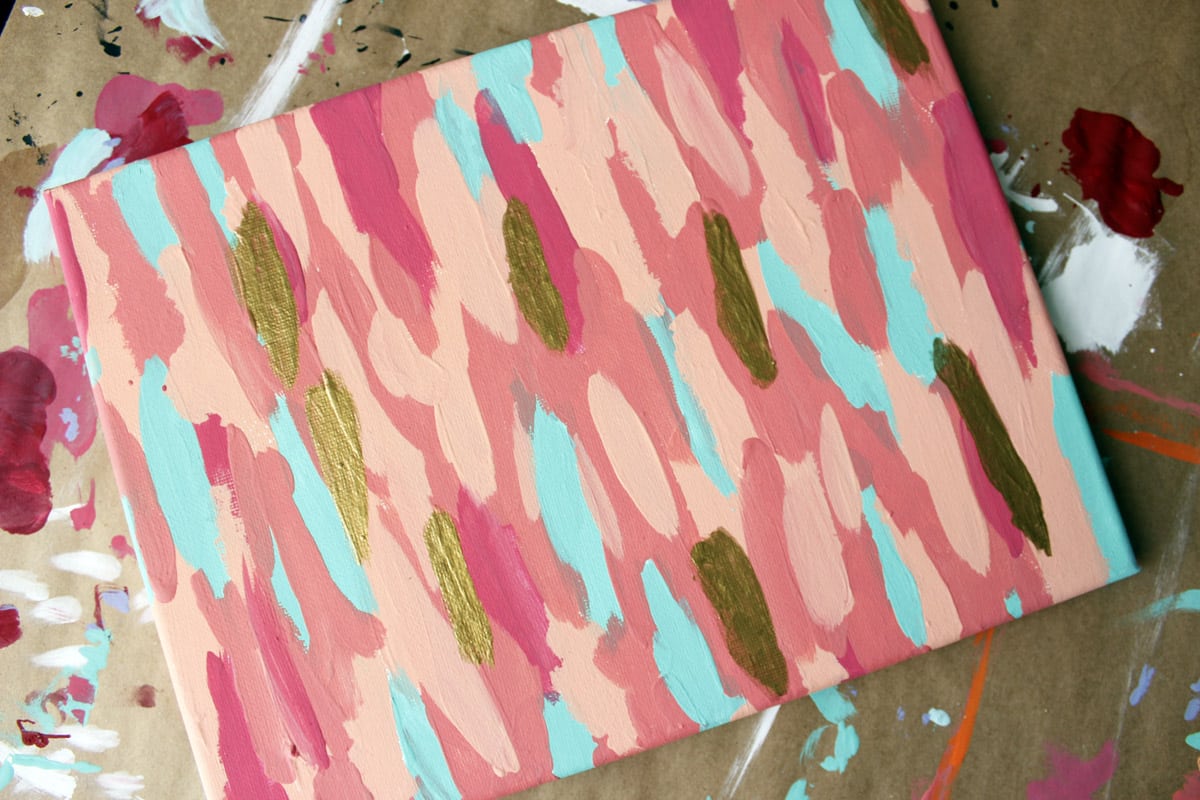
The picture above shows how the canvas should look when you’re finished! You can either choose to leave it like this, which I love, or you can choose to add a quote, name, monogram, etc. on top! Here are the two looks I came up with:
BLOCK
Using the base canvas that I created, I knew that I wanted to do some form of block lettering for this piece. It’s super important to sketch out the word or phrase on a separate piece of paper first. This way, you can easily erase your mistakes and make the letters perfect.
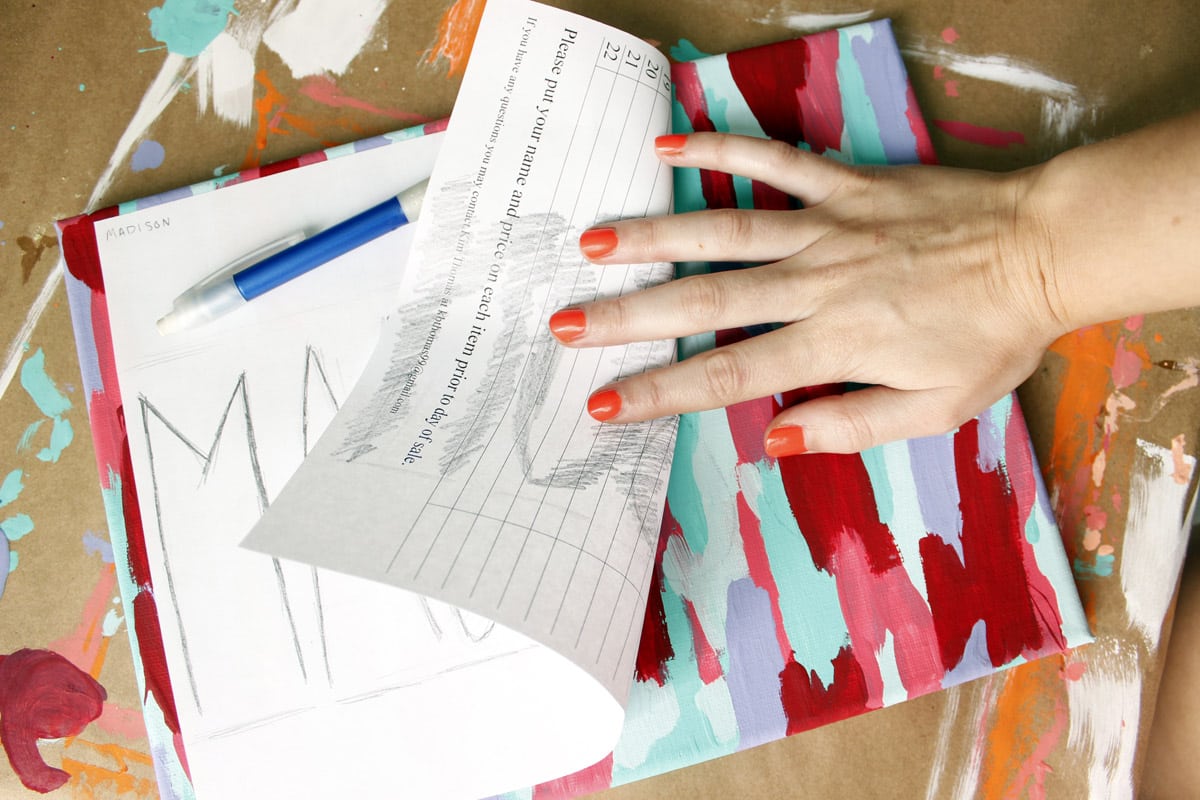
I don’t know if you ever used this technique in elementary school, but it’s actually super easy to create a transfer of the lettering work you just created! Scribble over the letters on the back of the paper, like shown above, and then tape down the paper to the canvas. Trace over the letters one more time, and when you lift up the paper, a faint outline of the letters should be visible on the canvas.
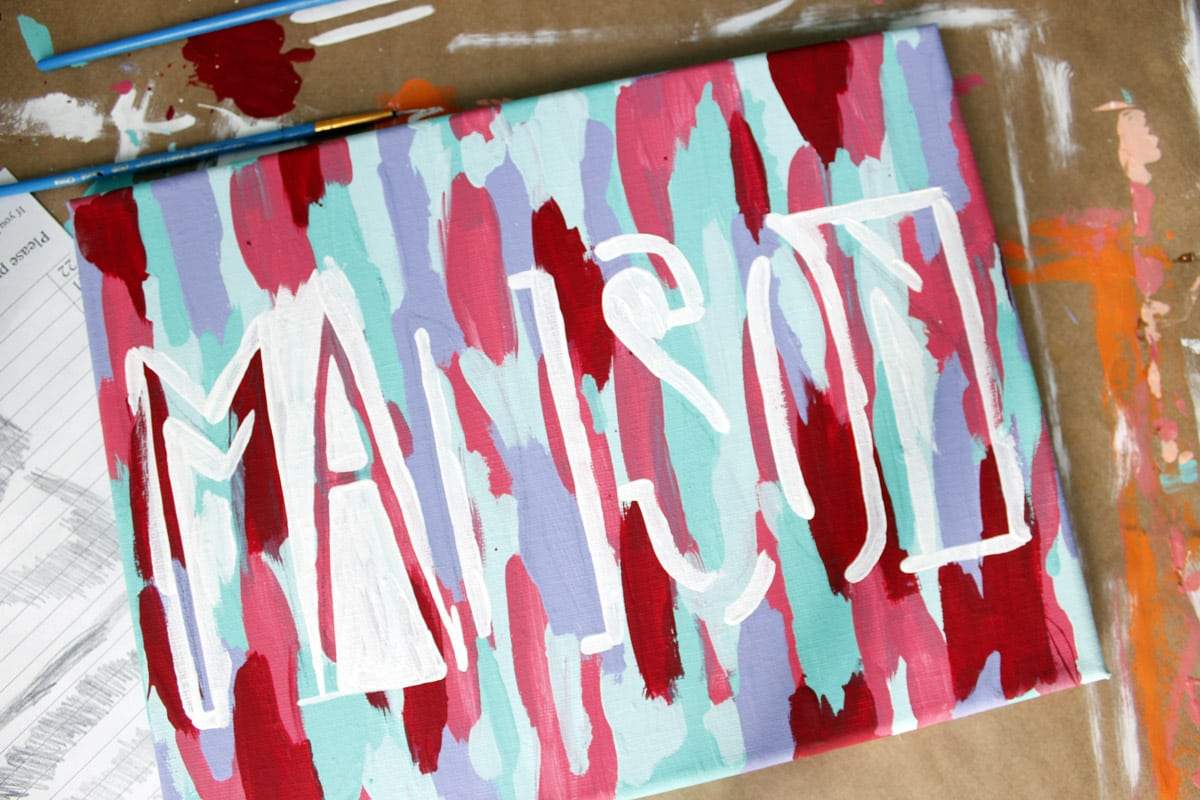
I went with negative space letters. Using the tracings as a guide, I evenly went around the letters with white paint. This was the most time-consuming part, especially if the name is long.
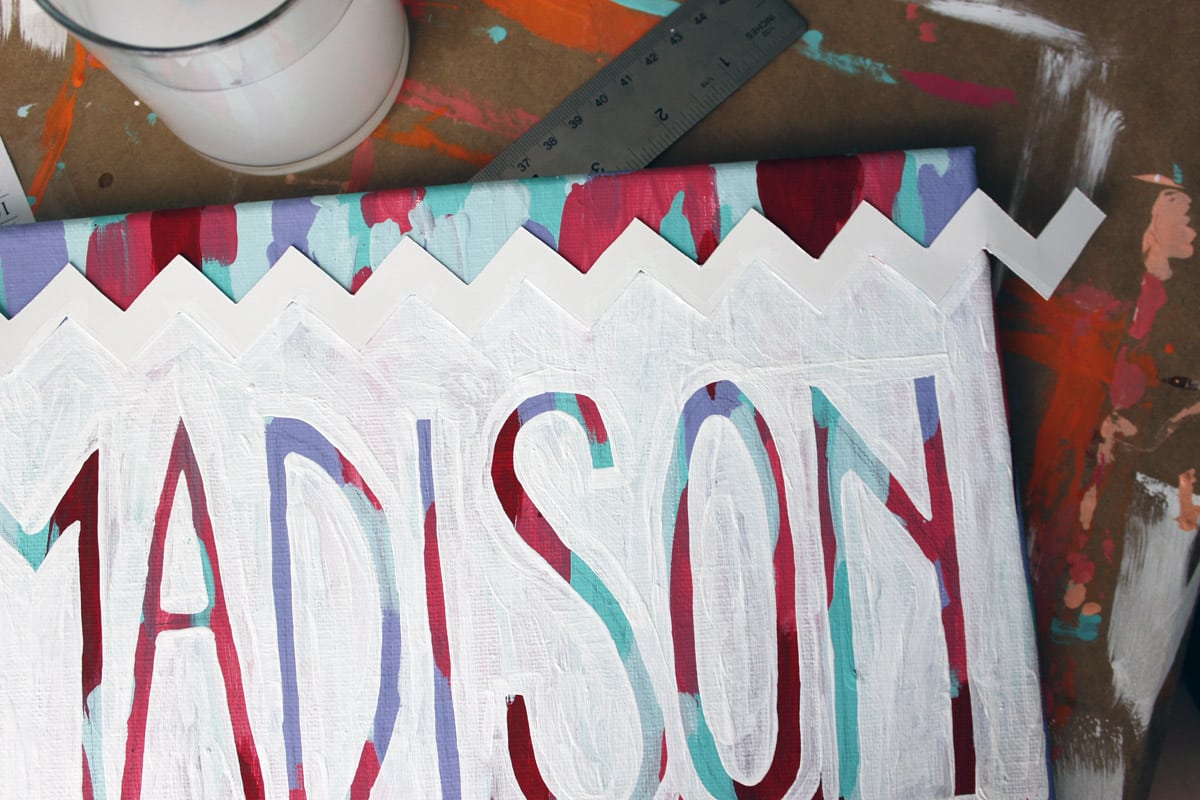
I can’t make a canvas for a preppy girl without including some chevron! I created a template out of poster board. This allowed me to create an even chevron across the top of the canvas.
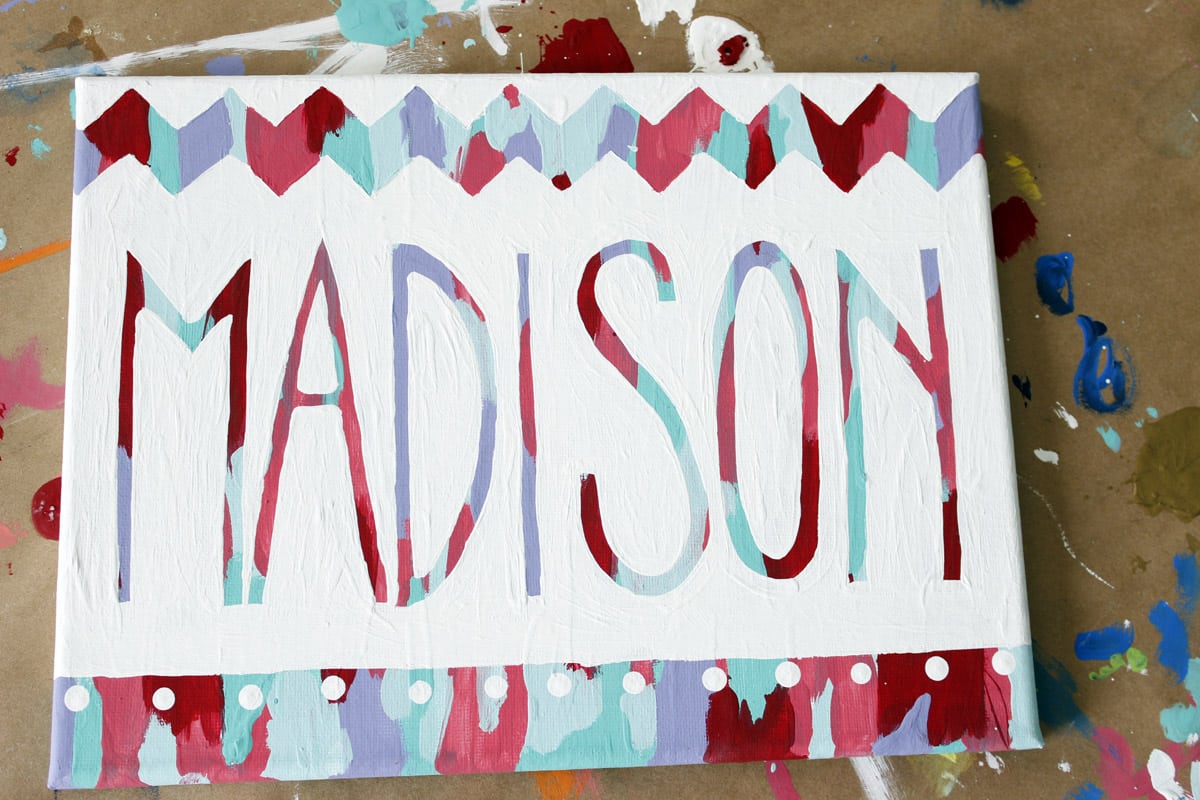
Here’s the finished result! I’m low-key in love with this one. Not only is it super adorable, but the white paint has a ton of texture. So glad this one turned out well!
Script
I’m totally obsessed with this one! If this didn’t have my friend’s name on it, I would’ve kept it for myself. Using the same tracing technique as above, I sketched out the name and transferred it to the canvas. I used a darker blue to paint over the name.
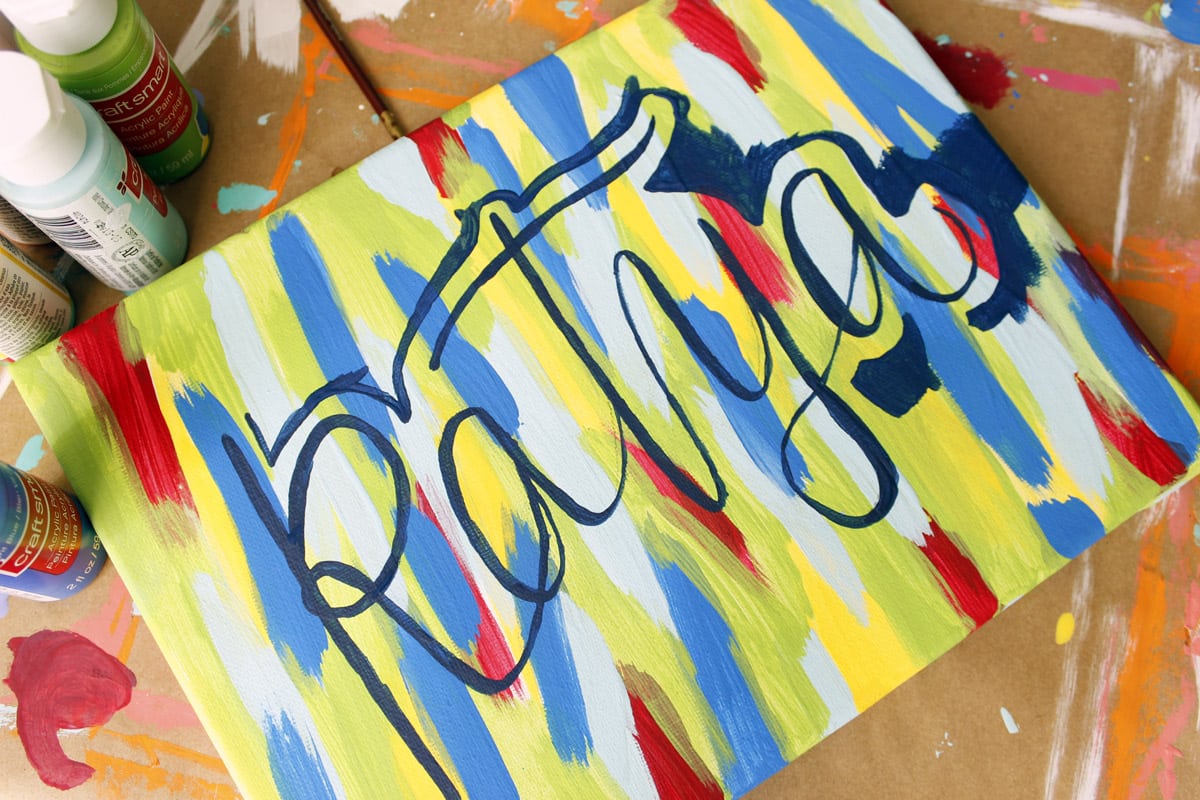
Because the name didn’t stand out as much as I had hoped, I decided to cover the rest of the painting in dark blue, only leaving the name showing. This was the best decision I made. I love how it highlights the name!
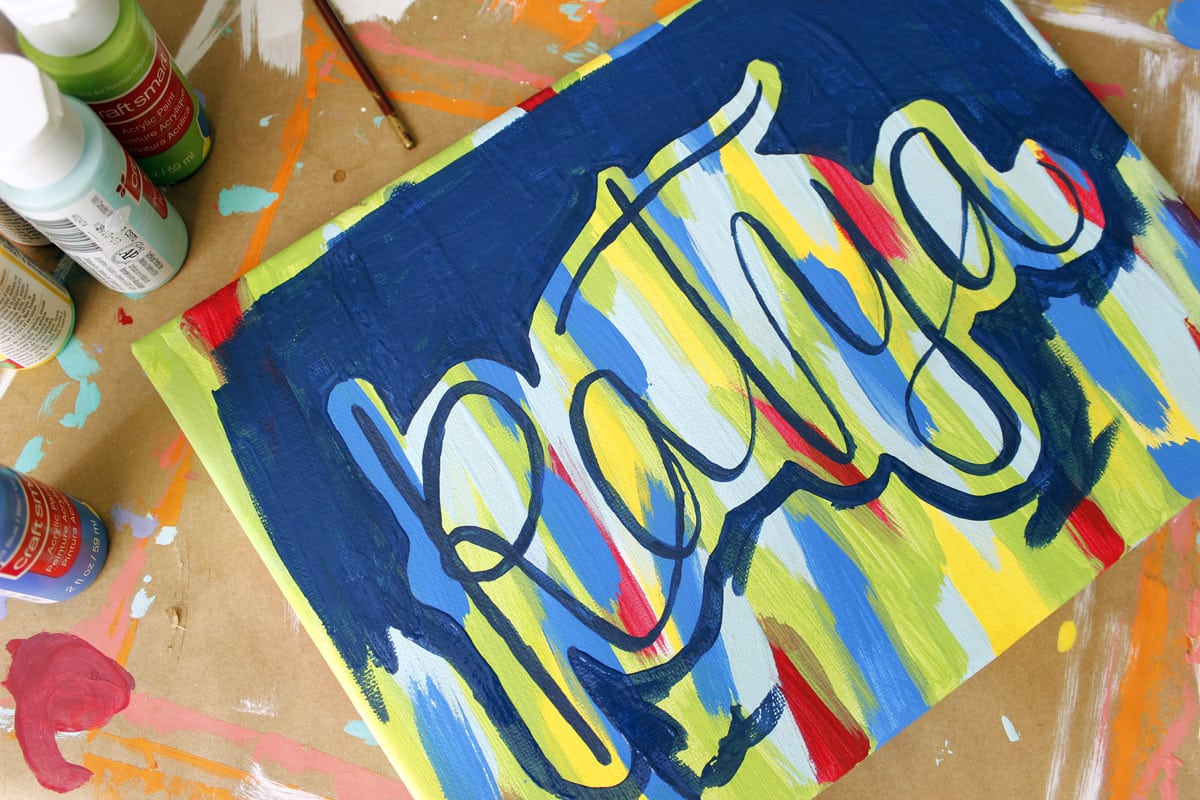
Hmm if you’re observant, you’ll notice that the “k” in the picture above and the picture below are different. After looking at the top canvas for a while, I noticed it looked like the name said “Ratya” not “Katya.” That’s not good. But because canvas is so amazing, I was able to paint over the “k” and re-do the upward stroke.
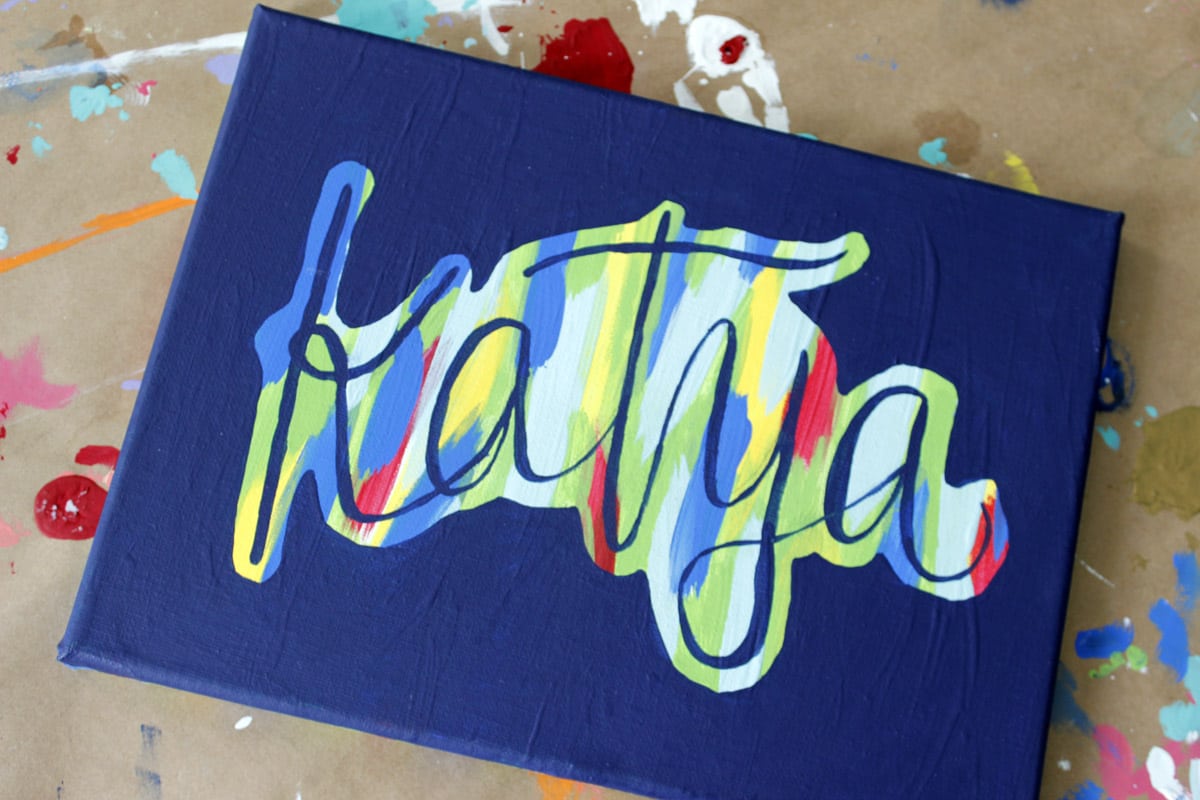
I also love how this one turned out! It matches her comforter perfectly, and it’s a great splash of color for any dorm room!
keepin’ it simple
For my canvas, I decided to keep it simple. I didn’t overlay any text, and I just kept the messy, camo kind of look. It’s going to look great in my gallery wall! Plus, it pairs great with my most favorite wood sign from Scripted by Sinclaire on Etsy! She’s a great friend of mine, so make sure to check her out.
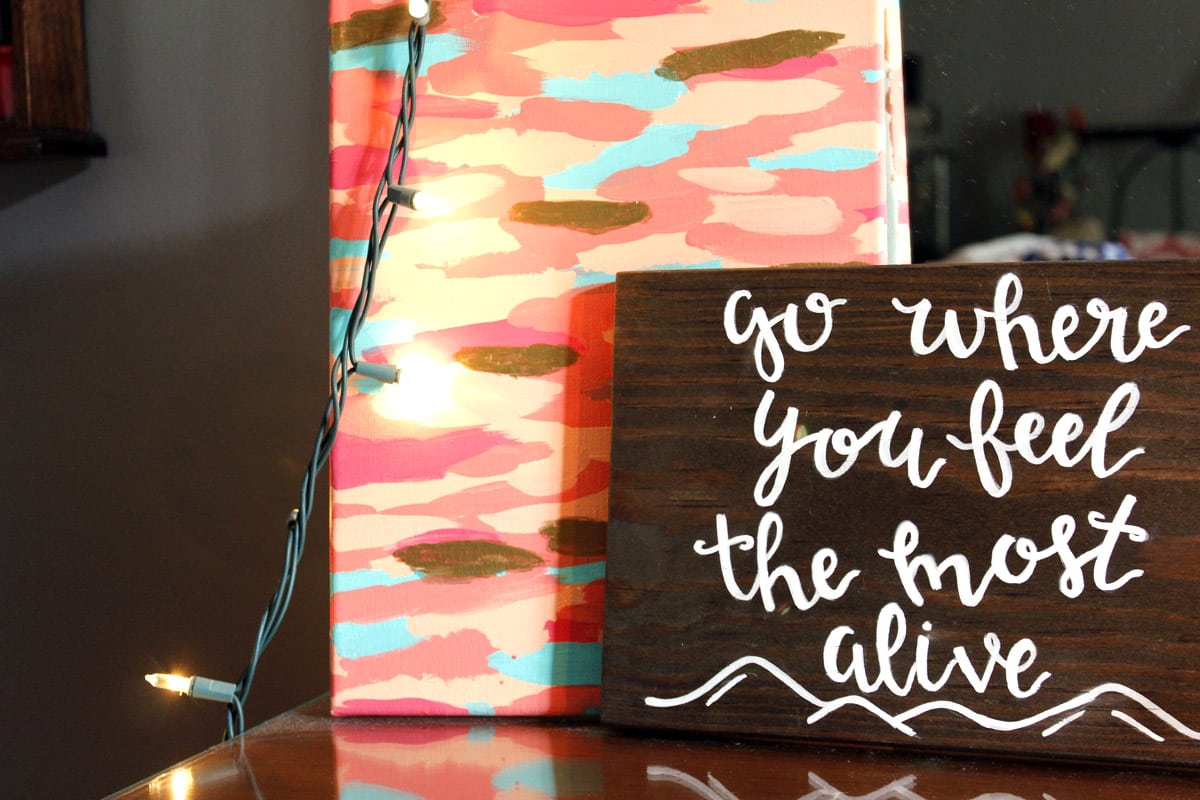
Well there you go! Three easy DIY canvases that you can make in just a couple of hours. Make sure to send me a picture if you try this out, and remember, it’s always best to create your own decor instead of spending a ton of money (especially while you’re in college). Your bank account will thank you later!
What are some of your favorite DIYs for back-to-school or just in general? If you can’t tell, I’m obsessed with canvases!
~abigail gray

