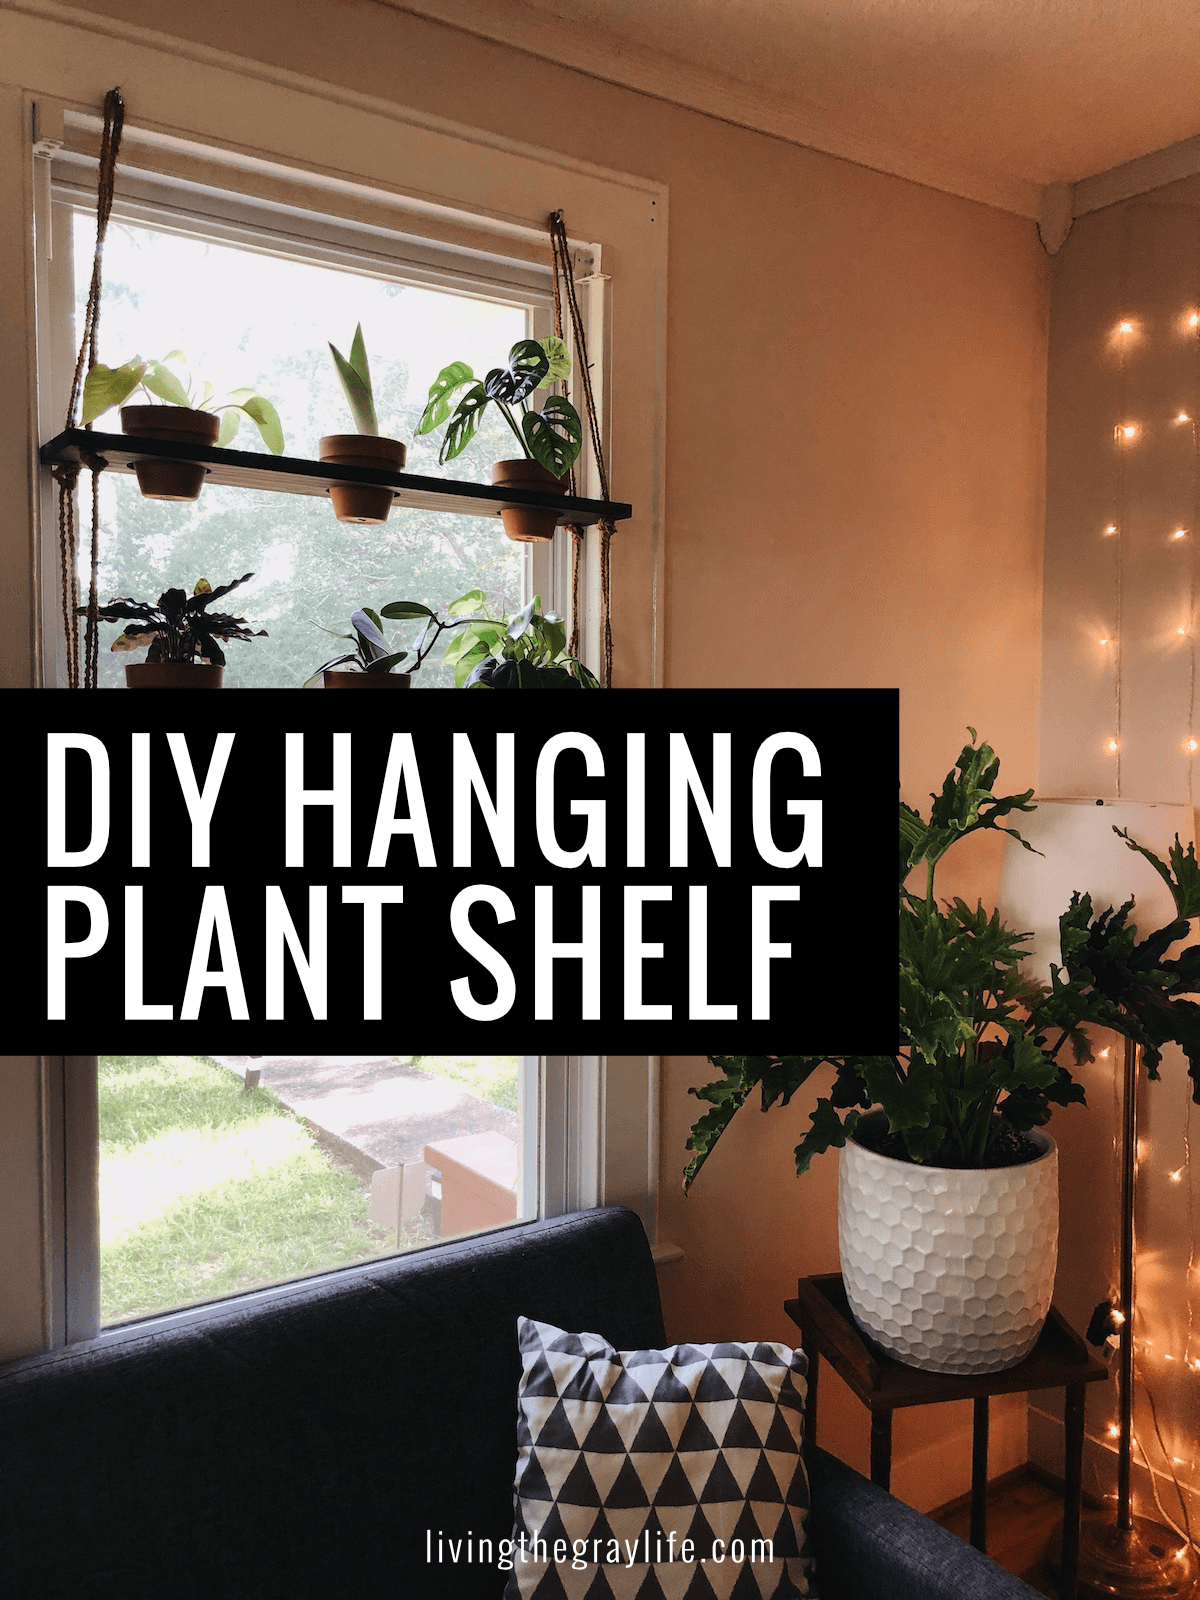
DIY Hanging Plant Shelf
This post includes affiliate links. It doesn’t change the price of the product, but I receive just a little bit in return. Links like these are what help keep Living the Gray Life up and running! Thank you for your support 🙂

Before I moved into my new place, I was thinking of all of the cool ways I could include my plants in the decor. Plants are a side passion of mine, and our new place has ample light so of course, I couldn’t just have all of my plants in one little area!
My office is the main hub for my plants, mainly because it has the most natural light throughout the day. I’ve got them hanging from the ceiling, chilling on shelves and surfaces, and even on the floor. But what I really wanted was a way to have my plants be in front of the window without taking up valuable cat-chilling window sill space. Pus, any plants I leave on my windowsills will notoriously be knocked off thanks to Basil and Potato.
NOTE: I wouldn’t recommend hanging these in a south-facing window as southern windows can receive a lot of direct sunlight. This can easily sunburn your plants. I have mine in a north-facing window.
Tools & Supplies
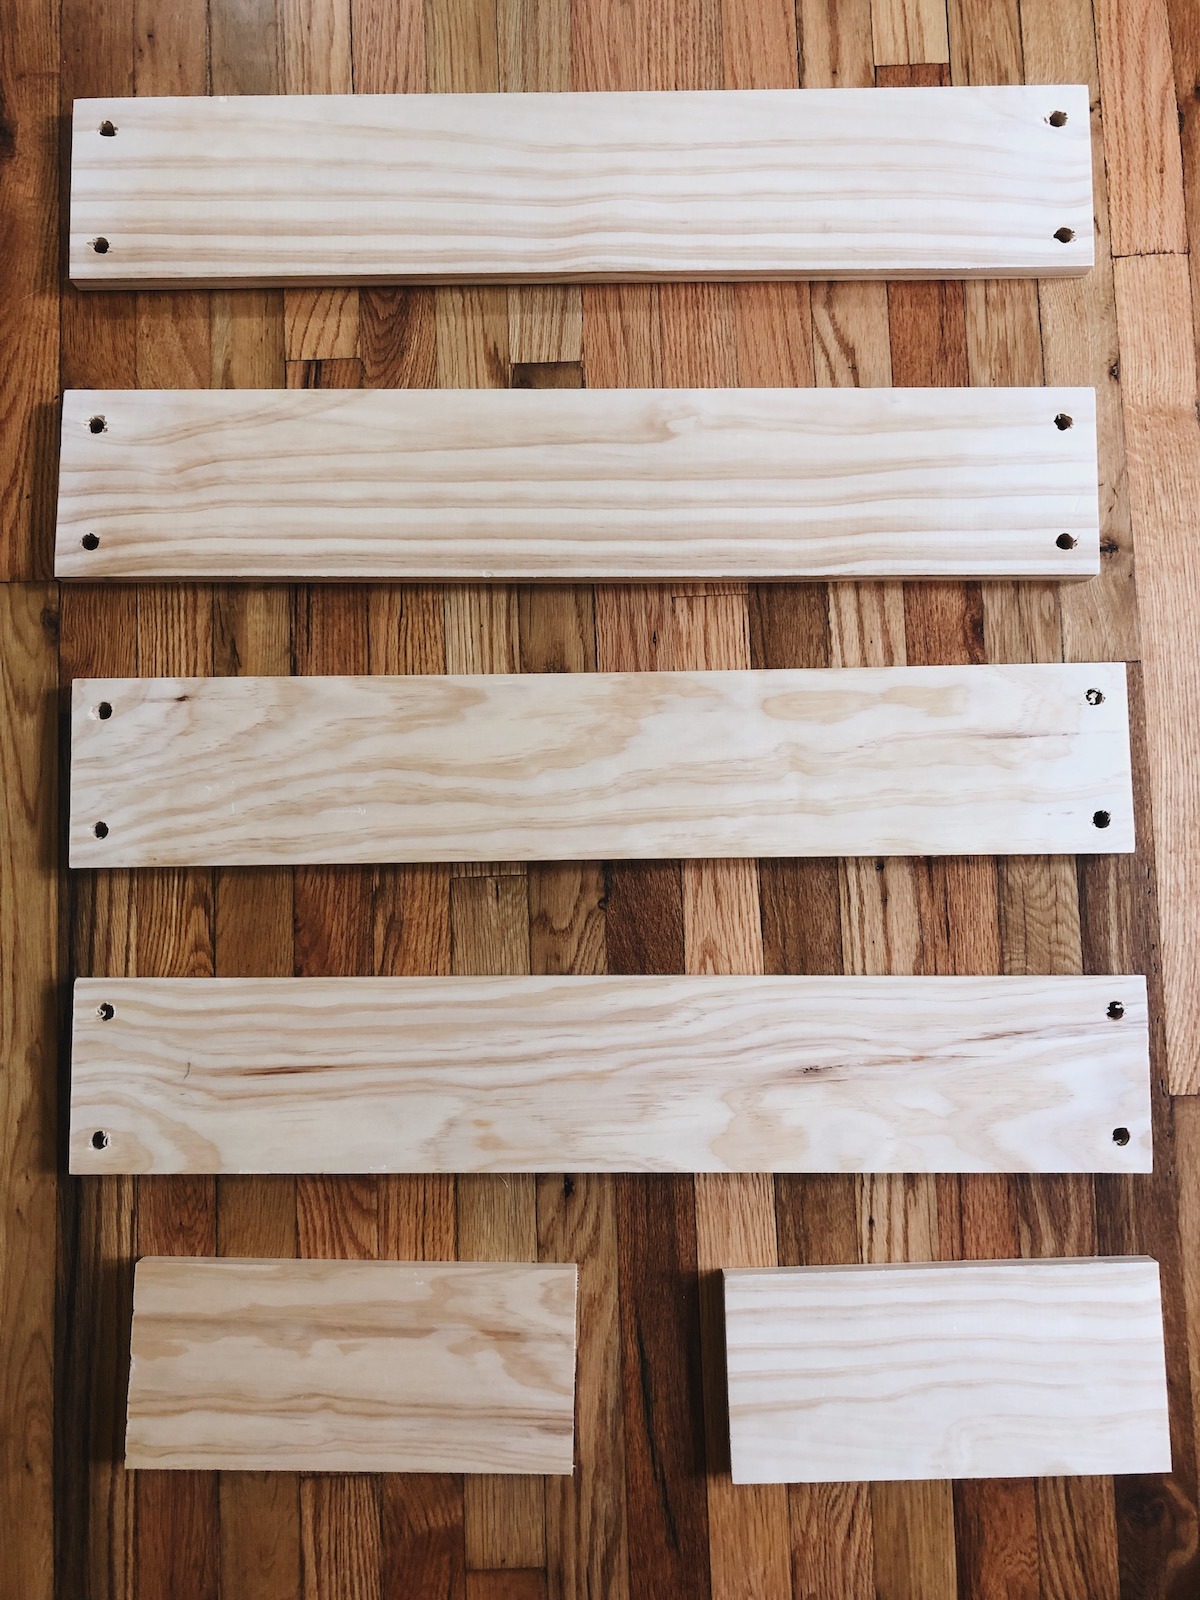
- 2 1x6x6 pieces of wood (this gave us 4 30in. shelves with a few inches left over on each piece of wood)
- 50-100ft of a rope of your choosing… I used a coconut husk rope (the amount will differ based on the spacing between your shelves, whether or not you double up your rope as I did)
- 3 3/8 in. hole saw bit
- 1/2 in. drill bit
- Coarse grit and smooth grit sandpaper
- Wood stain of your choosing
- 12 4-inch terra-cotta pots
- 4 eye hooks
Hanging Plant Shelf Instructions
Cut your wood to length. Measure the inside of your window frame to get the size you need to cut. I cut mine to 30 inches wide. It’s a tad smaller than the window frame.
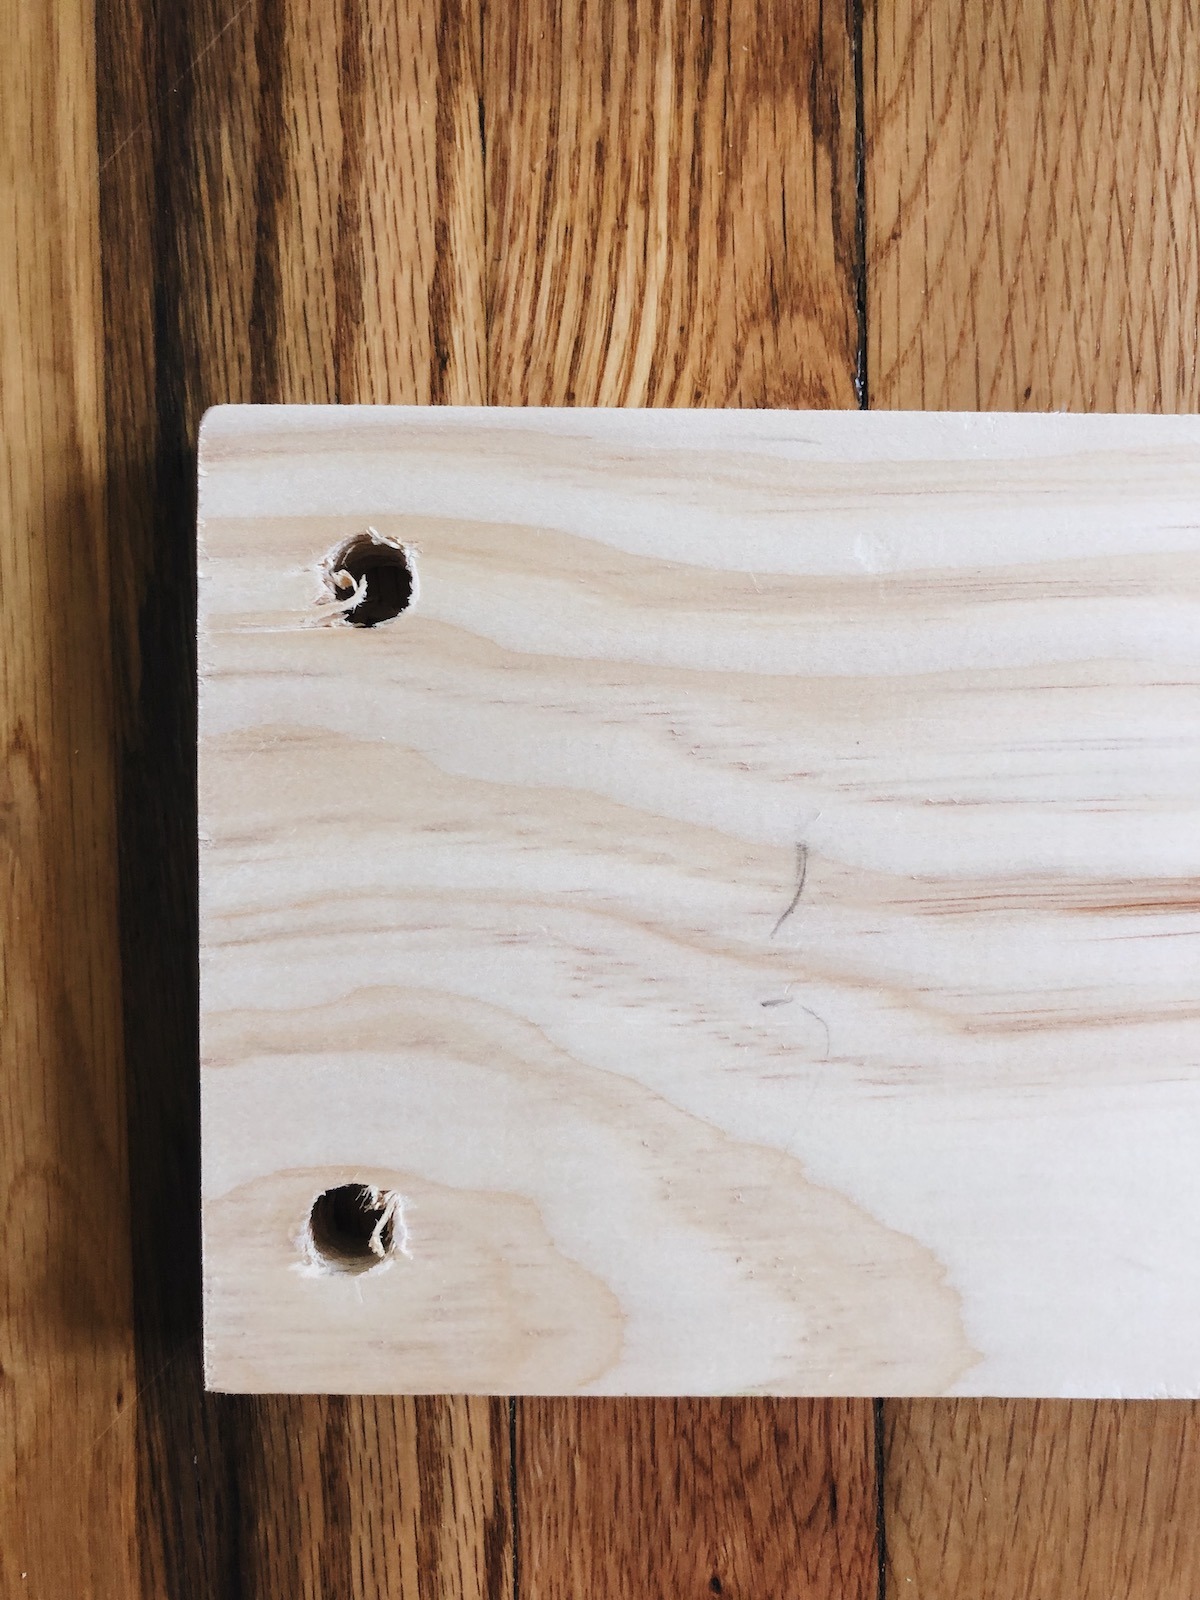
Drill rope holes. This is personal preference as to where to drill the holes on your pieces of wood. I went with 1 inch from each edge on the corners. I used a 1/2 inch drill bit. Use a drill bit that fits your rope snugly.
Drill holes for pots. Figure out how many pots you want per shelf. Space them evenly between the holes created for the rope. Make sure the holes are in the center of the board. Holes can be created by hand with a jigsaw if you don’t have a hole saw bit or if you don’t want to invest in a hole saw bit. I used a 3 3/8 inch hole saw bit to drill holes to fit 4-inch terra-cotta pots.
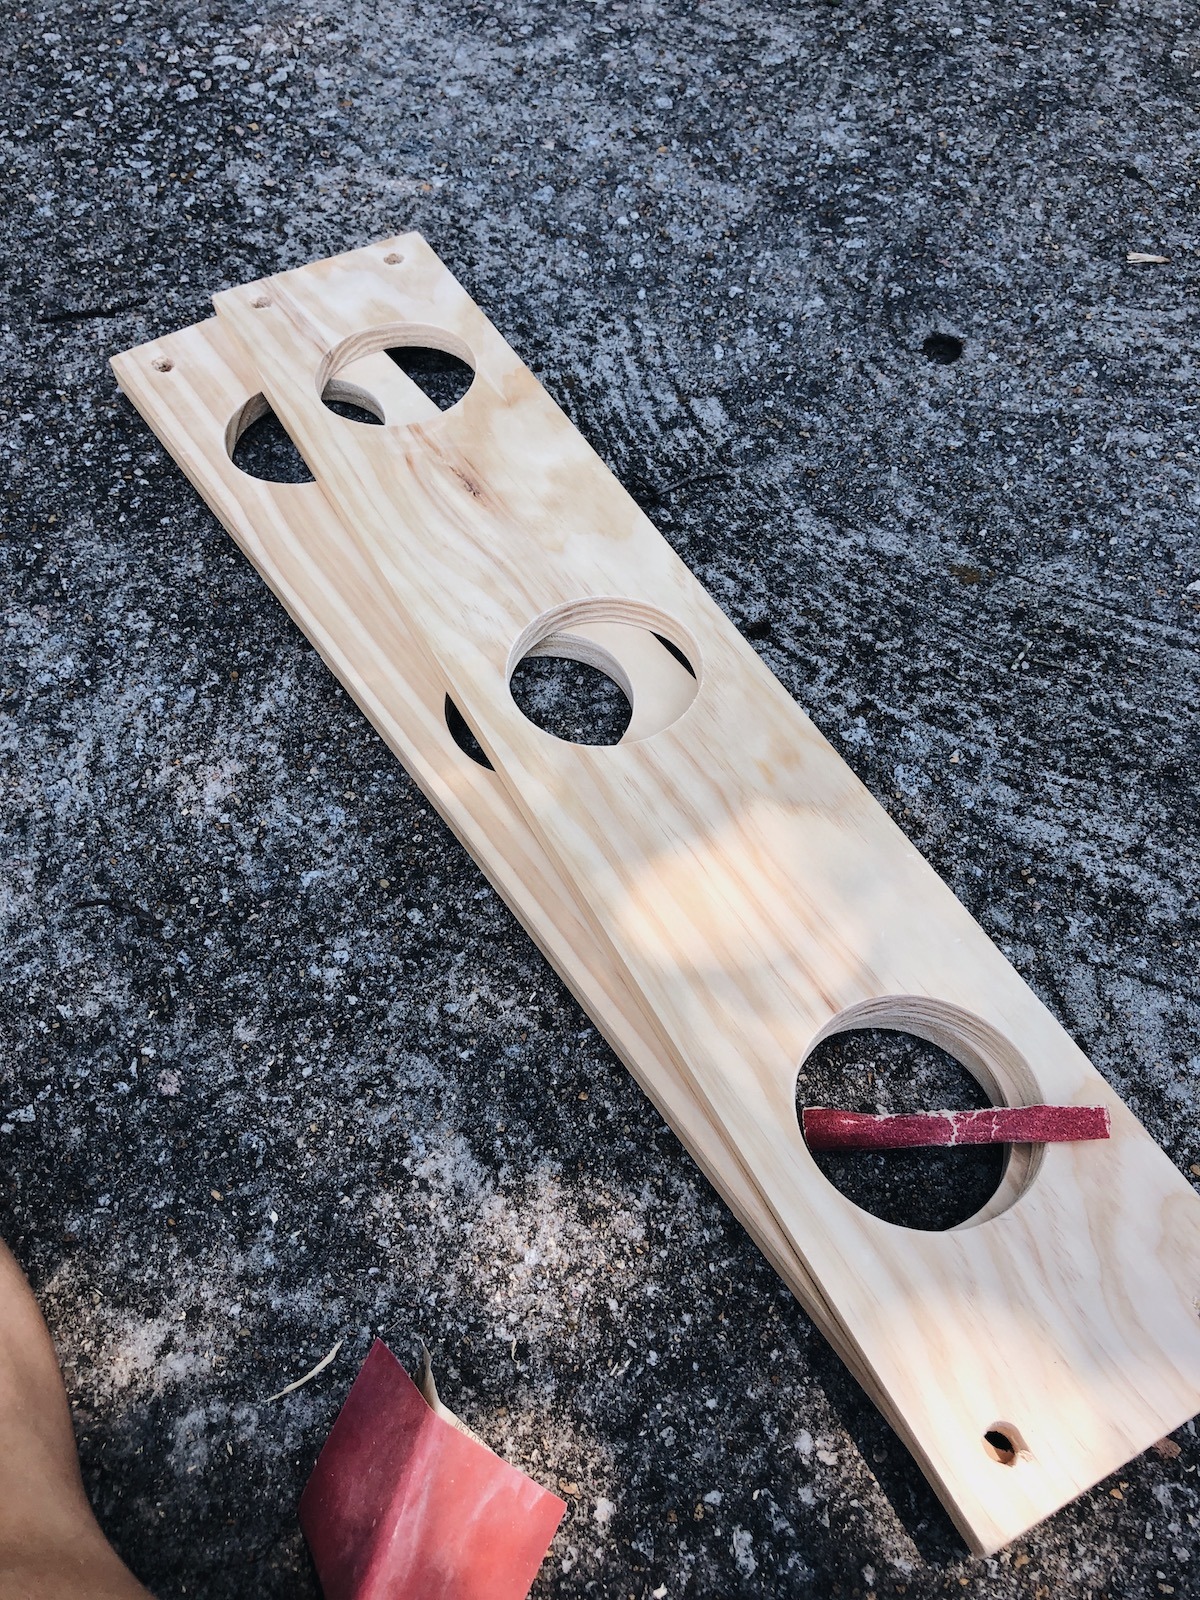
Smooth it out. Using the coarse grit sandpaper, sand the inside of the holes for the terra-cotta pots and the rope. I rolled the sand paper up to fit it in the rope holes and sanded that way. Made my life much easier! **Make sure to sand with the grain of the wood if you’re sanding the surface of the boards!** Go back over everything with smooth grit sandpaper to leave a nice finish.
Stain your heart out. Before staining, wipe down the boards with a damp cloth to remove any dust created from sanding. Allow the wood to dry before applying stain. Follow the instructions for application on the stain of your choosing.
Tie your knots. Hello tedious portion of this project. Starting from the top board, tie knots under each board. Make sure to keep the spacing between each board consistent. It’s okay if it’s not perfect right now, but it’ll save you hassle later if the spacing is consistent. Leave long ends at the bottom of each full shelf to allow for adjustments if needed.
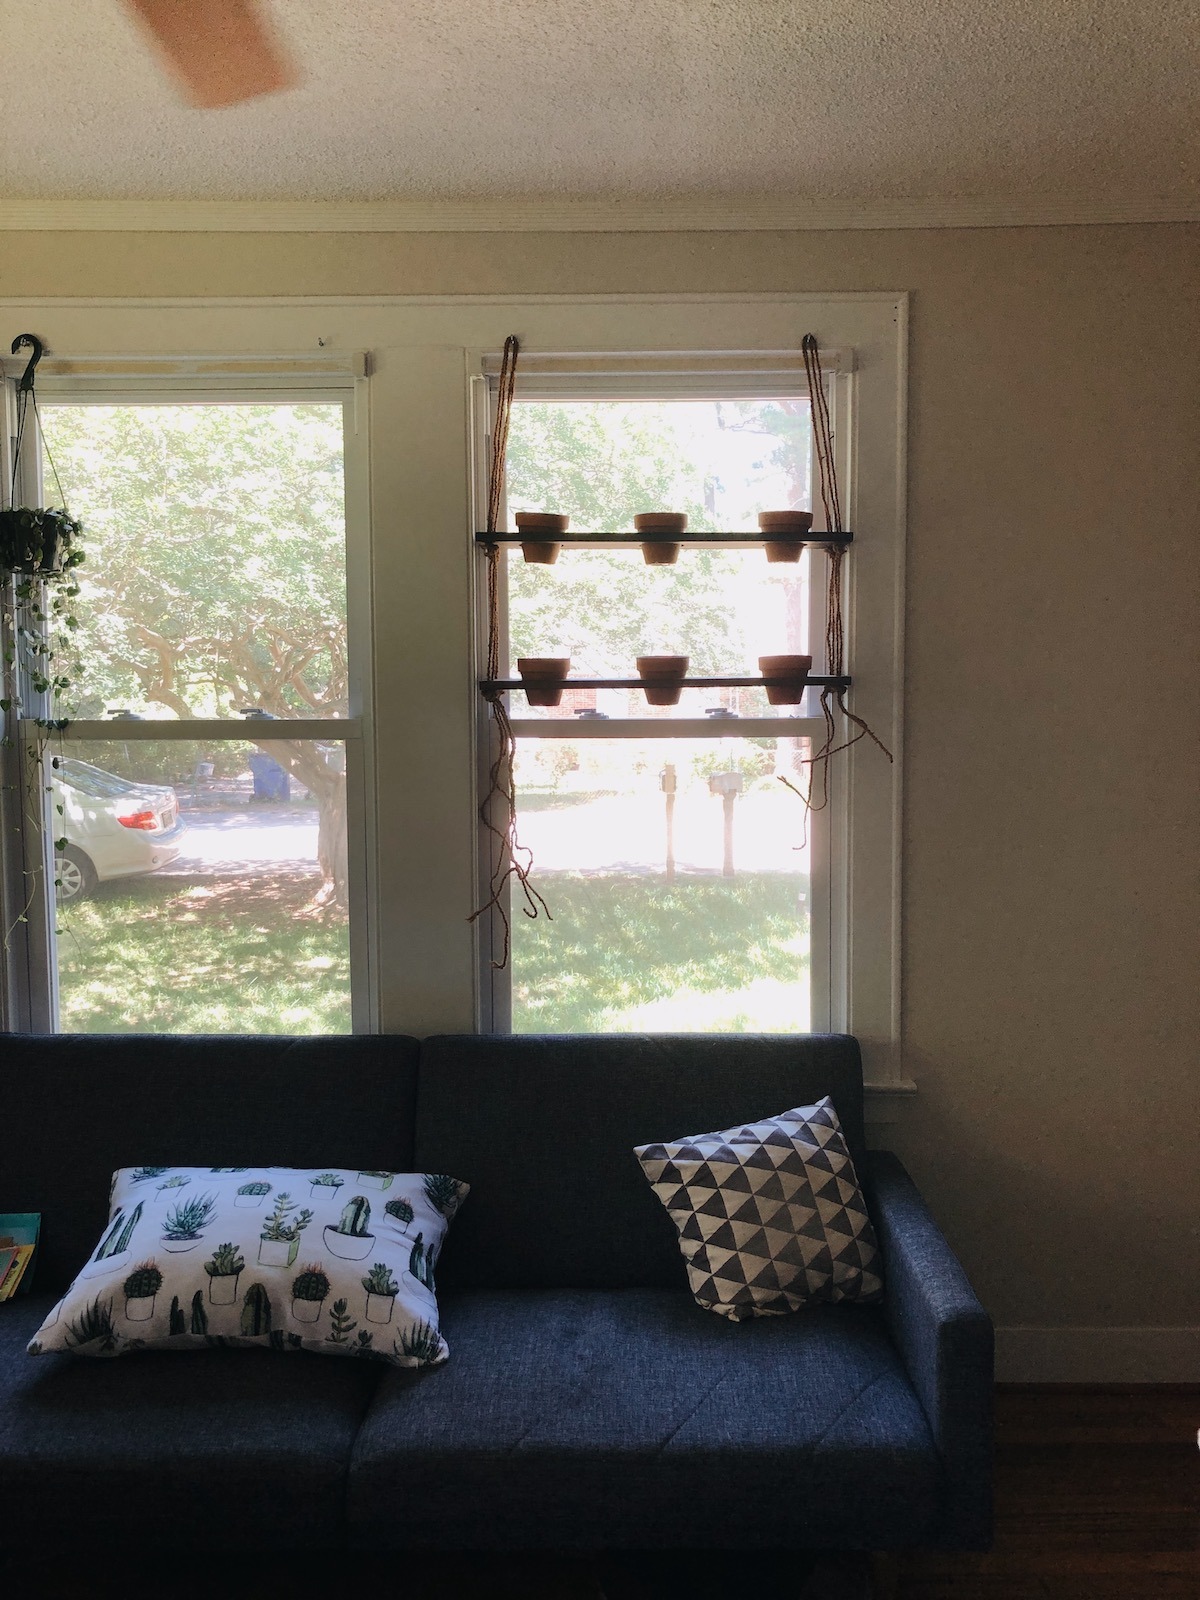
Hang it up. **To hang my shelves, I had to remove the blinds from my windows. This might be necessary for you as well.** Screw your eye hooks above the window. Make sure the eye hooks are in the window frame itself or in the stud above the window. Eye hooks are easier to install if you drill a pilot hole slightly smaller than the eye hook. If you’re not hanging from a stud, look into an anchor bolt for the wall that will hold the weight you need.
Plant away 🙂 This is the fun part. You can fill your new plant shelves with just about anything and everything. These two shelves hold cuttings of some of my vining plants, a few hoyas, and some new goodies from Pistil’s Nursery (not sponsored but highly highly recommend them). I’m making another one of these shelves for our window above our kitchen sink. We’re going to fill that one with herbs!
What Plants Did I Choose??
This is a north-facing window so it gets no direct sun. Usually, I don’t have a lot of plants in north-facing windows just because they don’t tend to get a lot of light. But because these shelves are right up against the glass, I figure that all of the plants should be fine. If some of them end up needing more light, I can move them elsewhere in my house and replace them with less light-demanding plants.
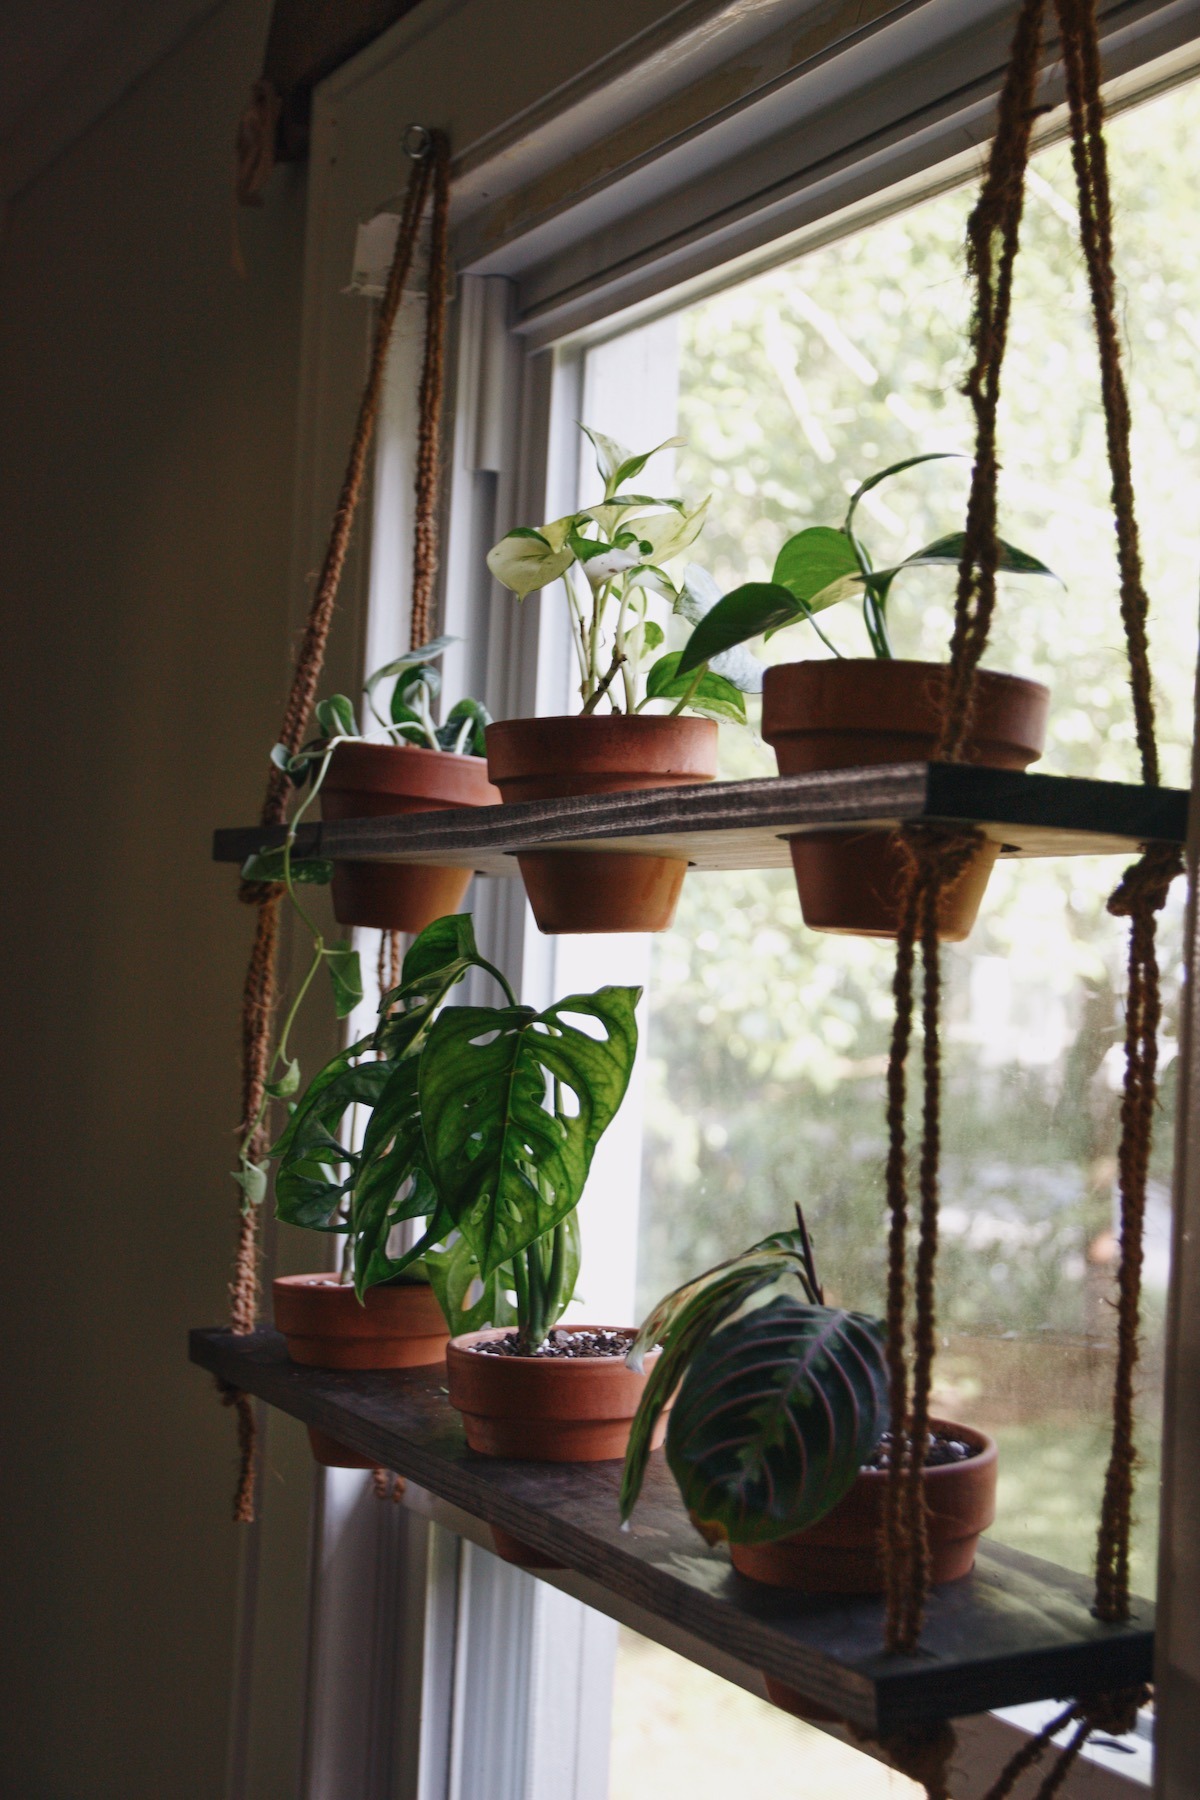
Bottom Row: (left to right): hoya kerrii, monstera adansonii, red maranta
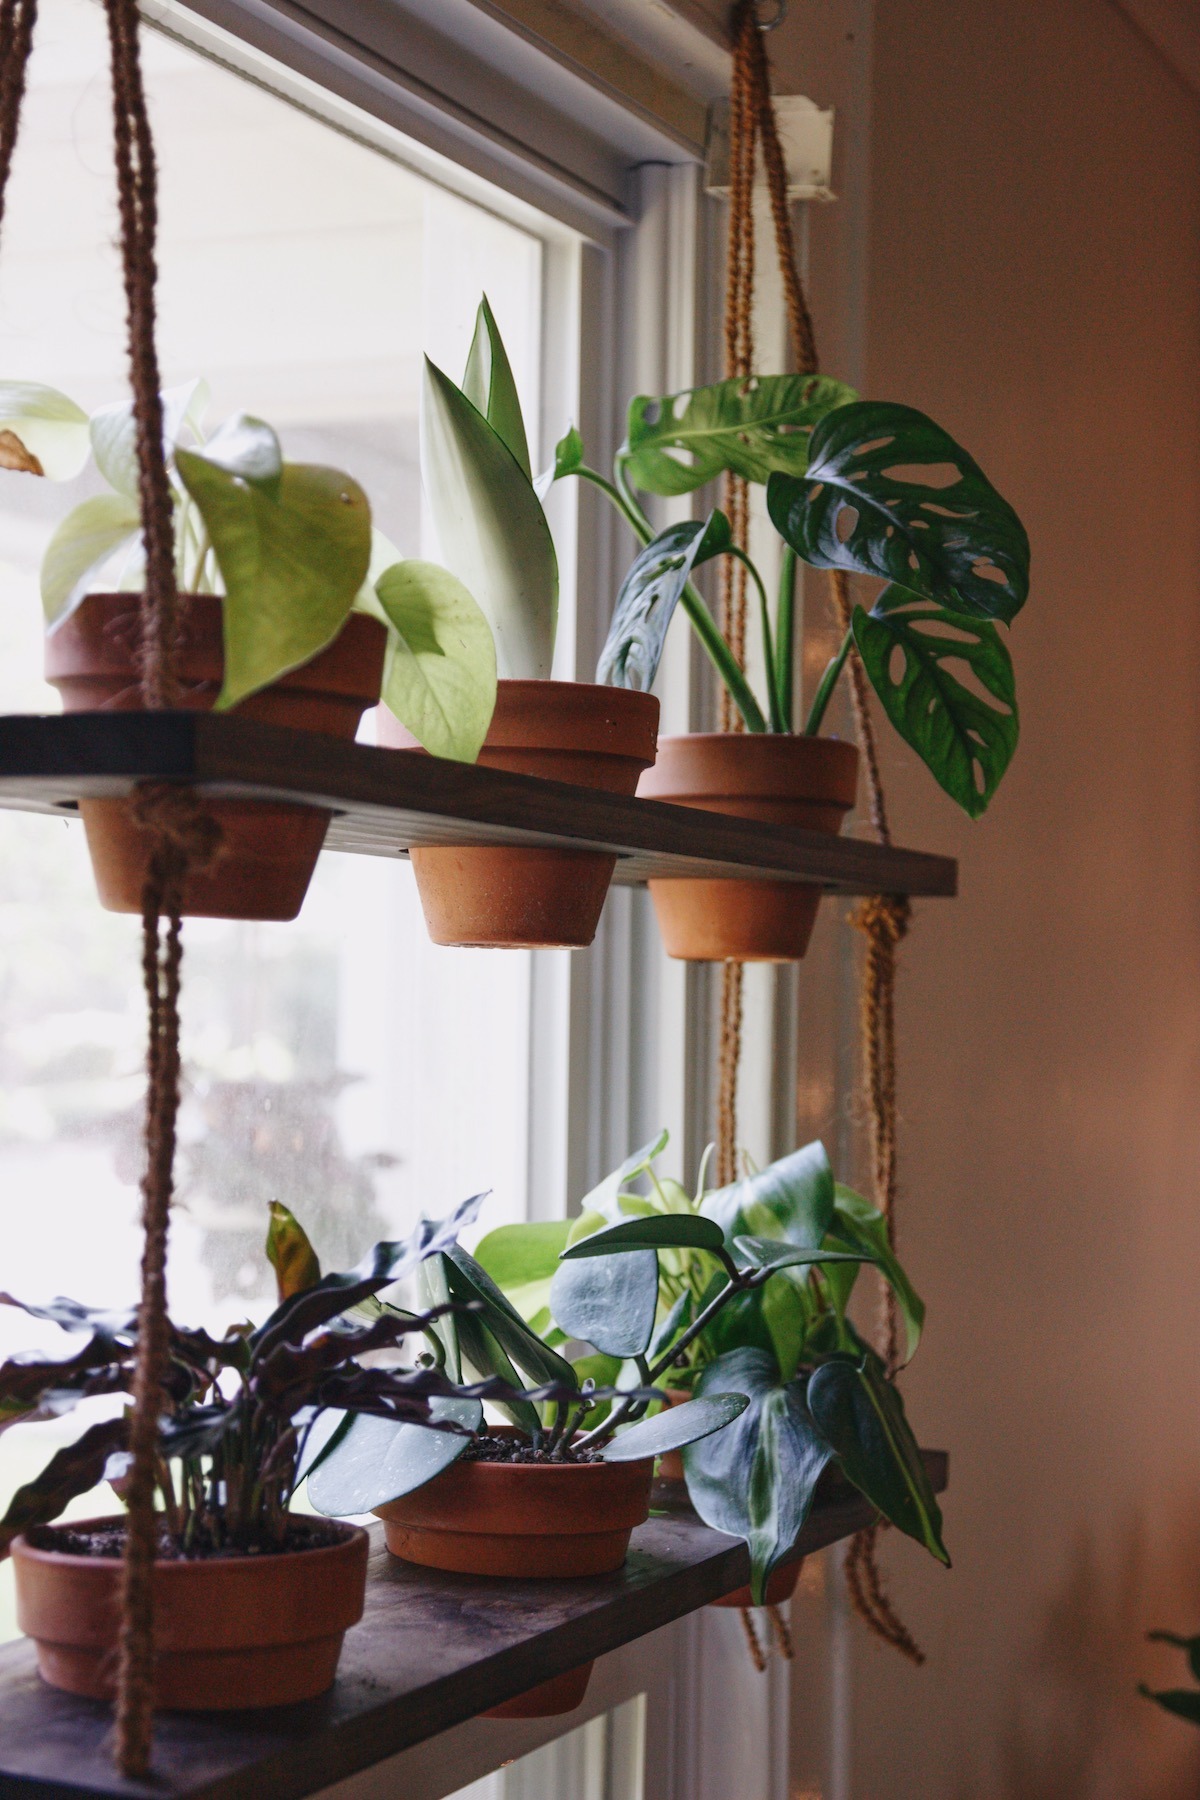
Bottom Row: (left to right): rattlesnake calathea, hoya obovotta, philodendron brazil
I’m stoked to see how the trailing plants fill in over the next few months. I’ll keep y’all updated with the growth progress in a future coffee & chit chat post!
~abigail gray
