DIY Christmas Ornaments
With Christmas less than two weeks away, I thought it was time for some DIY ornaments!! I love DIYs and holiday DIYs are even better. Today I’m going to show you how to make a monogrammed ornament and an adorable gold pine cone ornament. Also, if you check out my vlog channel, you can see all of the behind-the-scenes of me making these! (Plus I’m doing VLOGMAS and you should totally check that out!)
Both of these ornaments use very little supplies! Which is great for anyone running on a budget. Alright, let’s get into it!
PINE CONE ORNAMENTS
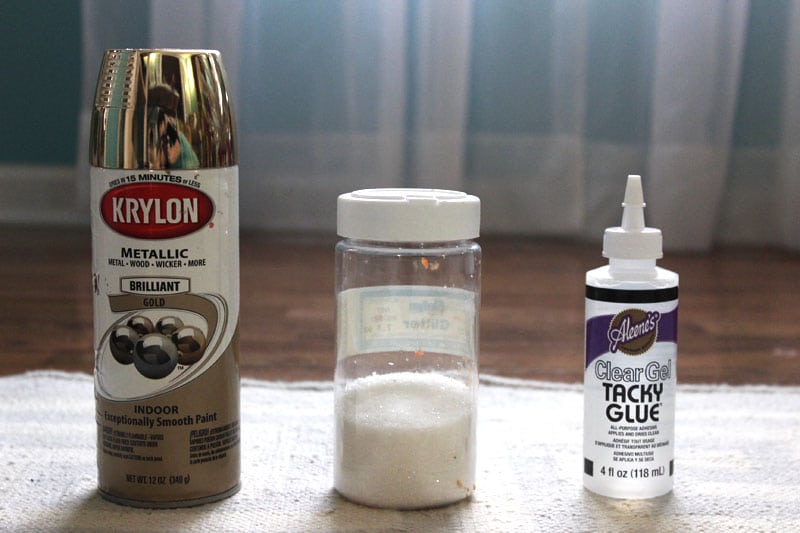
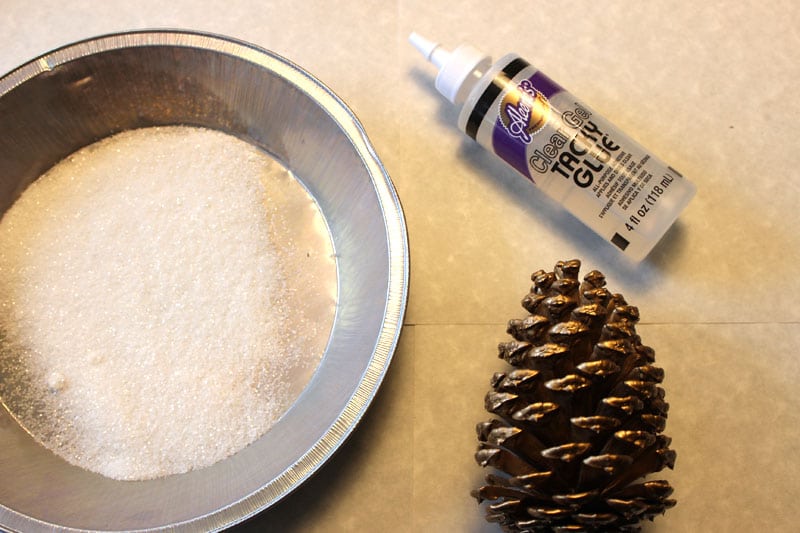
I absolutely love how easy and beautiful these are! All you’re going to need is:
- Spray Paint (I chose gold)
- Glitter
- Glue
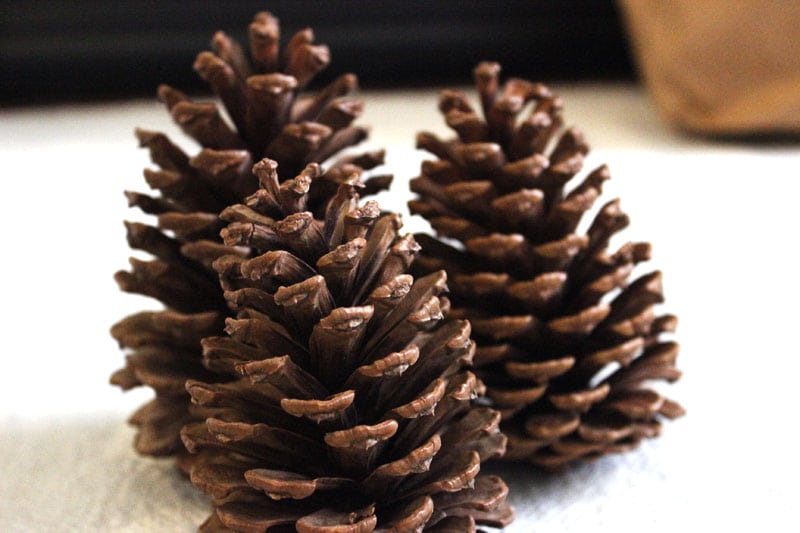
- Pine cones
For this, I decided to use gold spray paint and this white/clear sugar glitter. I really like how they turned out! I think that if you used a gold glitter with gold spray paint, it would really make them pop! The sugar glitter, however, made them look a little more subdued.
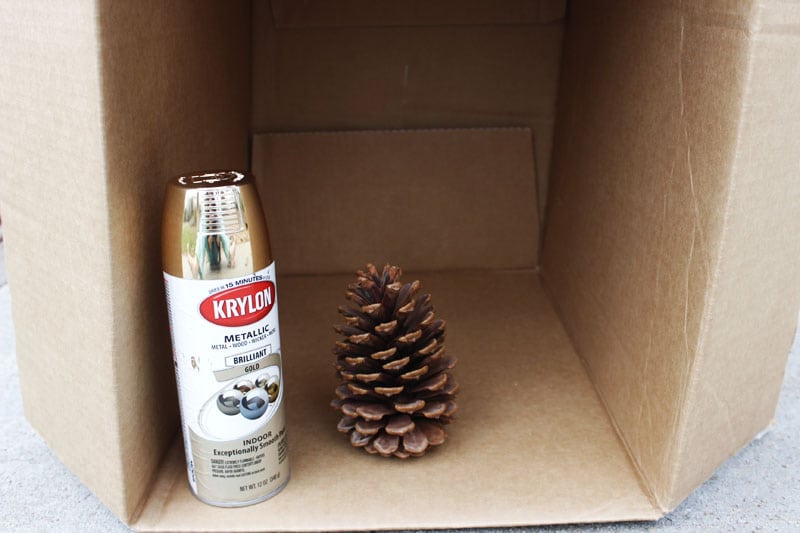
You’re going to want to spray your pine cones with whatever spray paint color you choose. Make sure to do this in a well ventilated area. Spraying them inside a box, like the picture above, really reduces the over spray and mess.
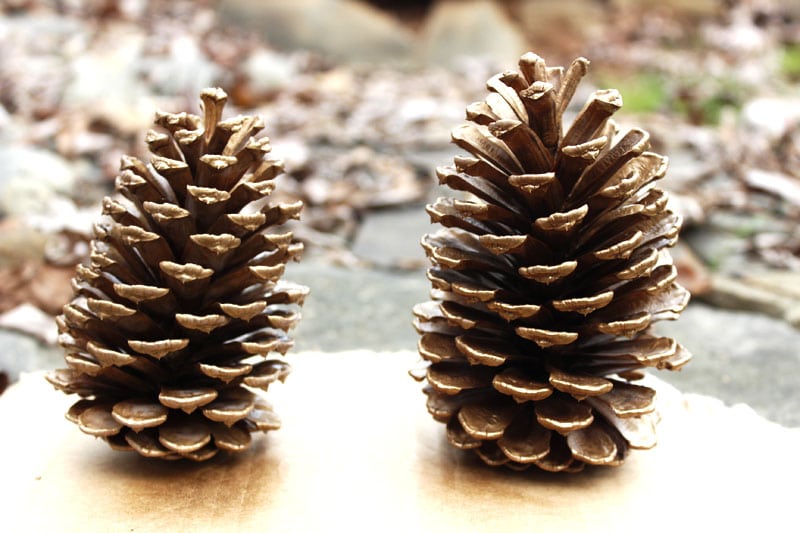
This is what my pine cones looked like after one coat. I highly recommend doing two or more coats just to make sure you cover the entire pine cone. I will say that I did like the more rustic look that one coat of the gold gave the pine cones. Because the gold I used was more antique-y, it really blended well with the natural color of the pine cones.
To coat the pine cone in glitter, you’re going to want to put glue on the ends of each branch of the pine cone. I have no idea what those are called, but for now I’m just going to call them branches haha. Once you cover the ends of all of them, roll them in the glitter. This works best when you have the glitter in some form of bowl or container.
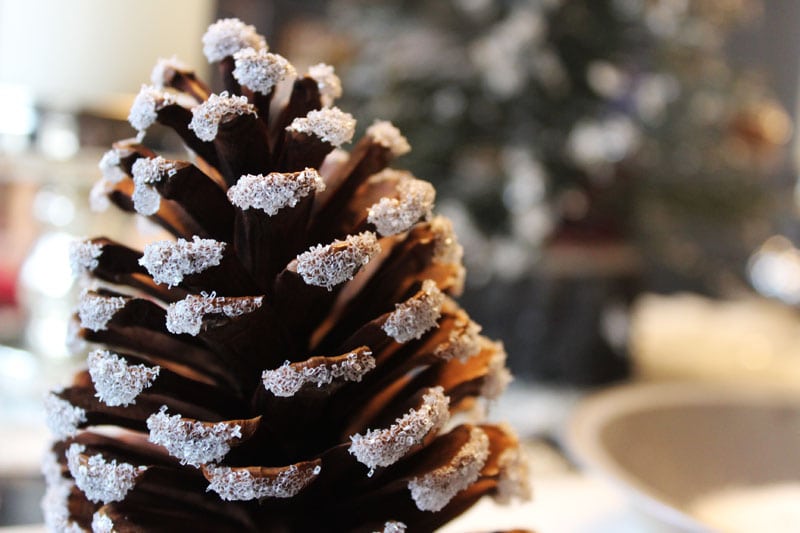
And this is the finished product!! I absolutely LOVE THEM. You could tie a string to them and hang them from a tree, thus making them a true ornament, but I ended up liking the way they looked all by themselves! You can’t really tell from the pictures that the picture below is with the gold pine cones, but in person, it’s really pretty!
MONOGRAMMED ORNAMENTS
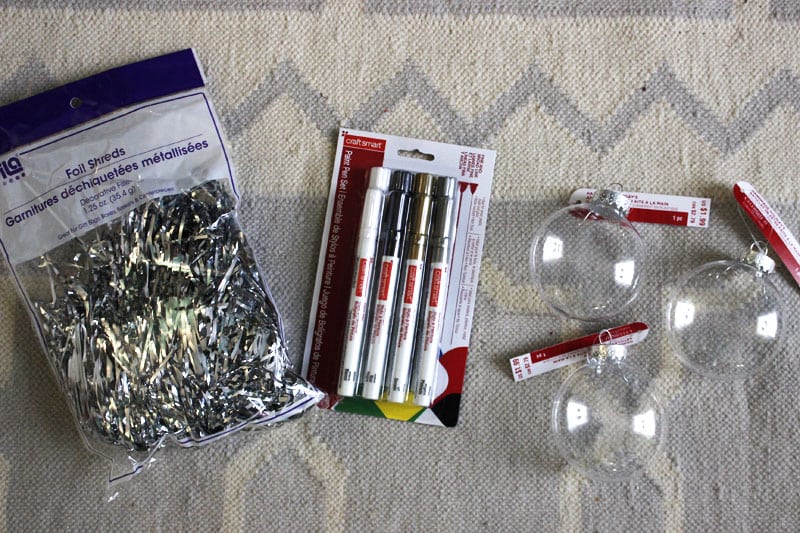
These, too, are really simple to make. All you’re going to need is:
- Clear plastic ornaments
- Paint pens
- Foil shreds
I got my plastic ornaments from Michael’s for about $0.60 each (they were 70% off). You can use the regular round ornaments, or you can use the flat round ones like I did. I also got the paint pens from Michael’s. The pack above was regularly $10, but with my 50% off coupon, I got them for $5! I found the foil shreds at Dollar Tree!
You’re going to want to use your paint pens to draw on any shape or letter you want. I thought that this was going to be a lot harder than it was. If you practice the letter on a sheet of paper, and then draw it on the ornament, it’ll be a lot easier. Go slow, take your time, and your ornament will turn out great!
This is what the ornament looks like without the silver foil filling. You can choose to leave them this way or add the foil like the pictures below.
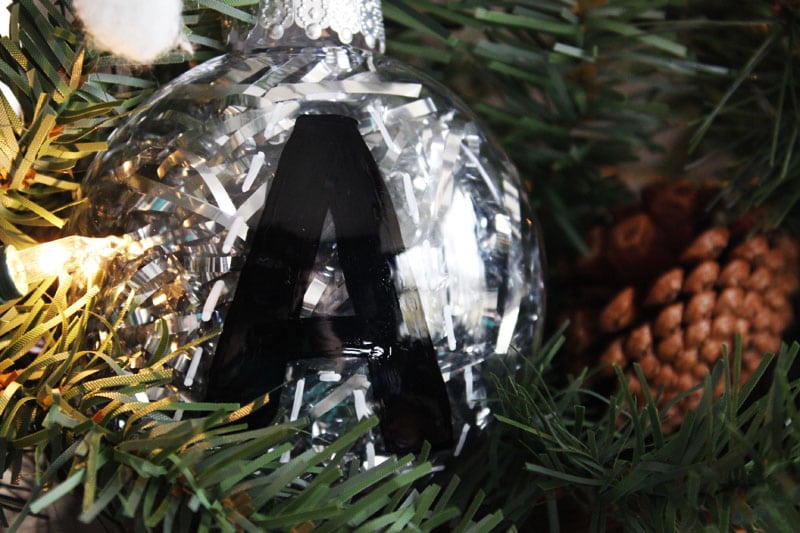
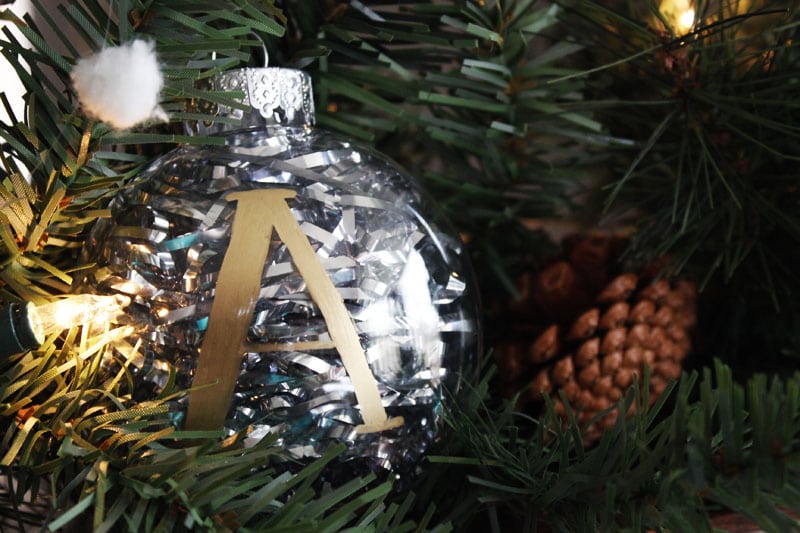
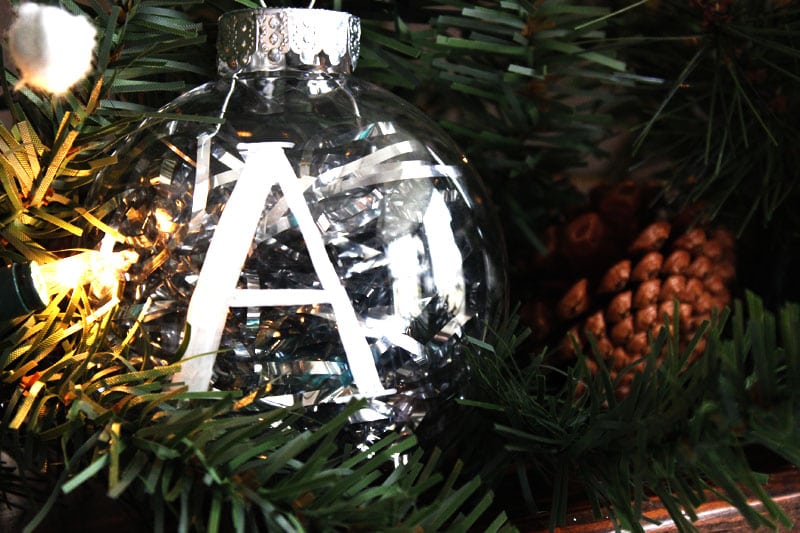
Personally, I’m obsessed with both of these DIYs, but the monogrammed ones really turned out great! If you try any of these, make sure to share pictures with me on Twitter! I’d love to see what you make!
What’s you’re favorite holiday DIY?
Happy Holidays!
-Abigail T.

