Beginner Blogger: Photography
Hello fellow bloggers or soon-to-be bloggers or someone who stumbled upon this post! Welcome to my Beginner Blogger series! The purpose of this series is to provide you with information that I wish I had had when I first started blogging. In this post I’m going to be talking about photography. If you want to see more, be sure to check out the Beginner Blogger page! It outlines all the topics I cover and when to expect to see them on the blog!
Photography is key to blogging. Chances are people aren’t going to read all of the words you write. They’re going to scroll through your post looking at all of the pretty pictures, and if one catches their eye, they may read the paragraphs surrounding it. But don’t freak out about not having the right camera or the right equipment.
You don’t need to go out and spend thousands on a new camera, lighting, and photo editing software. You don’t need a DSLR. You don’t need studio lights. You don’t need Photoshop.
All you need is a point-and-shoot or your phone, a nice bright window and maybe a sheet of white poster board, and a free photo editing software.
LIGHTING
Want quality pictures? Focus on lighting. Lighting can turn an o.k. picture into an amazing picture! It’s the difference between a store-bought chocolate chip cookie and grandma’s homemade chocolate chip cookies fresh from the oven. I’m sure you’ve read or heard from other bloggers that natural light is the way to go, and that, my friend, is the truth.
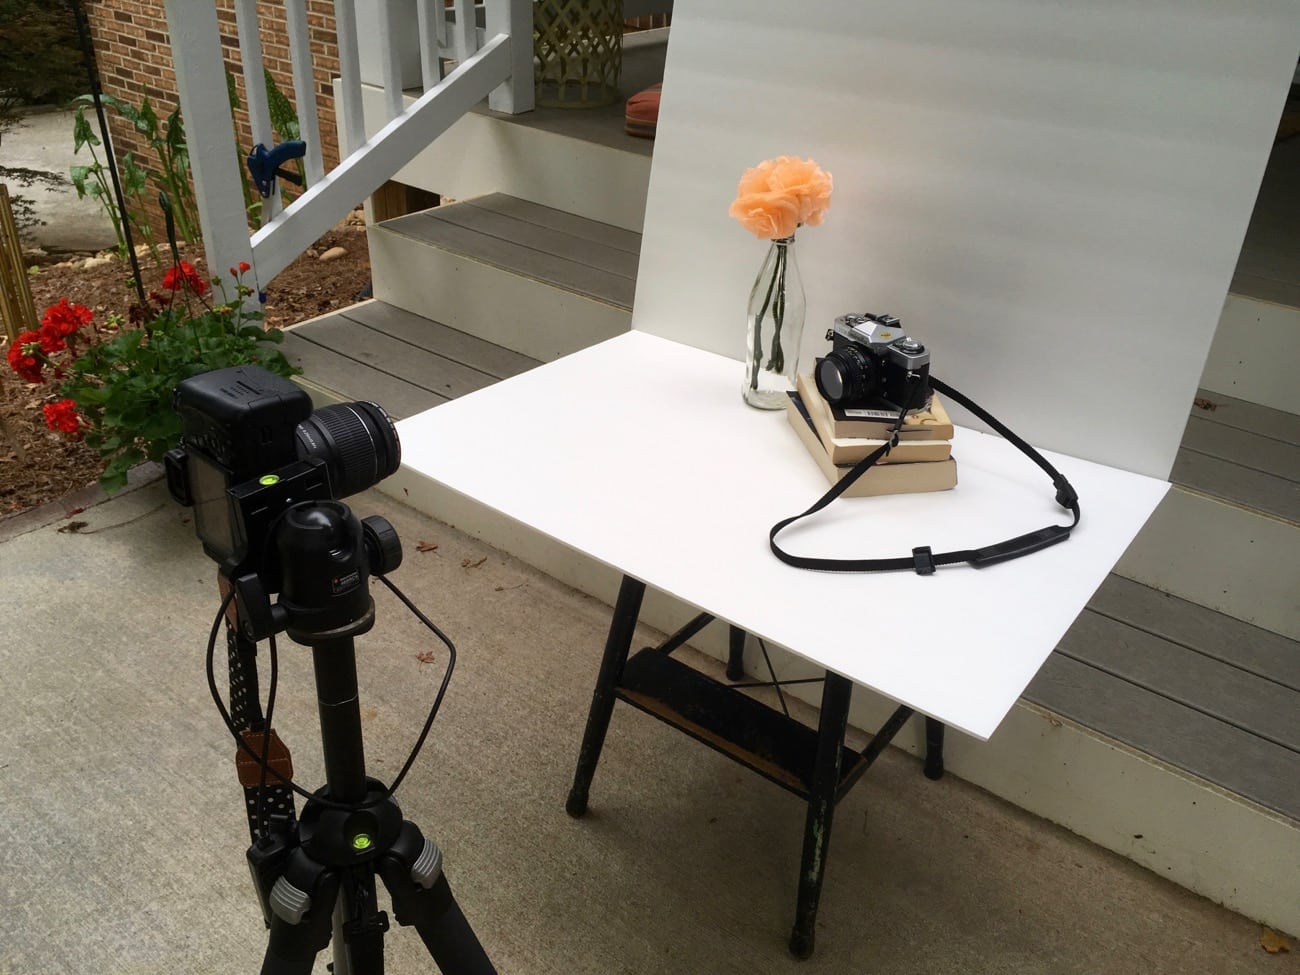
A lot of us bloggers don’t show our photography setups because they’re quite strange. We’ll be scrunched up next to a window with the camera placed perfectly and trying to hold pieces of white poster board to reflect light onto whatever we’re trying to photography.
Think I’m kidding?
Haha I’m not. Sometimes we even recruit family members to hold a prop or poster board in just the right position.
I know for me, my house faces due north meaning there’s no quality natural light inside. But never fear! There are solutions! I know that between 11 am and 12 pm the lighting is perfect in one specific room, then it shifts to another.
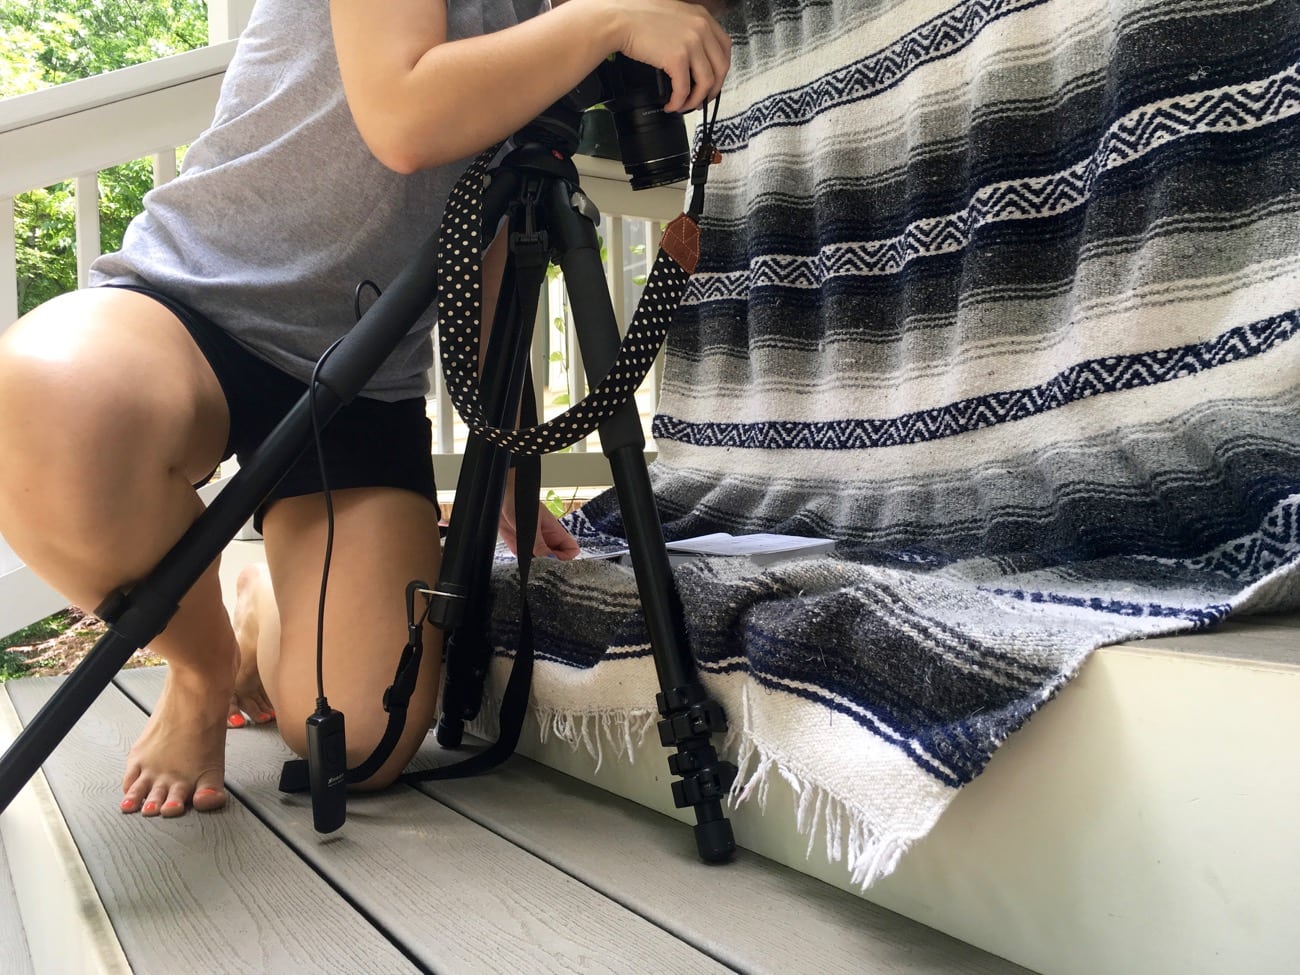
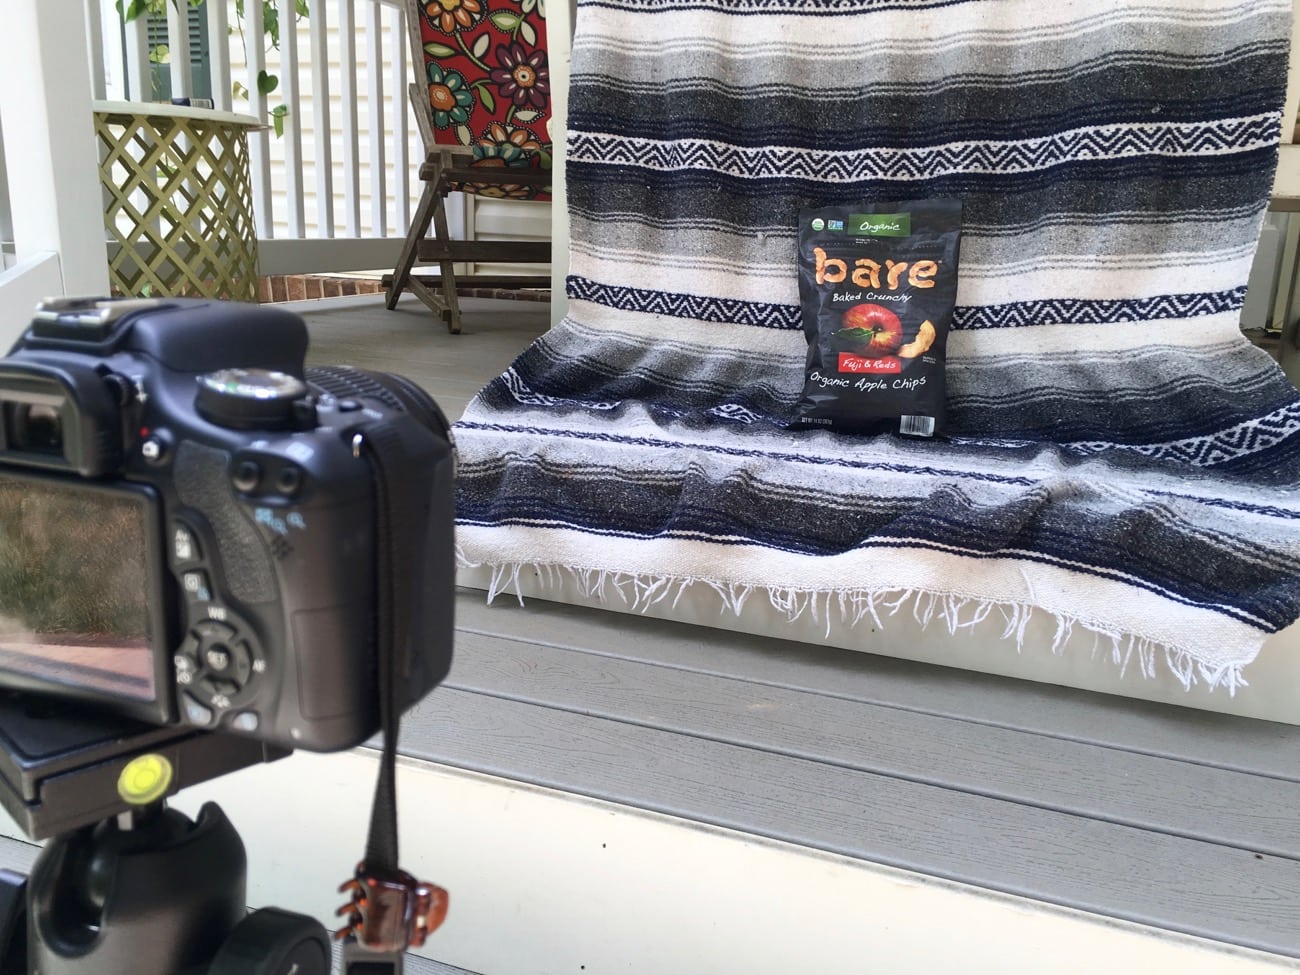
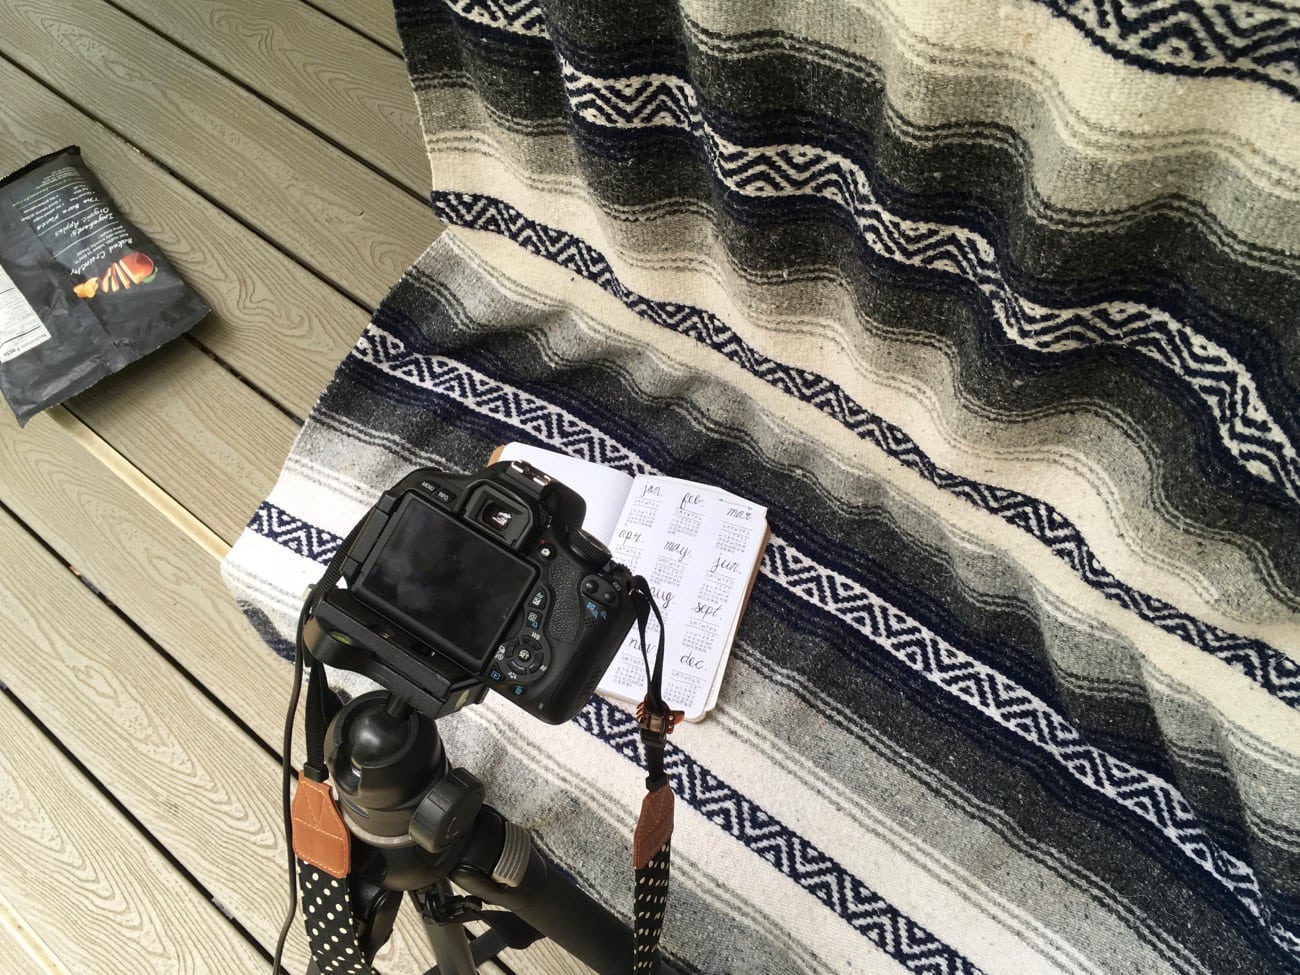
So basically whenever I’m trying to take blog pics, I follow the sun around my house. If that’s not an option for you, there’s always the great outdoors. My front porch is in the shade by 1 pm, creating the perfect place to set up a tripod, a pretty blanket, and take some flat lays! You gotta do what you gotta do to get those shots. And that may mean making a fool out of yourself in your front yard, but hey. Your blog pictures will be killer.
Just don’t shoot in direct sunlight. Those harsh shadows aren’t blog friendly!
Finding the right lighting takes a lot of experimentation. Even if you don’t have blog pictures you need to take, set up a mock blog post so to speak. Walk around your house and your yard taking pictures and see where the lighting is best.
If you really can’t find any quality natural light, you can always opt for purchasing studio lights. Or you can make your own soft box out of some white tissue paper, a cardboard box, and two/three desk lamps.
EQUIPMENT
Here’s where a lot of beginners think they need all the latest and greatest. Truth is, you don’t. This is where those Pinterest articles start to bother me. A blogger will say “oh you don’t need a DSLR or Photoshop” and then write the rest of the post about their nice, fancy Canon DSLR.
camera
The fact is is that a majority of phone camera nowadays are equivalent in quality to your entry-level point-and-shoot.
I had another blog before this one, and I solely used my old Canon ELPH 310 point-and-shoot from like 2010 for photography. With the right lighting, those pictures can look just as good as the pictures on my blog today! You just have to be familiar with your camera and utilize it to the best of your ability.
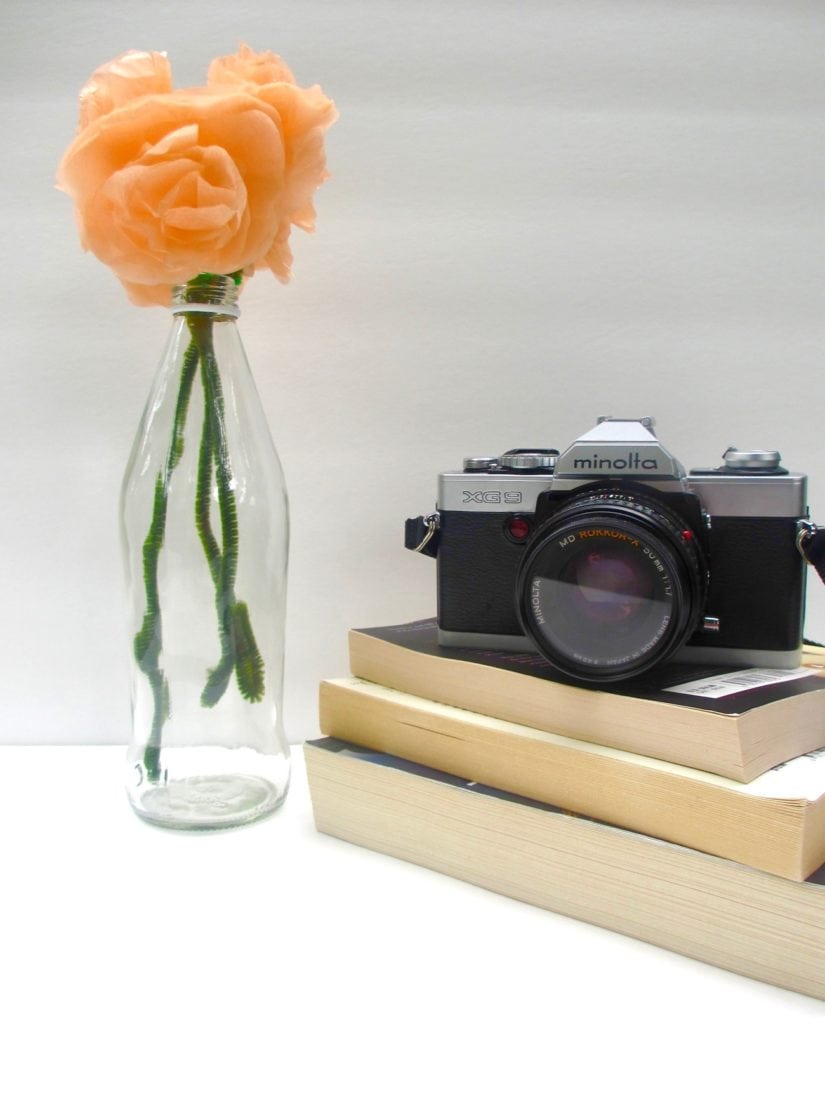
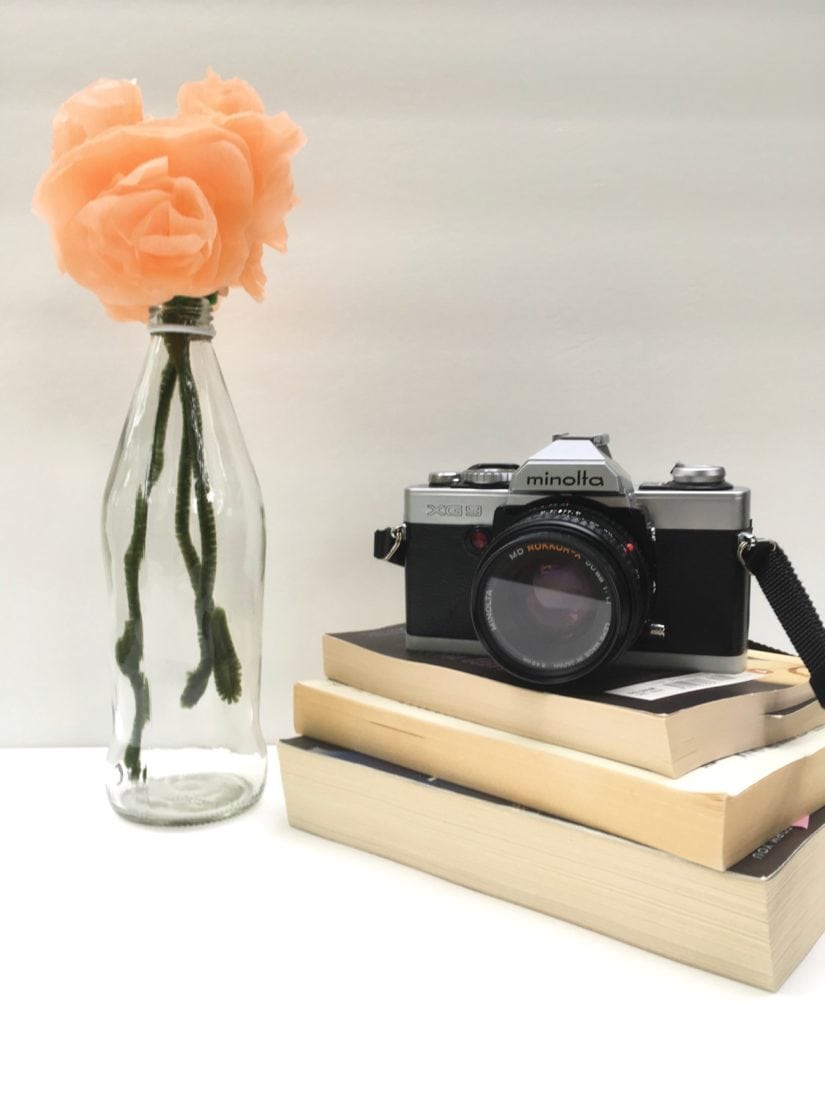
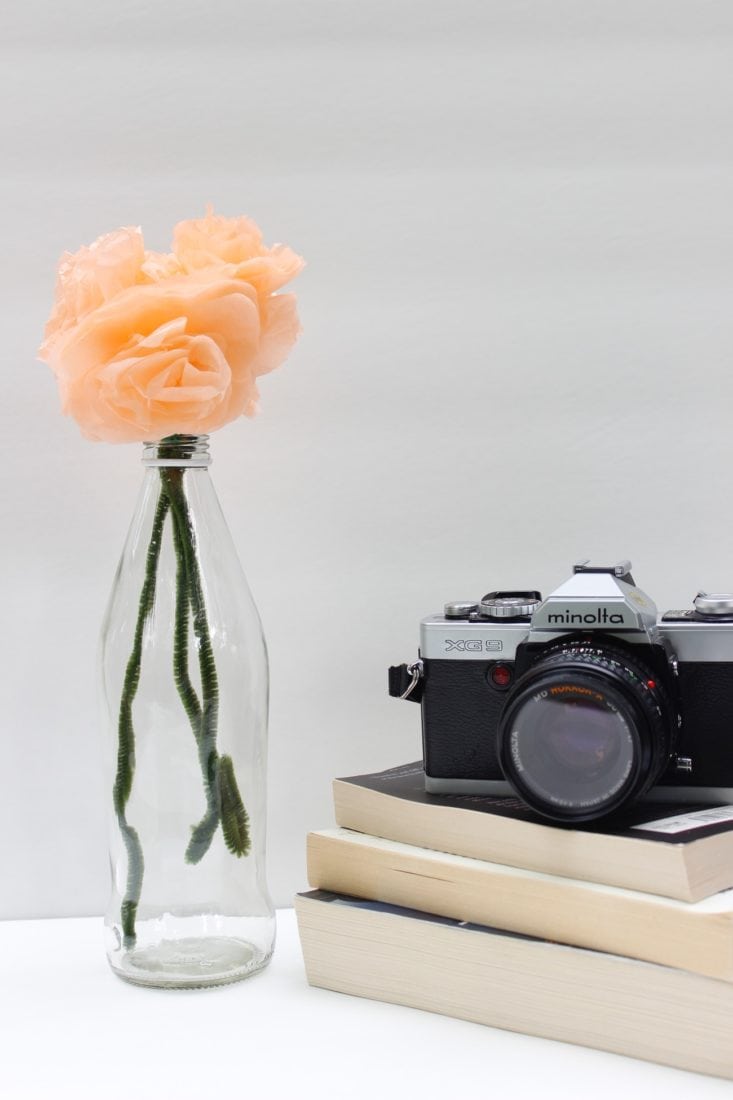
Look at the pictures above. There’s really not a big difference between the three! If I didn’t have the captions below, it’d really be hard to tell which picture was taken by which camera.
This proves my point. If you have any kind of camera, it’s all about knowing how to work with it. There’s no “I don’t have a good enough camera to blog” excuse because any camera will work!
photo editing software
This is another big one where you don’t need to shell out a ton of money. I use Photoshop here and there just because I have it. I did not go out and purchase it for my blog. I mainly use Apple’s editing mode in Photos to edit the pictures. Then I go into preview and add text on top. It’s very simple and free! If you want to see a whole post on how I edit photos, make sure to let me know because I will 100% do it.
A lot of bloggers use GIMP because it’s free and it’s almost identical to Photoshop. I highly suggest downloading it (I mean it’s free. What can you lose?) and trying it out. There’s a lot you can do with free software, so make sure to check it out before you go and spend money on the higher end stuff!
SAVING YOUR WORK
I feel like no blogger ever explains the importance of file size when you save your work. I started out saving mine at 800px wide. Well, let me tell you, that was a huge mistake. When I switched to self hosted, I changed the width of my content, and 800px is way too small. I’d recommend saving your work at at least 1000px wide. Better to save a little to big than a too small. There’s nothing worse than a pixelated image.
tripod & remote shutter button
Even if you aren’t using some big fancy DSLR, I highly highly highly recommend getting a tripod. There’s nothing worse than having to hold the camera in just the right way while trying to balance a tube of mascara on some vase or something.
A tripod will save you in so many situations. It allows your hands to be completely free! Tripods are available for phones, point-and-shoots, DSLRS, and so many more cameras that there’s an option out there for you!
If you are a beginner and you’re lucky enough to get your hands on a DSLR, along with having a tripod, a remote shutter is a must. At least for me it is. Sometimes the lighting isn’t that great, and I’d really like to use a longer shutter, but then I risk having a blurry image. A remote shutter in combination with a tripod will result in crisp images at slow shutter speeds!
BACKDROPS & BACKGROUNDS
This is the fun one! There are so many different background and backdrop ideas to choose from that the possibilities are endless. I love having crisp white backgrounds at times, and that’s where a piece of white poster board comes in. I’m pretty sure bloggers hoard white poster board because we all want that white background. In addition to white poster board, some other options are:
- fabric scraps
- blankets
- rugs
- a comforter
- hard wood floors
- grass, leaves, and rocks
- bricks
- wrapping paper/tissue paper
I have some go-to spots around my yard that I love using for photographs. Flat lays look amazing when the background has some sort of texture, and the great outdoors are perfect for that! Believe it or not, my Nail Polish for Spring pictures were taken on a blanket as well as my Makeup for Work pictures. My Bullet Journal pictures were taken on the steps of my front porch, and my Summer Haul pictures were taken on a rug.
Some bloggers even have a collection of photo props that they use. I have yet to dive into the whole props in photos side of photography yet, but it’s also a great idea! The Target Dollar Spot usually has really good blog props for fairly inexpensive. So the next time you’re at Target, which for bloggers is at least once a week, check out the Dollar Spot and see if there’s anything that you could use in your photos! I also just stopped by the Dollar Tree to get those white foam boards, and I found so many blog props there!
PRACTICE MAKES PERFECT
 |
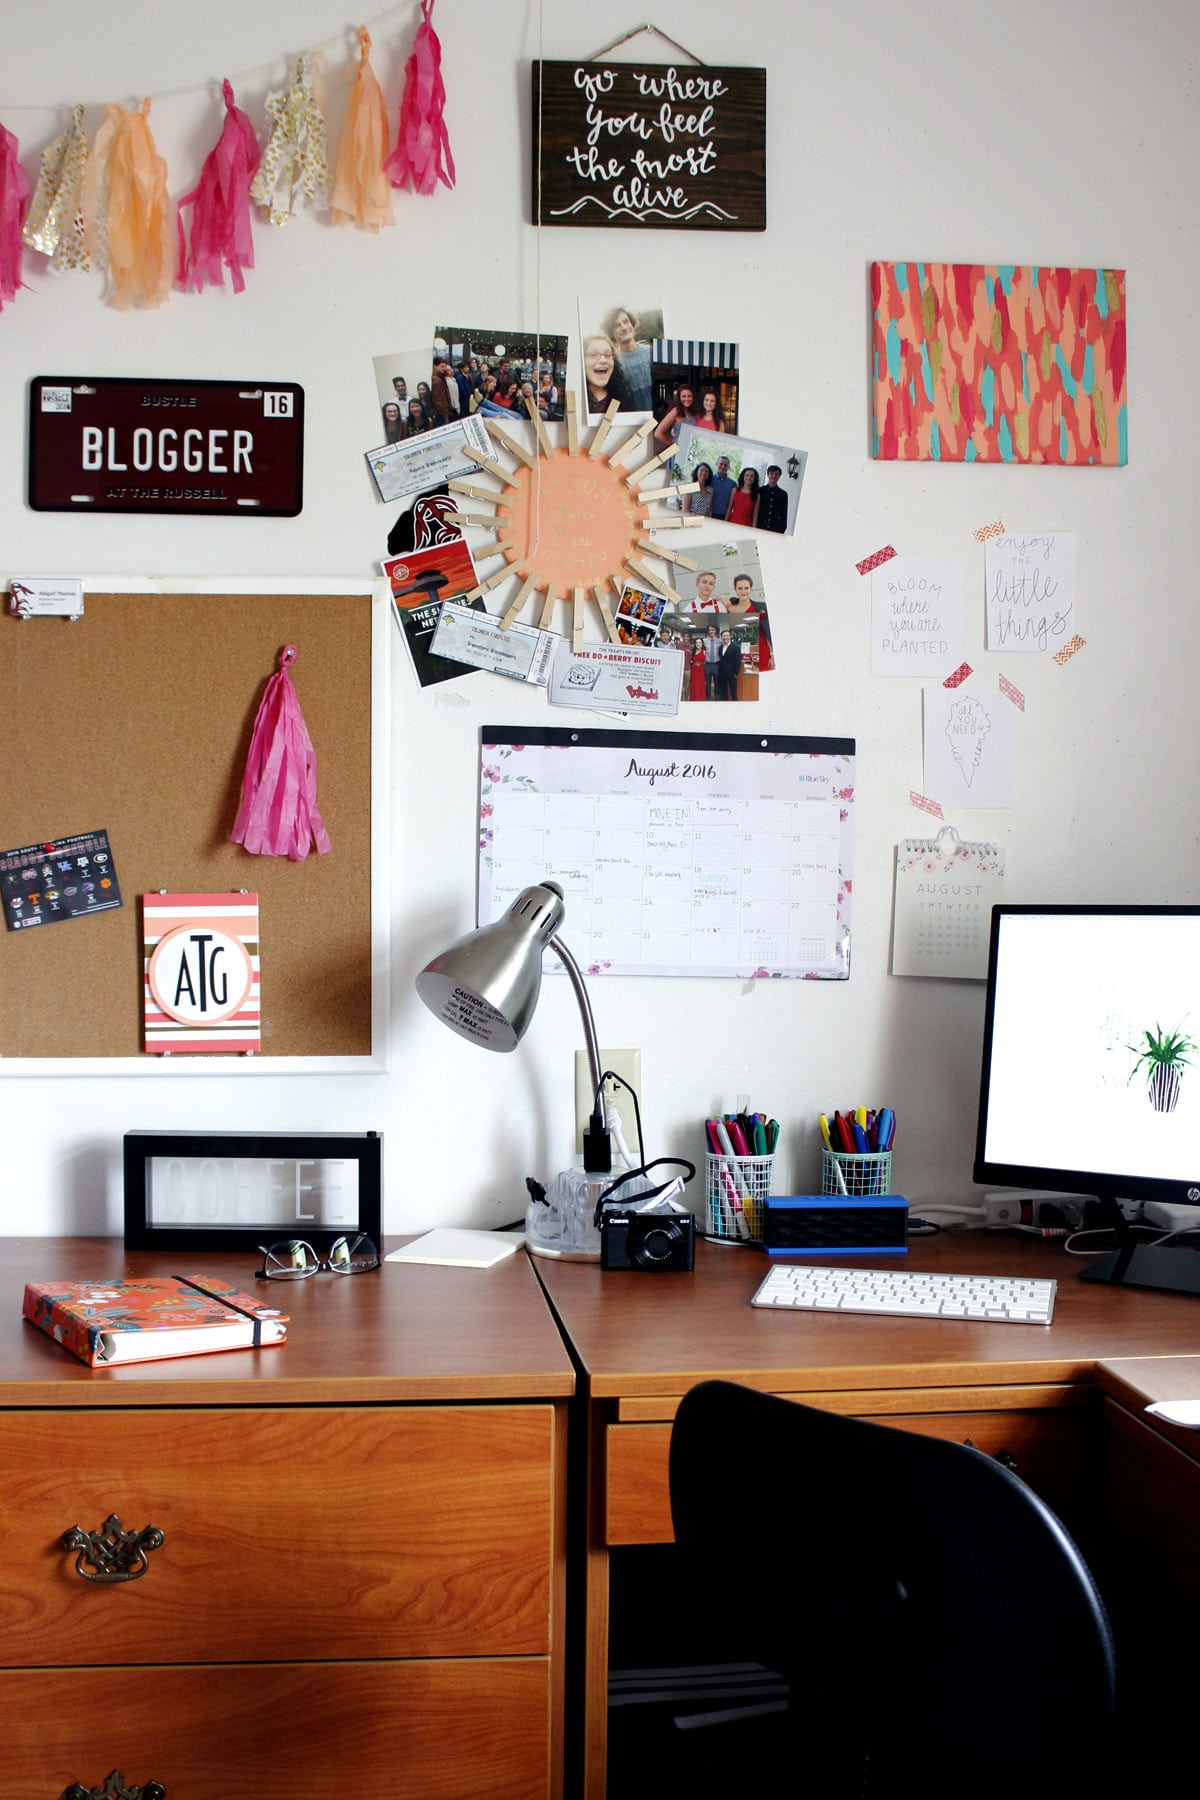 |
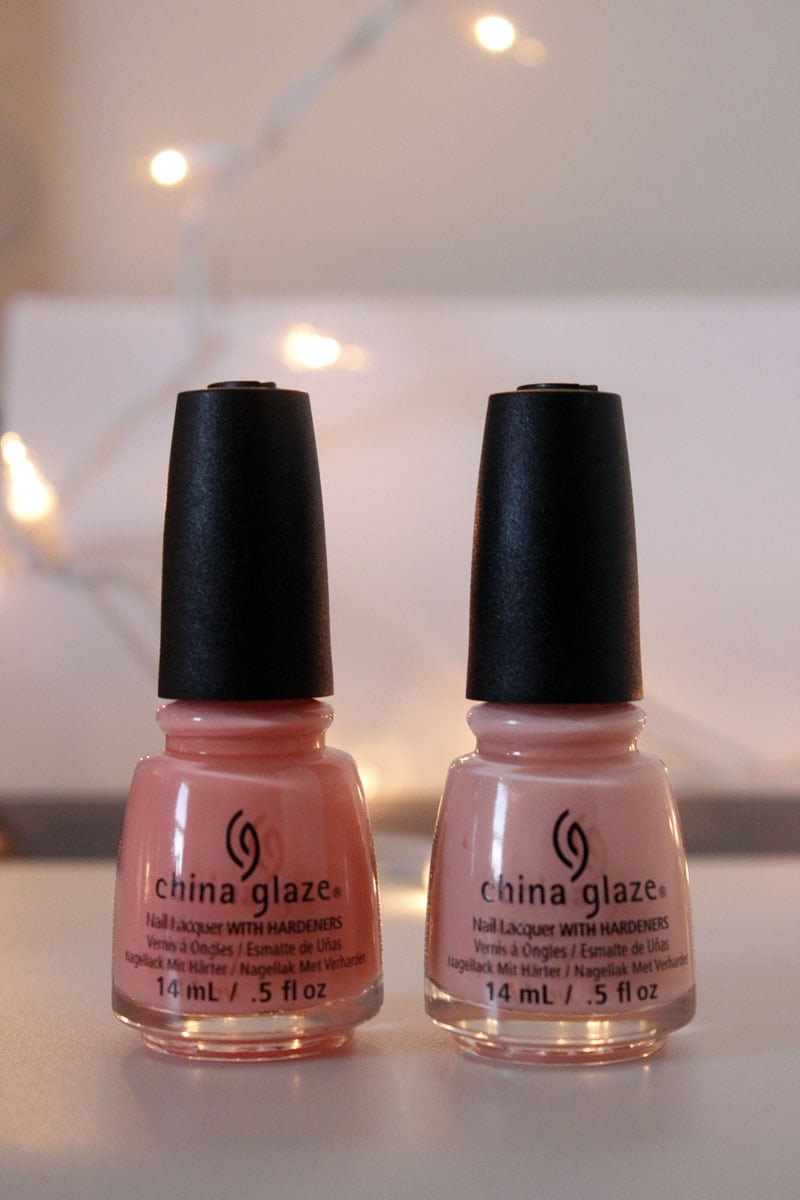
Just look at the two pictures above. The first one was from one of 2015’s favorites posts. It’s dark, the lighting is uneven, and it’s overall unappealing. The picture on the right is from my Creating a Gallery Wall post from the fall of 2016. The lighting is strong, the picture is staged, and it’s a good quality picture. It’s taken me a year to come this far. I’ve still got a lot of improving to do, but I’m miles from where I started!
There’s that whole saying of “it’s not the camera, it’s the photographer behind the camera” or something like that, and it really is true. I don’t know if you’ve seen or follow DigitalRev TV on YouTube, but their Pro Photographer, Cheap Camera series really showcases how even a crappy, cheap camera can produce surprisingly decent shots!
Trust me, we’ve all been beginners at some point, and if you ask any blogger “has your photography improved since you first started blogging,” their answer 99% of the time will be yes.
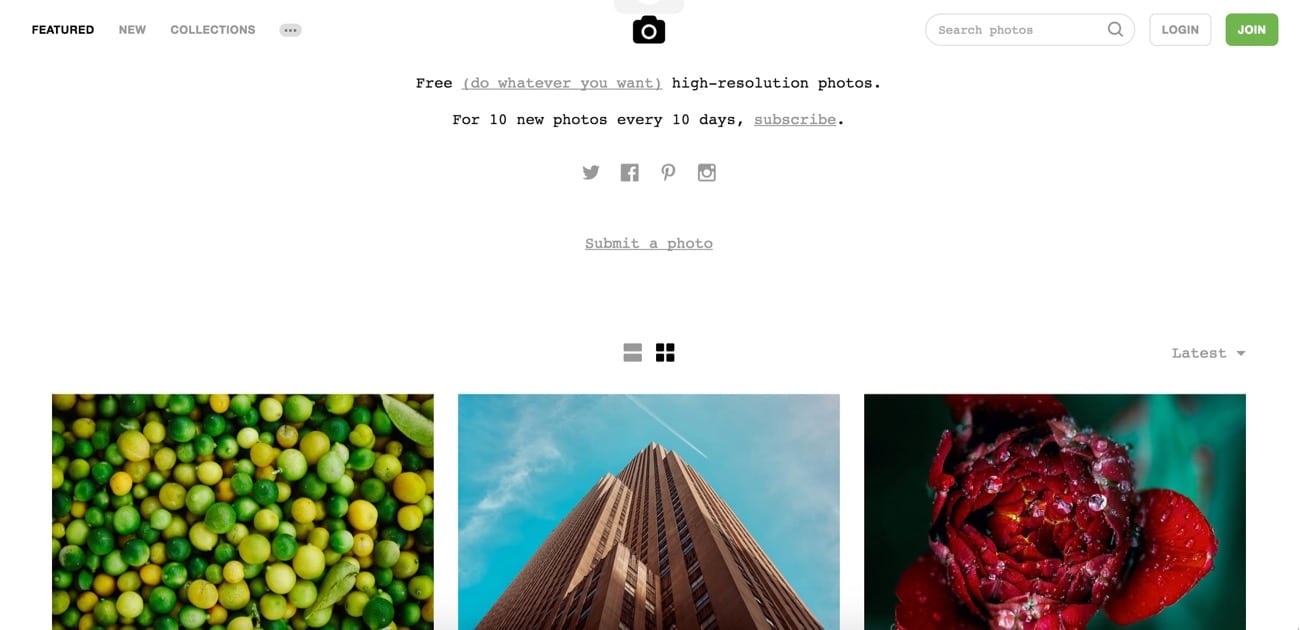
Even as put together as our lives seem (which totally isn’t the case because most of the time we’re blogging in our PJs), bloggers will be in a rush for time and won’t be able to take a picture for their post. When that happens to me, I use unsplash.com for free pictures. Check ’em out and bookmark the page because you’ll definitely want to.
The more you post, the better you’ll get! Take your camera and just start taking pictures of random things. The more familiar you become with your camera, the more confident you’ll be when taking shots. You’ve got this!
A re you a beginner blogger? Do you have any more questions? I really hoped you enjoyed this look at photography for blogging! Again, if you have any more questions, feel free to leave a comment below or e-mail me at hello@livingthegraylife.com!
~abigail gray
Here are some photography posts that I absolutely love:
Backdrop Ideas for Blog Photography // A GIRL, OBSESSED
Photography Tips for Bloggers // THIRTEEN THOUGHTS
Beginner’s Guide to Using a DSLR for Blog Photography // MELYSSA GRIFFIN
How to Take Bright Photos for Your Blog // THIRTEEN THOUGHTS
Want to get weekly updates sent to your inbox with sneak peeks at what’s up and coming on the blog? Sign up for my newsletter!

