Make Your Own Paper Wreath for the Holidays
Happy Holidays! So sorry that I’ve been MIA for this past week, but finals are killing me and my motivation to do anything. As of today at 2 pm, I will be done with this semester, and honestly, I’m thrilled. But, for some reason, instead of all the studying I should have been doing, I’ve spent some of my time crafting away. If you saw my Vlogmas day 1 video, you’ll have seen this really awesome paper holiday wreath that I made. I also posted a picture on Instagram and have received countless questions on how I made it.
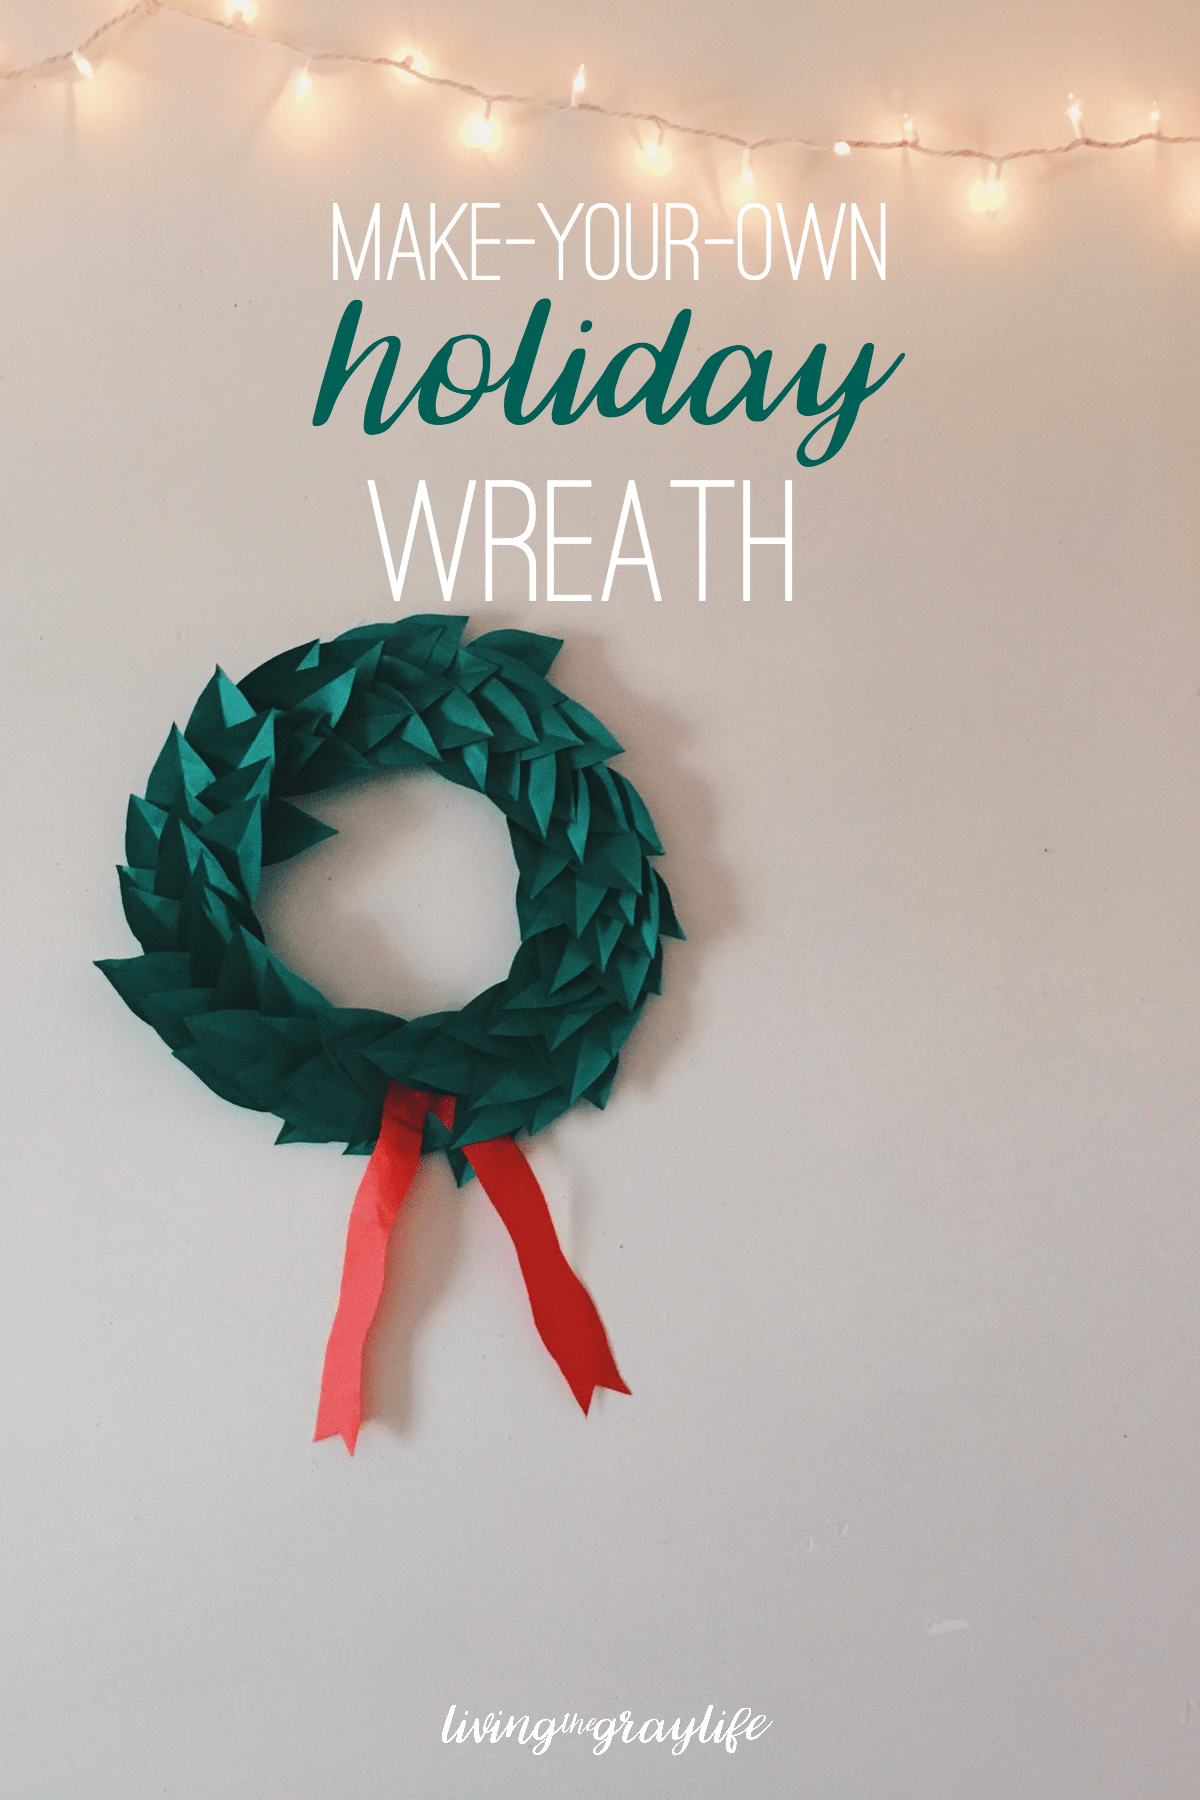
So, today I’m showing you exactly how I made my super festive holiday paper wreath! This will probably take you at most about 2 hours to complete, and it’ll cost you probably less than $10 depending on what supplies you have on hand. All you need is a stapler, some scissors, a bunch of green paper and a little (or a lot) or patience!
Supplies
- Green paper
- Cardboard
- Scissors
- Stapler
- Pencil
Head over to Martha Stewart’s website to get the full instructions.
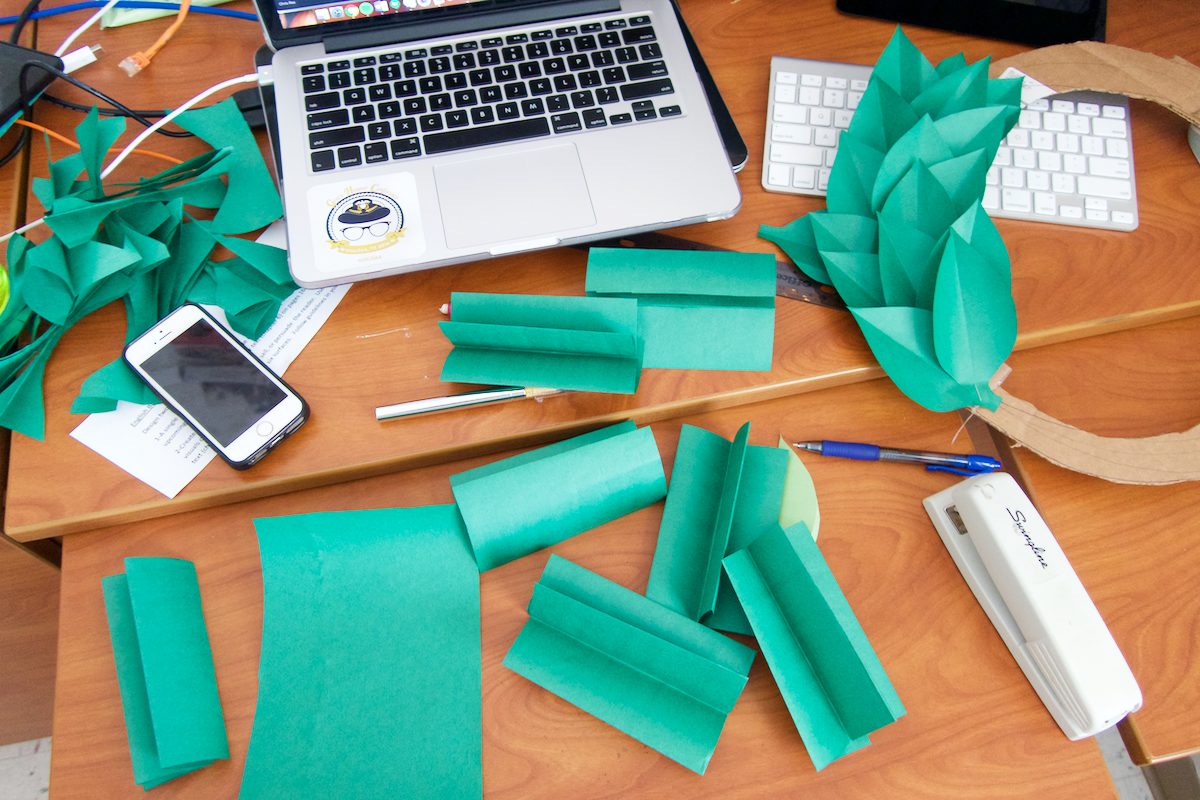
I found the idea for this wreath after searching Pinterest for holiday paper crafts (after all I am a college student with a very very limited budget and access to a resource room with a plethora of paper). Now I did modify this wreath a bit from the original because I didn’t have a 24” wreath form…
So what did I do, you might ask?
Well as a creative college student, I cut out my own wreath template from a cardboard box. Super easy, very inexpensive, and another reason why I never throw away any boxes that I get.
I have no idea how big my wreath actually is, but I’m guessing somewhere in the range from 15”-18” give or take.
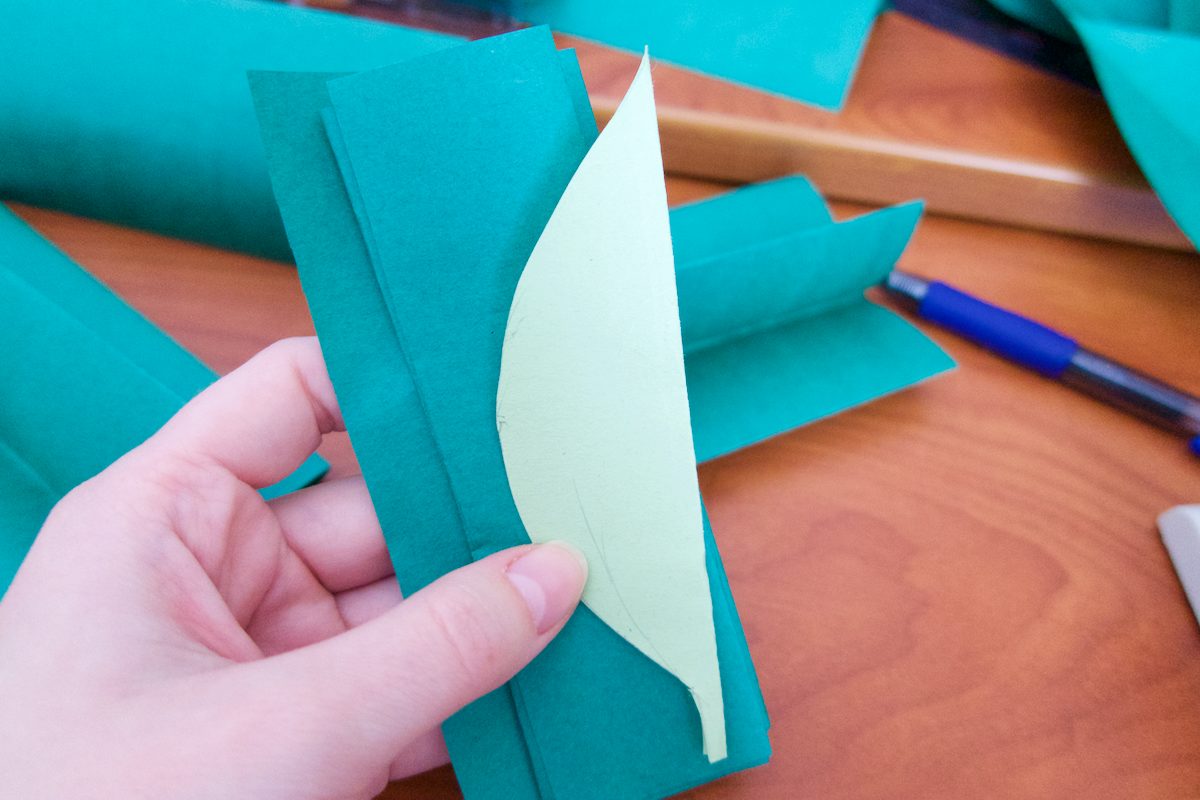
I cut out all of my leaves based on the dimensions in the Martha Stewart tutorial, and trust me, you need a lot of leaves. The more leaves you have, the more full your wreath will be, so cut out way more than you think you need.
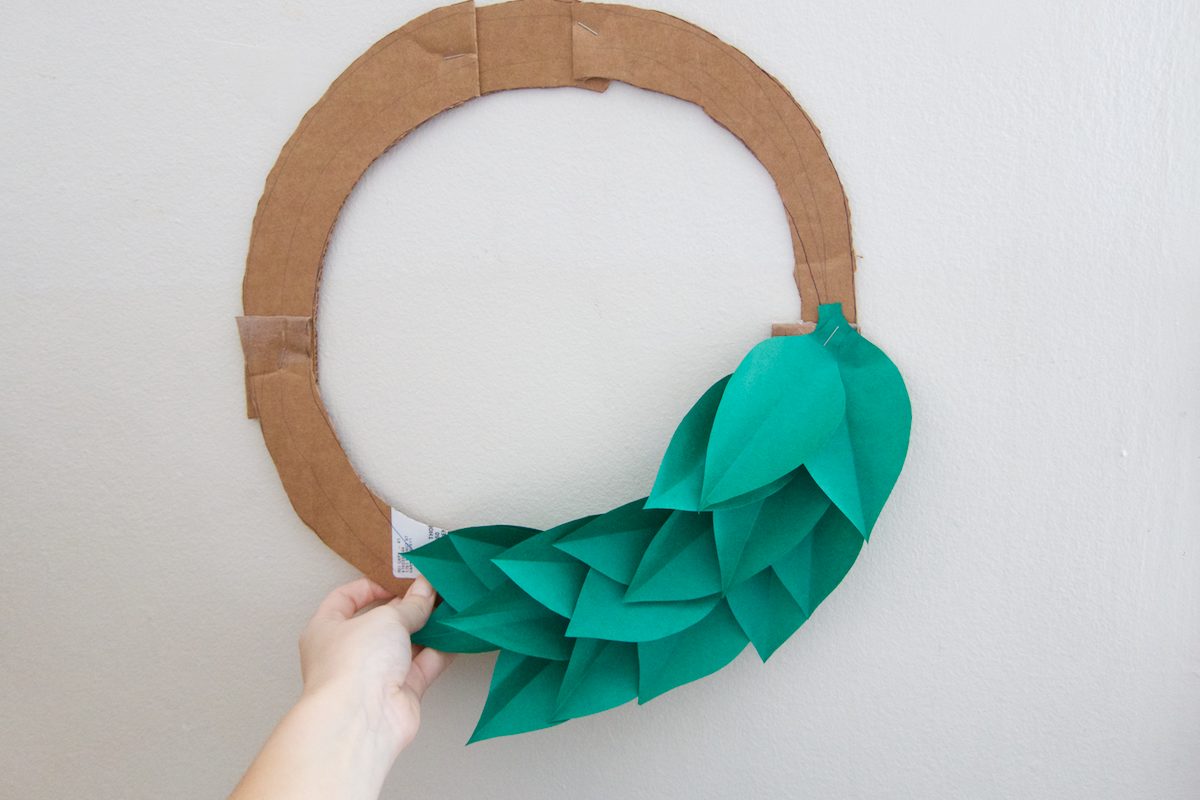
Now comes the fun part! It’s time to start stapling! You can attach the leaves one by one, or you can group them together and staple them that way.
When I was attaching mine, I went in an alternating 3-leaf, 2-leaf pattern. Does that make sense?
After I stapled all the leaves, my looked a bit too perfect. The edge was too smooth, and it looked way too planned out. To fix this problem, I went in and attached individual leaves that kind of stuck out of the edges.
It gives the wreath so much more depth and personality!
I attached a “ribbon” and felt that my wreath was complete. Had I had more supplies, I totally could’ve added some berries, different shades of leaves, pine needles, etc. The options are really endless!
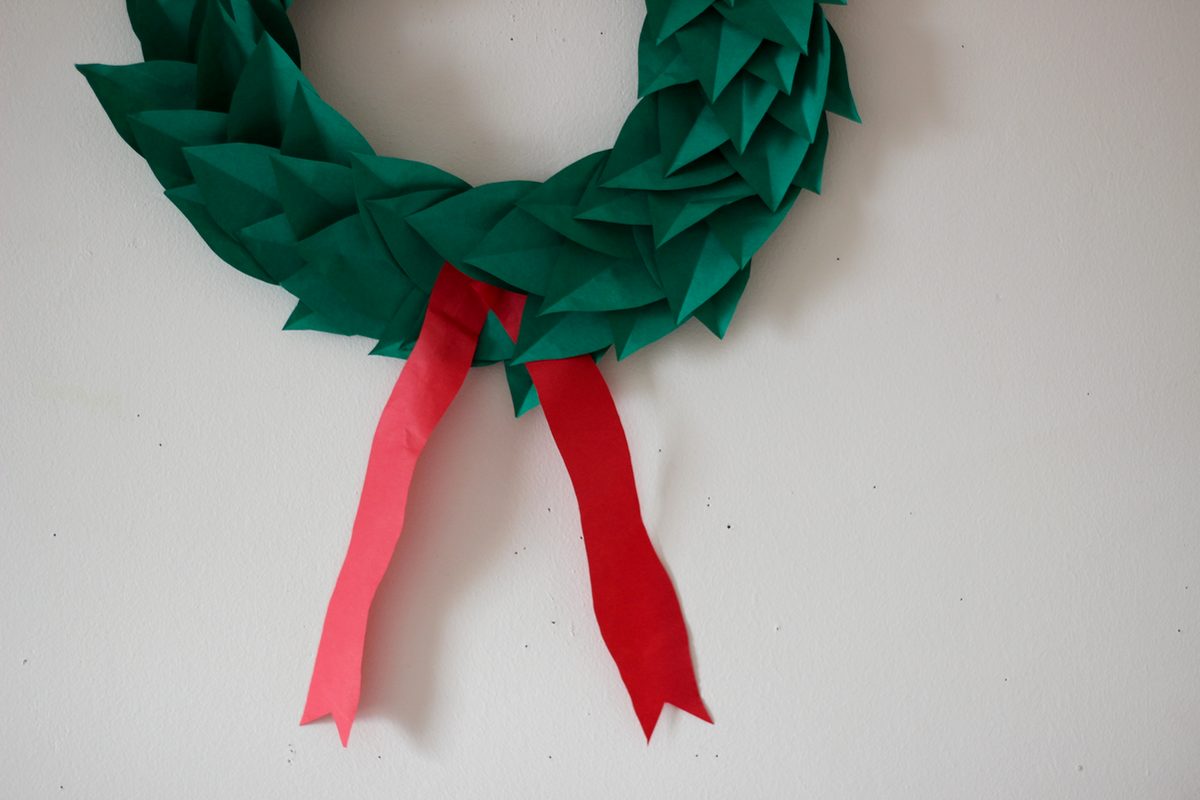
I love how such a small detail can really transform the look of my room. It took my room from oh-so-college to oh-so-festive!
If you try this out, please make sure to send me a picture on Twitter or tag me in it on Instagram! I love seeing what y’all create!
What are your thoughts? Are you going to try this out? How do you decorate your small space for the holidays?
Happy Holidays!
~abigail gray
P.S. My friend Ashley made her own wreath like this one! Check it out below:


