How to Start Hand Lettering feat. SamanthaLetters
To all my hand lettering lovers, oh have I got a treat for you. So earlier in the month, you may have seen a sneaky tweet warning y’all to get excited for something hand lettering related, and I’m so excited that it’s finally here! Today I get the pleasure of introducing you to one of my close friends and fellow hand lettering addict Samantha. Samantha’s hand lettering skills far surpass mine (honestly super jealous of her talent), and she’s all over that Instagram game with her beautiful pieces! So, I’m going to stop rambling about how much I love Samantha, and let’s get into the post!
Hey everyone! I was so excited when Abigail asked me to write a guest post for her blog (which, can I just say, is my low-key obsession). I can’t wait to share with you all something that has easily become one of my greatest passions!
Let me introduce myself: my name is Samantha Chu. I’m currently a sophomore at Belmont University in Nashville, Tennessee. I’m majoring in Biology, minoring in violin, I love cheesecake, and coffee is definitely a daily morning staple. And last summer, while scrolling through Instagram, I came across a hand lettering account, decided to try it out for myself, and since then I’ve never looked back.
In this post, I’m going to share what you might need as well as a few tips on how to get started in hand lettering. I am by no means an expert at this, but I hope this post will at least give you some insights on where to begin!
What You’ll Need
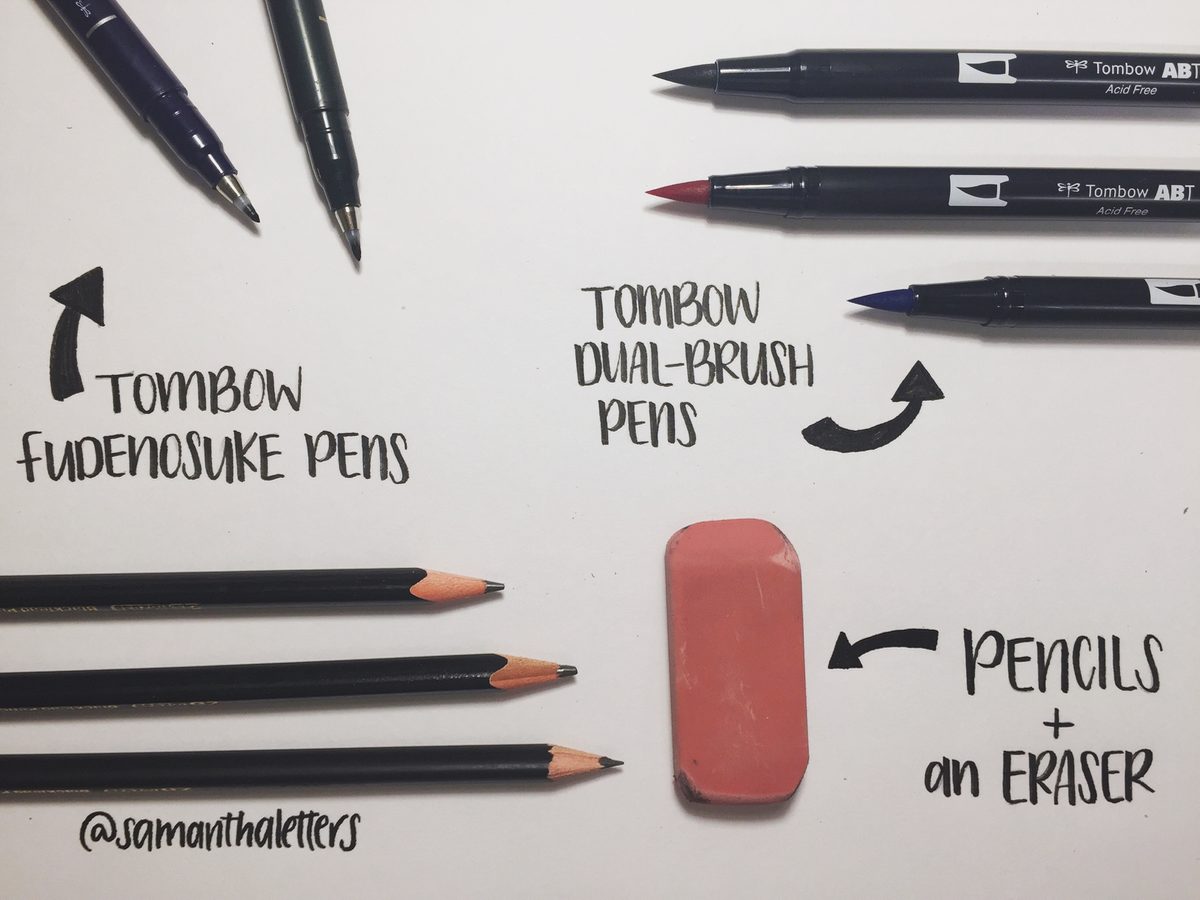
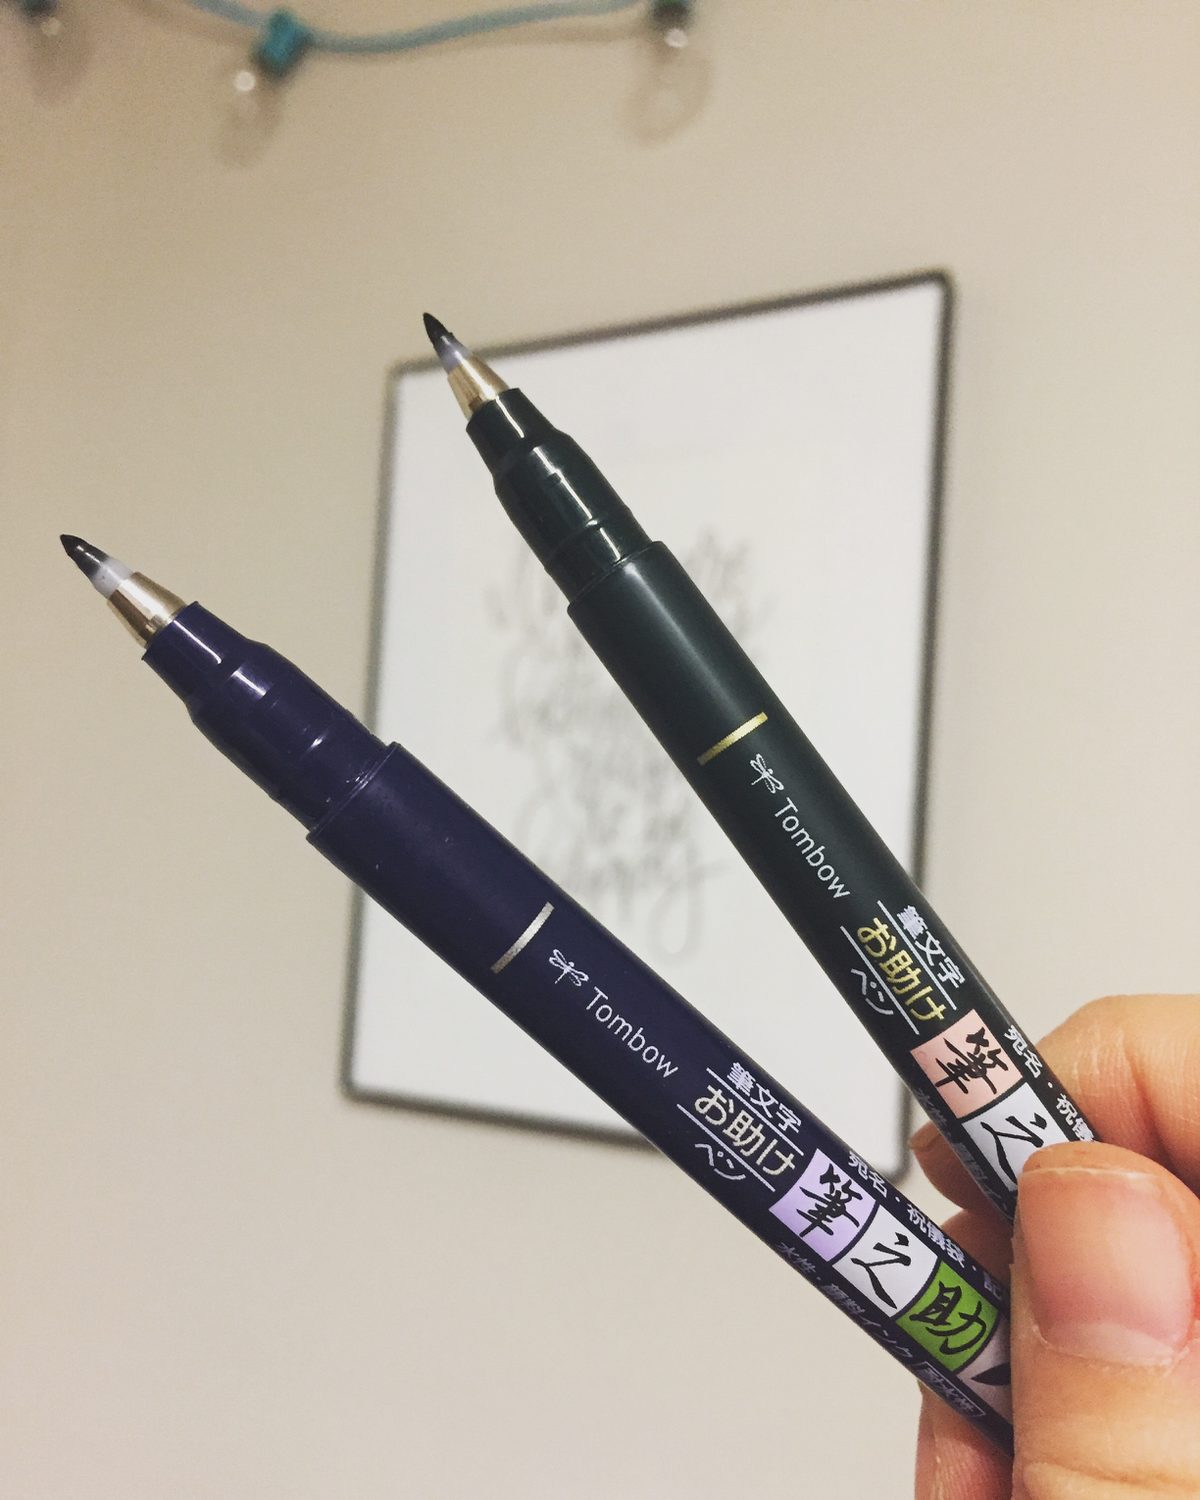
Here’s some of the materials I have found to be necessities of mine when it comes to lettering. Obviously, paper – the smoother the paper the better, just for the longevity of your pens. I always have a non-mechanical pencil and a good eraser on hand so that I can sketch my ideas without having to worry about messing up. I also love love love my Tombow Fudenosuke hard-nib calligraphy pen for smaller projects. Y’all, I live by this pen! They are easy to use and are super affordable, making them perfect for the lettering beginner! Then if I want to write larger, I use Tombow’s Dual Brush pens (can you tell how much I love Tombow!?). These take more time to get used to, but the end results are gorgeous. They also come in all sorts of fun colors and can be blended together to create cool ombre effects!
All that being said, you don’t need elaborate supplies to get started with lettering. Effects created with calligraphy pens can easily be replicated with Crayola markers or ballpoint pens that you already own!
Random Tips
So you’ve got all of the materials. Now what?
Find your inspiration! Instagram is a hand-letterer’s best friend. Last summer, I discovered so many amazing artists and people who have basically perfected their craft. For example, I was (and still am) heavily inspired by @krystalwhitten and @myletteredaffair. Once you find some artists you’re loving, start copying them. Literally try to imitate the work that you see. The important thing here is to get used to moving your pen through the motions of the style you like.
Once you’ve found your stylistic preference, practice is key. You will never be able to develop your own style if you don’t try things out for yourself! So for me, while my lettering may have looked almost identical to Krystal’s last summer when I first started lettering, it has undergone an evolution of sorts to what it looks like today. This change was the result of lots of practice and patience. Don’t be afraid to try out new, weird, or unconventional things in your lettering. You never know – you just might end up loving it!
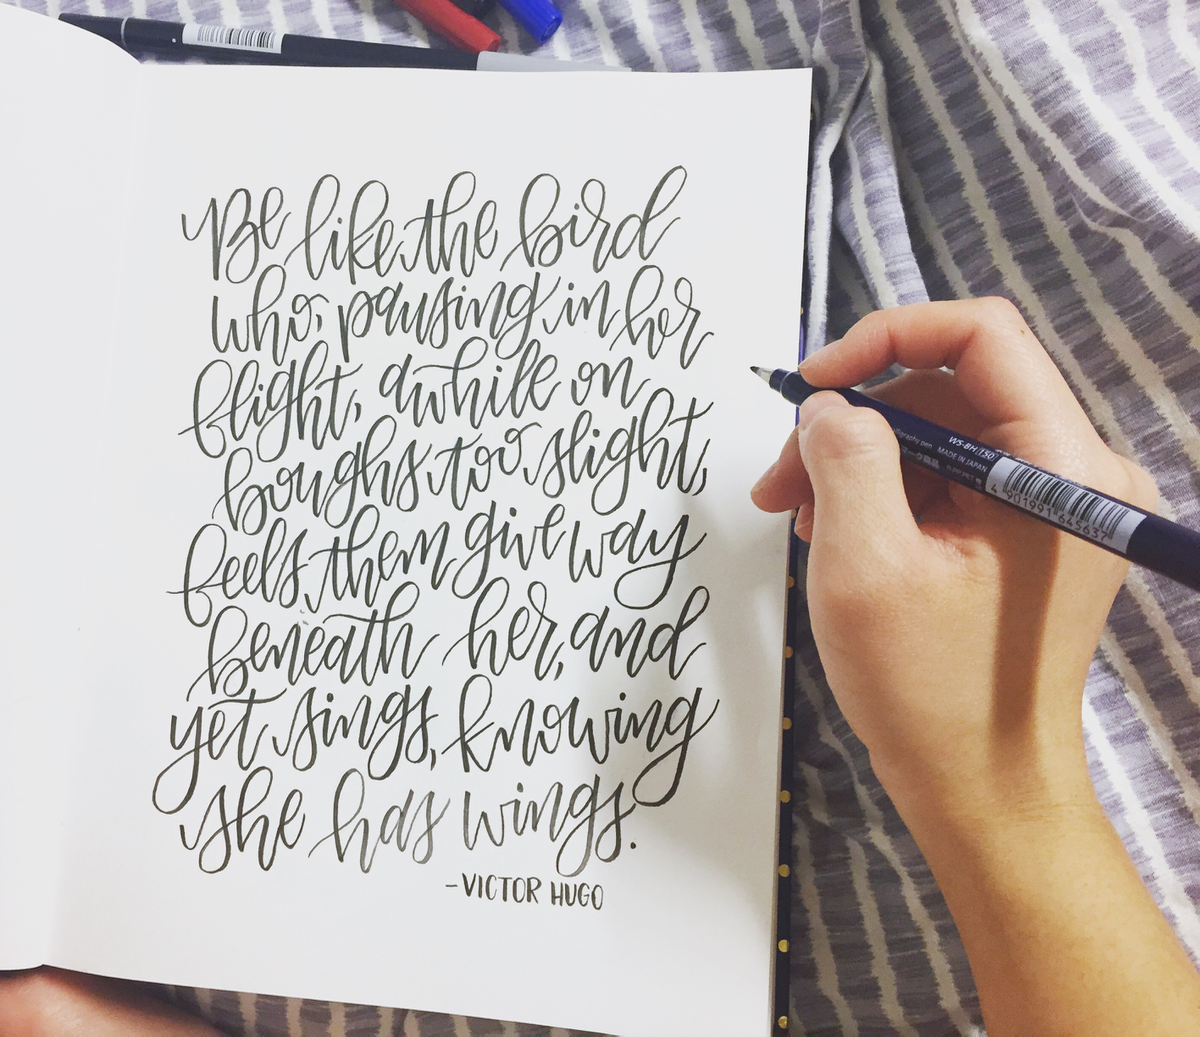
Hand-lettering has been one of the best creative outlets, and I hope these tips help you get started in hand-lettering yourself! Thanks so much for sticking around and hearing what I had to say. And don’t forget to share your creations with me on Instagram at @samanthaletters!
samantha chu


