DIY Fall Wreath + My Fall Mantle Decor
Okay, so let’s get this out of the way. Wreaths are freaking expensive. A cute one from Target will cost you AT LEAST $20 for the basic, plain fall-themed wreath. And then if you go to Michaels or Home Goods/T.J. Maxx/ Marshalls, you’ll easily be set back $40-$50.
I don’t really understand why they’re so expensive, but they’re always so cute and #aesthetic. Whenever the holiday decor starts to roll out, I’m always tempted to drop a pretty penny on one. But not this year. I’m sorry corporate America but you cannot have my $$$ for this one.
I’m big into crafting and DIY-ing if you didn’t know. I used to include a lot more DIYs and such on the blog, but I fell out of my crafting hobby a few years ago. But baby I’m back!
DIY Fall Wreath
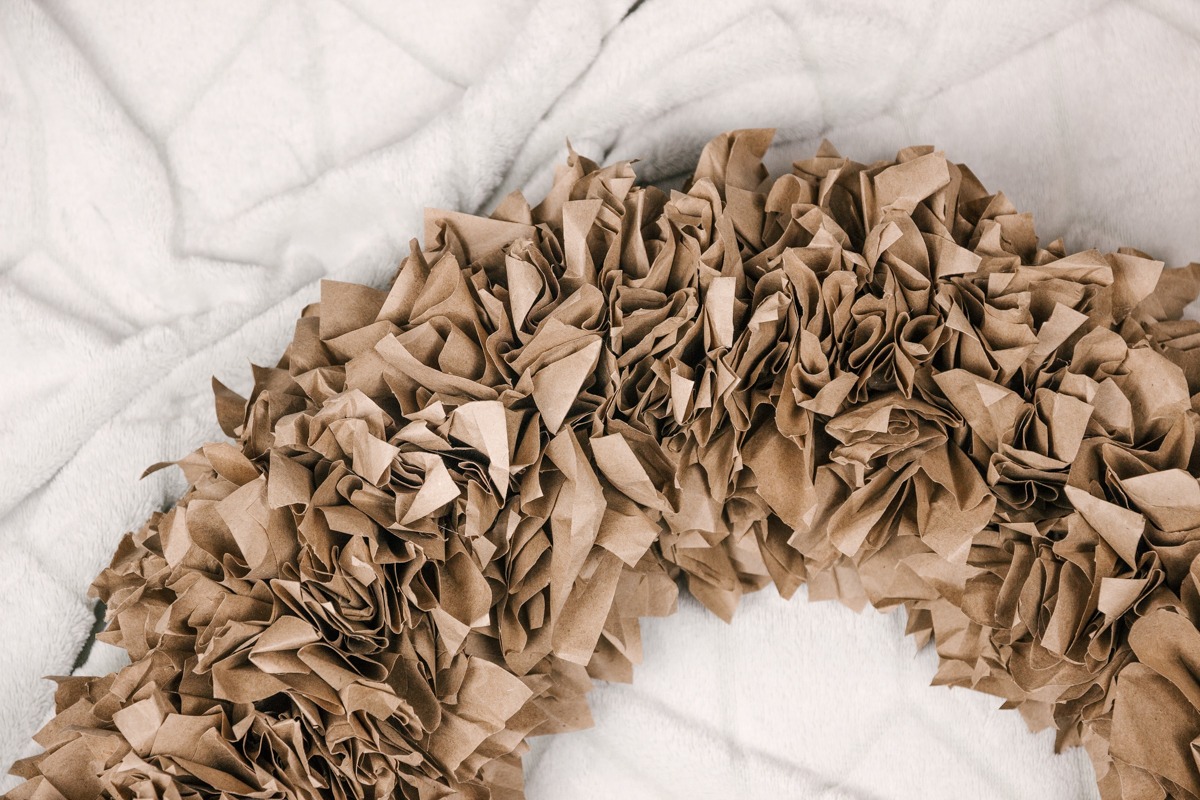
Before we get into this, I just want to apologize if the instructions are hard to follow. I didn’t think about making this DIY post on the blog until I had already finished the DIY… #BadBloggerOfTheYearAward goes to me.
Supplies
- Brown craft paper (I get mine from Dollar Tree in the shipping supplies section)
- Hot glue gun & hot glue
- Cardboard box
Instructions
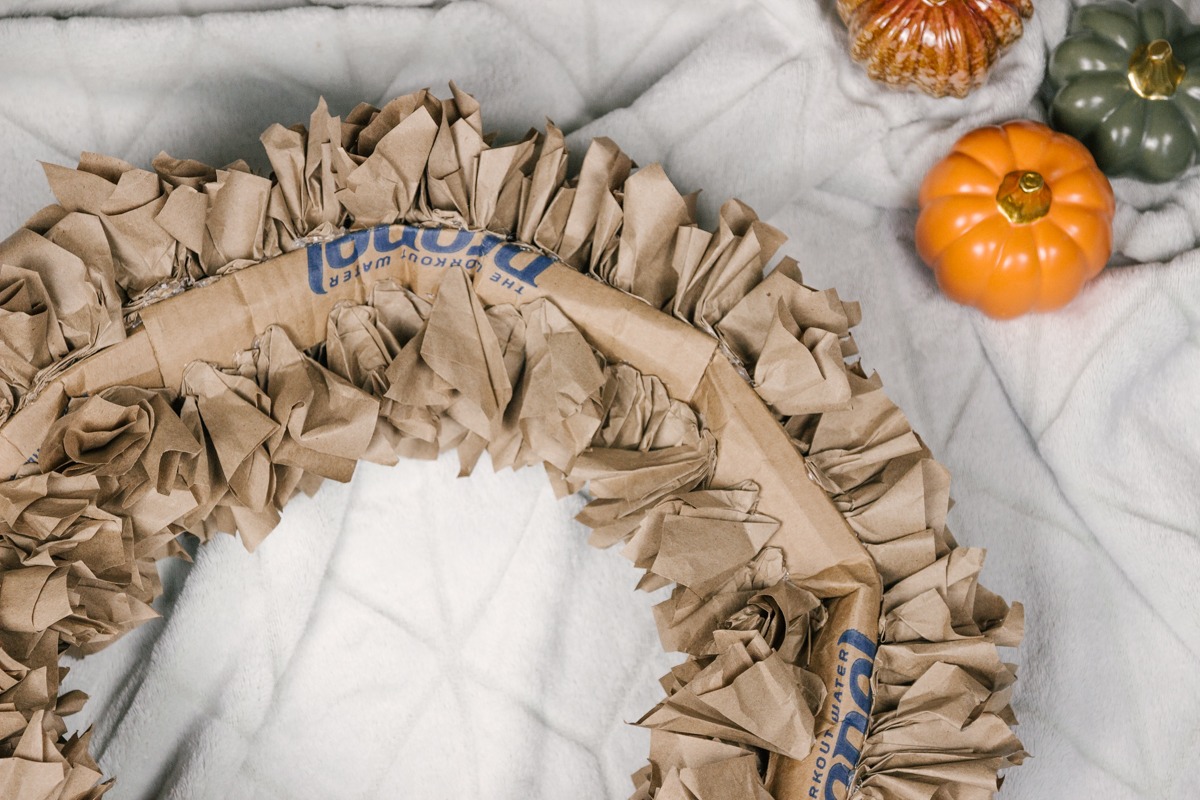
- Make a wreath form out of cardboard. It can be a flat circle that you cut out of the top of a box or a bunch of different cardboard pieces glued together to form a circle. It doesn’t have to be perfect. As long as it’s in a relative circle shape, you’re all good.
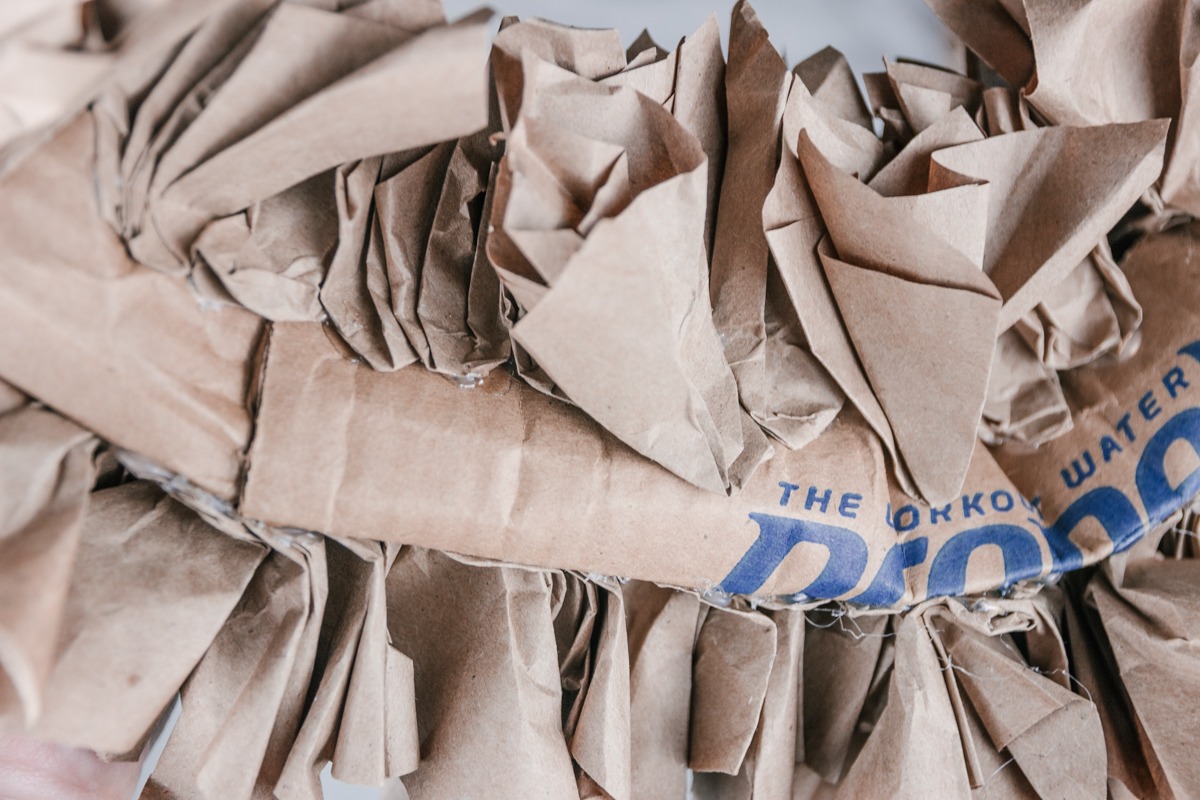
** Note: If you’re using cardboard that isn’t the same color as your craft paper, I highly recommend covering your wreath form in the craft paper. It’ll make your gluing process easier and your finished piece much more polished. ** - With the craft paper, cut out 4×4 or 5×5 squares. They don’t have to be perfect because we’re just going to crumple them up. You can make the squares in mass by cutting out strips of the craft paper and then cutting into squares from there.
- Crumple the squares to form little puffs. To do this, grab the center of the square and pull the corners together.
- Pick a spot on your wreath form and start gluing down the puffs. I found that folding over the point of the puff just a bit gave a nice surface to glue.
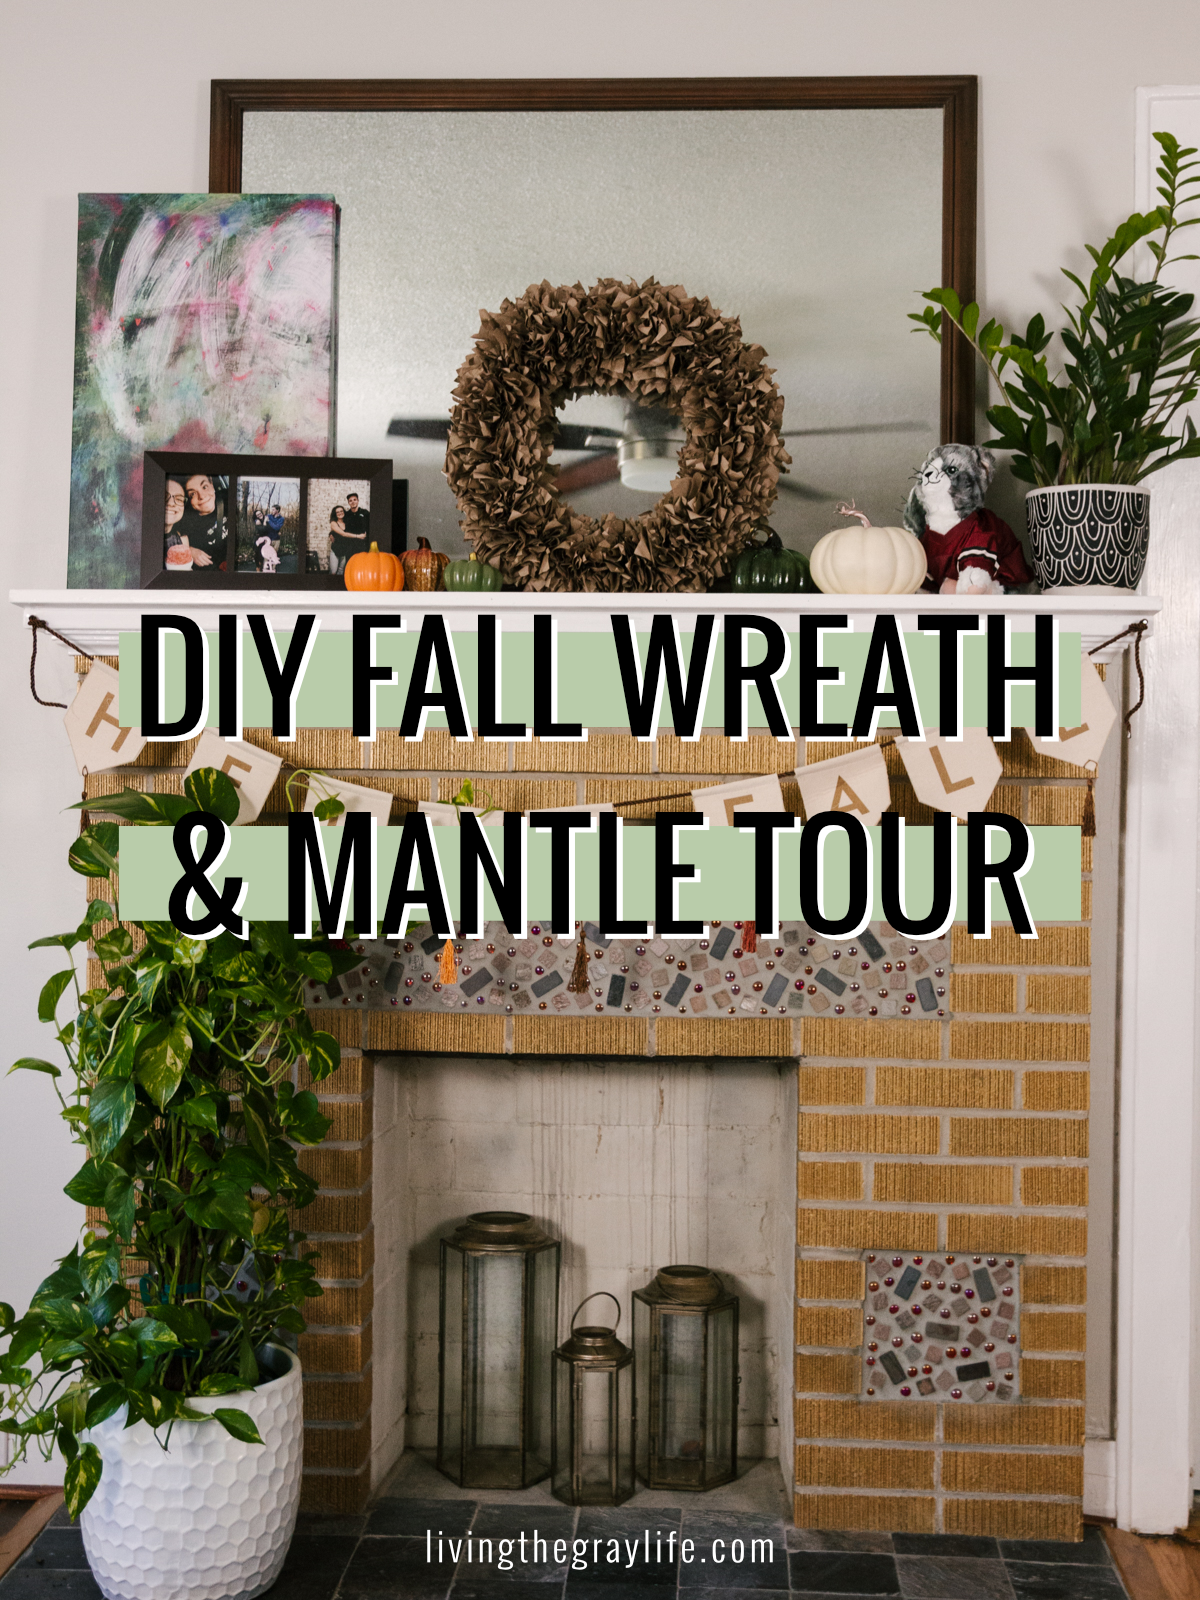
A Look at My Fall Mantle
TBH I never thought I’d be so excited about decorating a mantle or having a fireplace in my house. But yet here I am.
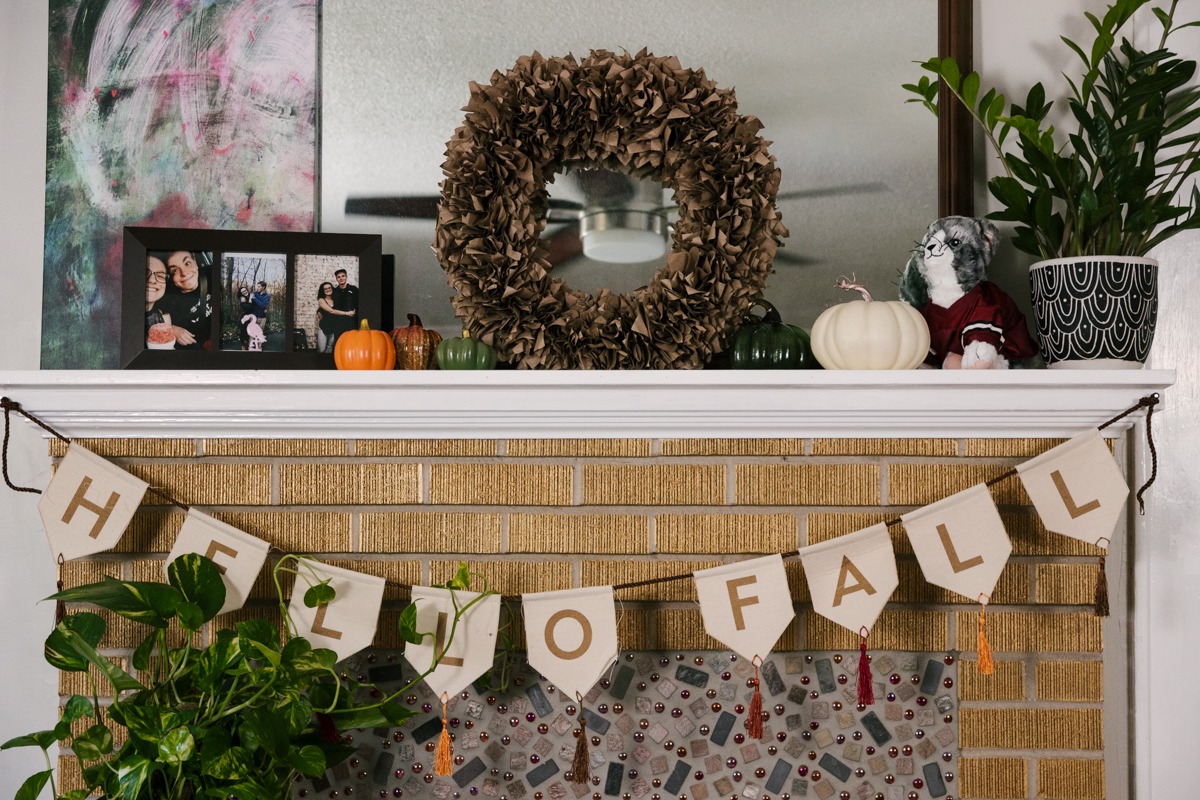
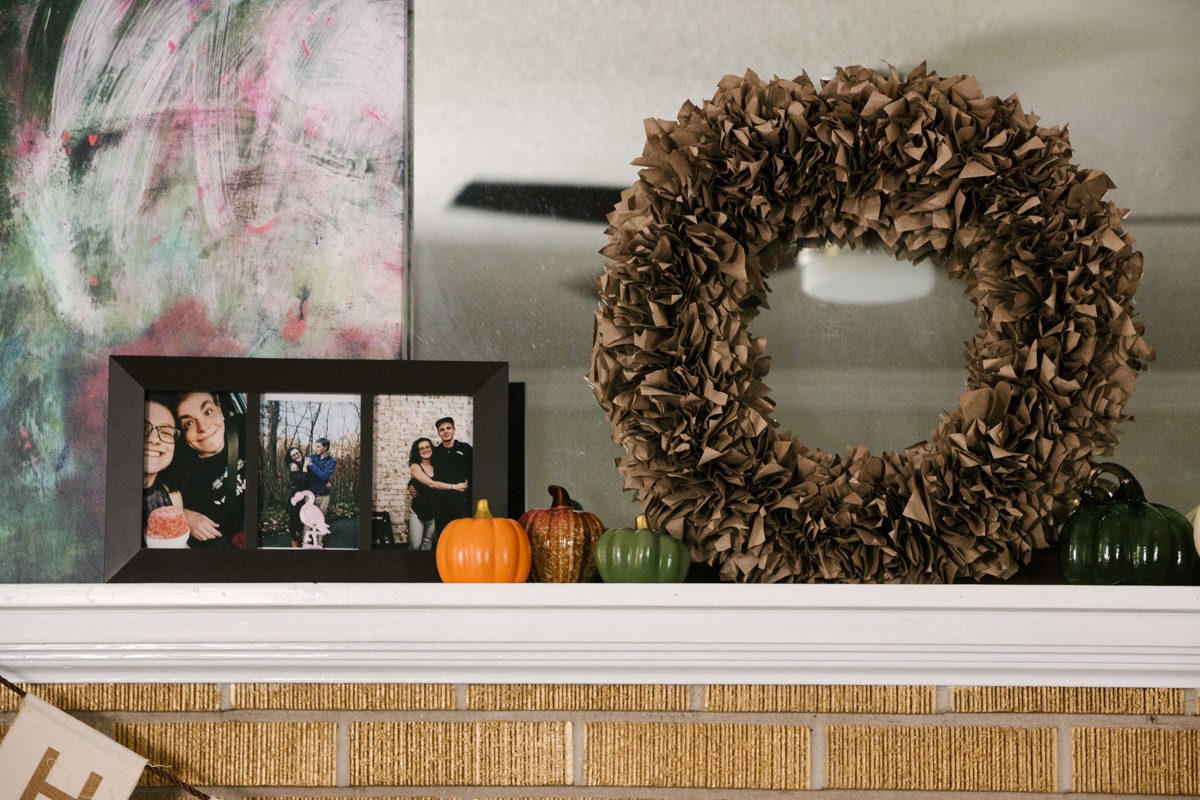

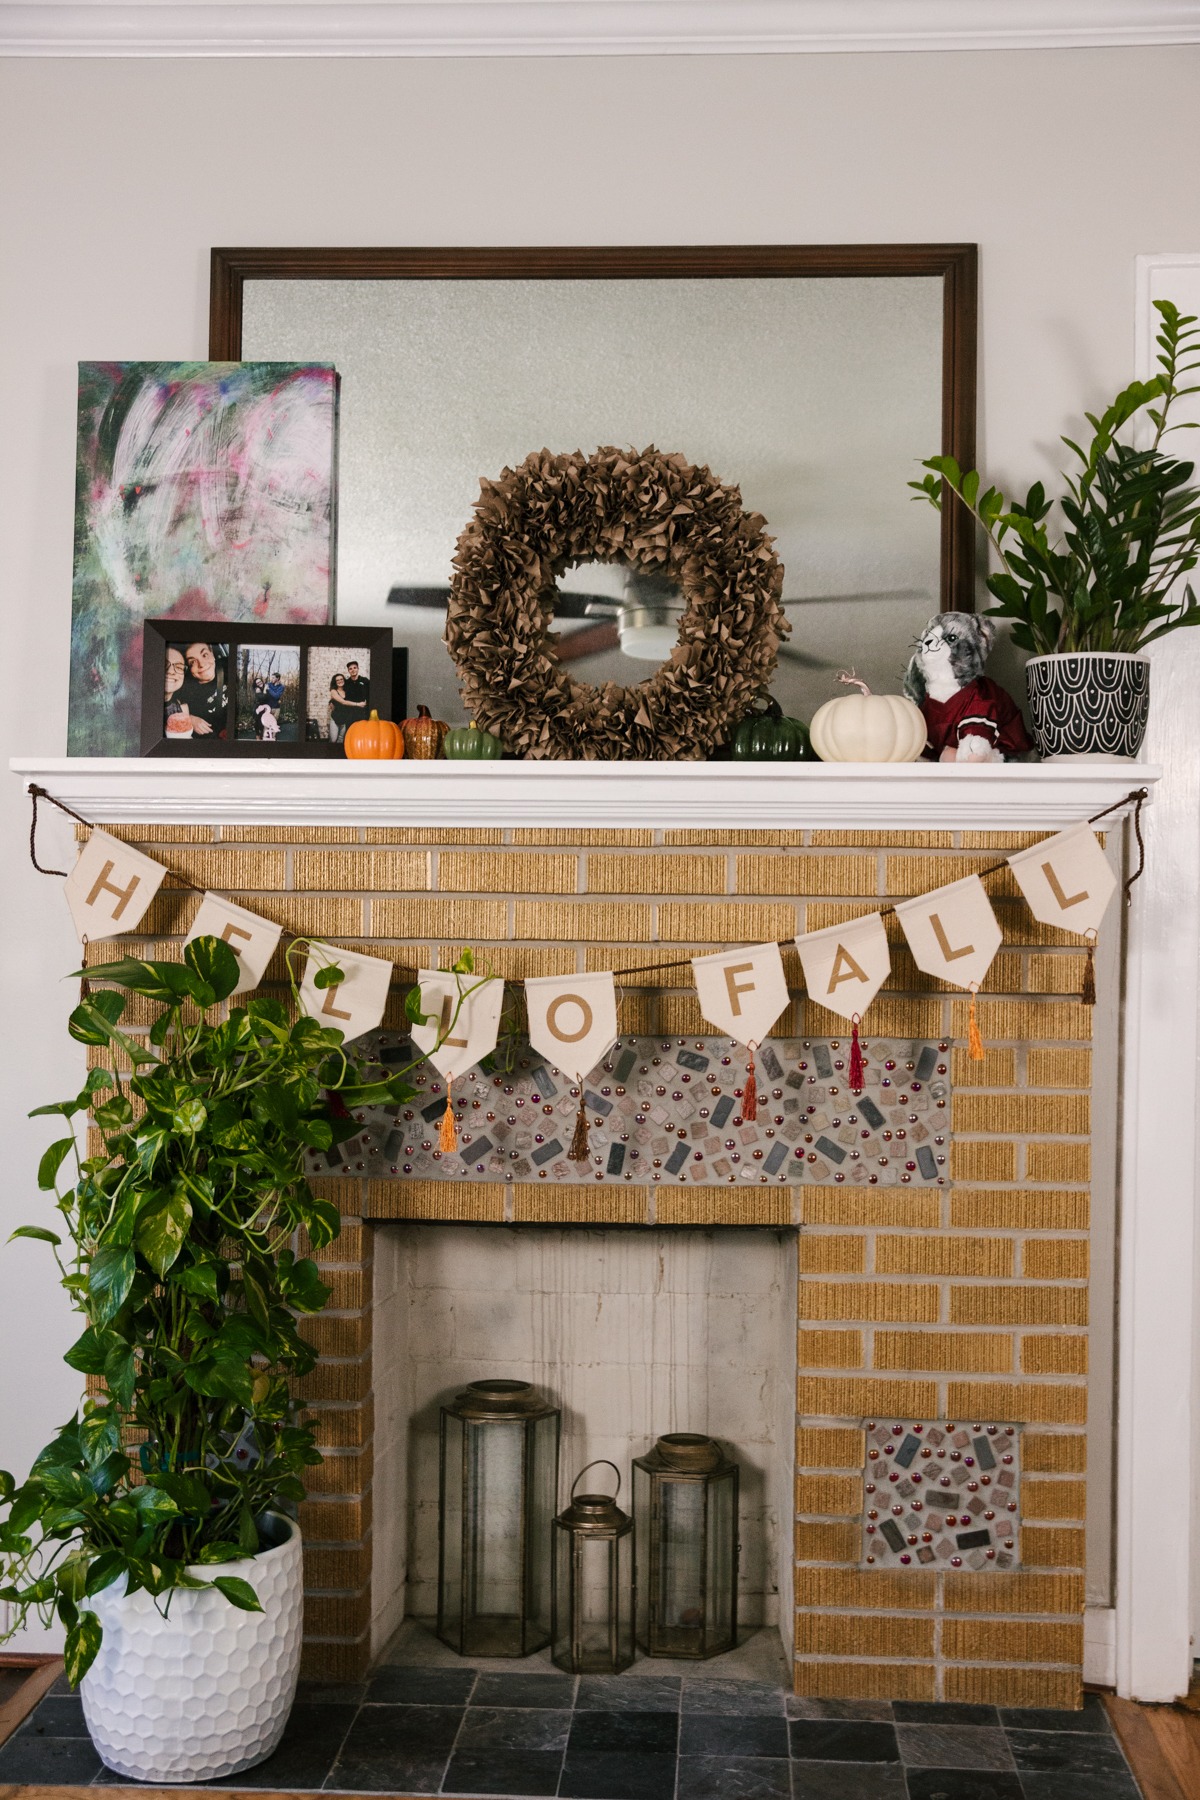
Mirror. I found this at Goodwill for $20. I was looking for a mirror like this for a long time but they’re so gosh darn expensive! I’m still in awe that I found this one for such an amazing price!
Art Piece. This was a birthday present from Brad. I found a picture of a painting on Unsplash that I loved and he got it printed on a canvas. Such a great idea if you’re looking to make art on a budget!
Pumpkins. The three pumpkins on the left are from Dollar Tree. They always have such adorable little pumpkins for only $1. You really can’t beat that! The two on the right are from Michael’s. I got them last year for 50% off!
Hello Fall Banner. I found this at Target three years ago for $5. It’s such a cute and festive piece that is still classy! The only issue with this hanging over the fireplace is that my cats love to play with the tassels…
Lanterns. These are from Michael’s as well. I found them earlier in the summer for 70% off. Yes, you read that right. 70% off. I’m still looking for candles to put on the inside…
Plants. It wouldn’t be a room in my house without a plant! The large one on the floor is a Golden Pothos. I found this guy at Lowe’s on clearance for $8. Such a great deal! The one on the mantle is a ZZ Plant and is perfect for beginners! It requires such little work and it’s doing great in this space.
I hope you enjoyed this little DIY and a look at my fall mantle! I really love how everything turned out. I’m already getting so excited to decorate for Christmas… Until then, I’m going to enjoy all my fall decor even though it’s 90 degrees outside.
~abigail gray
